Add Microsoft Entra ID as an identity provider for Conditional Access
In this topic, you will find instructions on how to add Microsoft Entra ID as an identity provider for Portnox™ Conditional Access for Applications.
Prerequisites:
-
You must first integrate your Portnox Cloud instance with your Microsoft Entra ID repository (Azure Active Directory) as an authentication provider. For more information, see the following topic: Integrate with Microsoft Entra ID.
Create a new identity provider configuration in Portnox Cloud
In this section, you will create a new identity provider configuration in Portnox Cloud
-
In a new tab of your browser, open your Portnox Cloud account by accessing the following URL: https://clear.portnox.com/
From now on, we will call this tab the Portnox tab.
-
In the Cloud portal top menu, click on the Settings option.

-
In the Cloud portal left-hand side menu, click on the menu option.

-
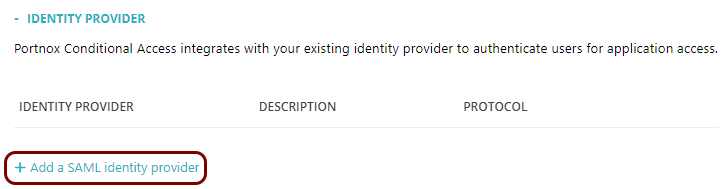
Click on the Add a new identity provider link and from the drop-down menu, select the
Add a SAML identity provider option.
-
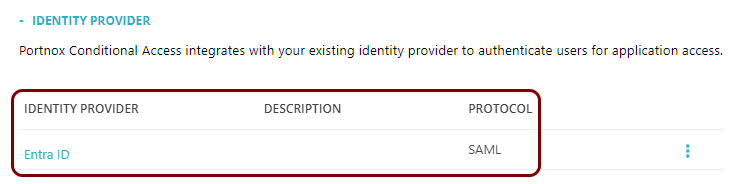
In the Identity provider details section, enter an Identity provider
name and optionally a Description.
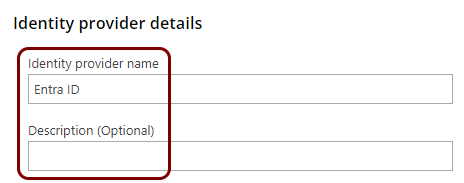
In this example, we used the name Entra ID for the new identity provider but you can use any name you like.
- Keep this browser tab open. You will need it later.
Create a new identity Entra ID application
In this section, you will access the Microsoft Azure administrative interface and use it to create a new Entra ID application that will handle integration with Portnox Cloud.
-
In another tab of your browser, open your Microsoft Azure Portal by accessing the following URL:
https://portal.azure.com/
From now on, we will call this tab the Azure tab.
-
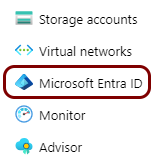
In the Azure Portal main menu, click on the Microsoft Entra ID option.
-
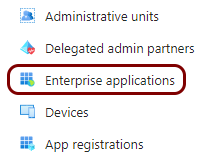
In the left-hand side menu, click on the Enterprise applications option.
-
In the top menu of the Enterprise applications screen, click on the New
application button.

-
In the top menu of the Browse Microsoft Entra Gallery screen, click on the Create
your own application button.

-
In the Create your own application pane, enter a name for the new application in the
What is the name of your app field, select the Integrate any other application
you don’t find in the gallery (Non-gallery) option, and then click on the
Create button.
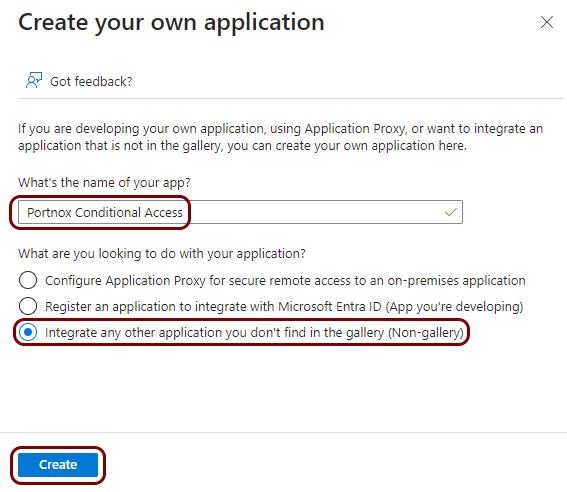
In this example, we used the name Portnox Conditional Access for the new application but you can use any name you like.
Note: Names of configuration screens will reflect the name of the application. -
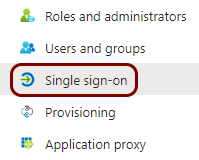
In the left-hand side menu of the Portnox Conditional Access screen, select the
Single sign-on option.
-
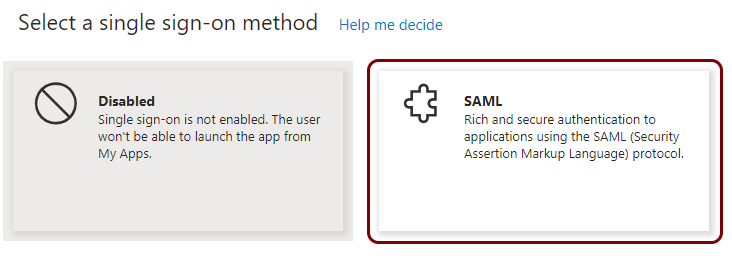
In the right-hand side pane, in the Select a single sign-on method section, click on the
SAML tile.
-
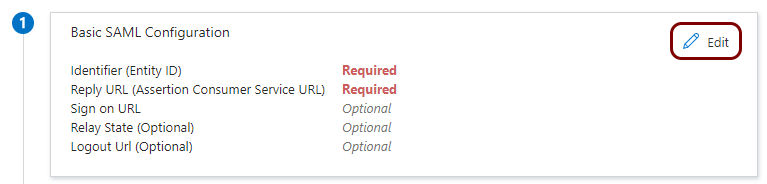
In Step 1 of the Set up Single Sign-On with SAML procedure, click on
the Edit button.
Copy configuration values from the Portnox tab to the Azure tab
In this section, you will copy the values displayed by Portnox Cloud and paste them in the relevant fields in the Entra ID application setup section.
-
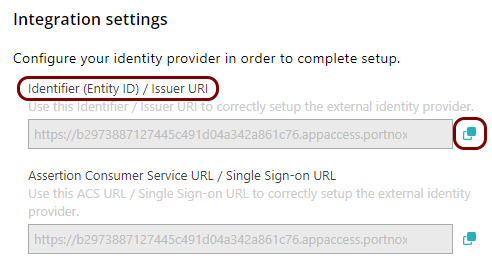
In the Portnox tab, in the Integration settings section, click on the ⧉ icon next to the Identifier (Entity ID) / Issuer URI
field to copy the value.
-
In the Azure tab, in the Basic SAML Configuration pane, in the Identifier (Entity
ID) section, click on the Add identifier link, and in the Enter an
identifier field above, paste the value copied from Portnox Cloud.

-
In the Portnox tab, in the Integration settings section, click on the ⧉ icon next to the Assertion Consumer Service URL / Single Sign-on
URL field to copy the value.

-
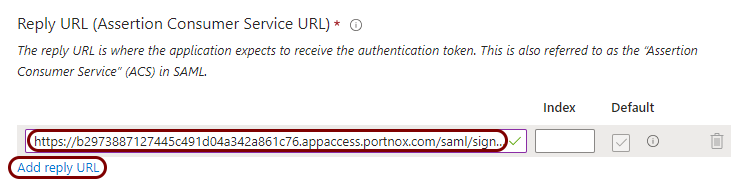
In the Azure tab, in the Basic SAML Configuration pane, in the Reply URL
(Assertion Consumer Service URL) section, click on the Add reply URL link,
and in the Enter a reply URL field above, paste the value copied from Portnox Cloud.
Copy configuration values from the Azure tab to the Portnox tab
In this section, you will copy the values displayed by the Entra ID application setup section and paste them in the relevant fields in Portnox Cloud.
-
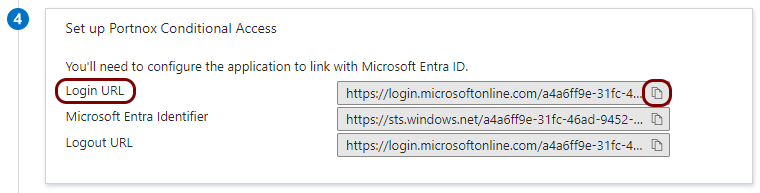
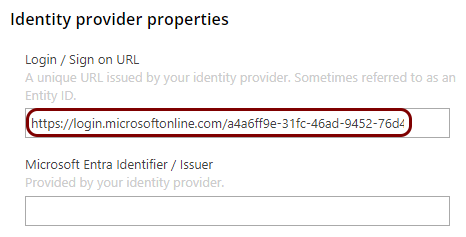
In the Azure tab, in the Step 4 (Set up Portnox Conditional Access)
section, click on the ⧉ icon next to the Login URL
field to copy the value.
-
In the Portnox tab, in the Identity provider properties section, click on the empty field
under the Login / Sign on URL heading and paste the value copied from Azure.
-
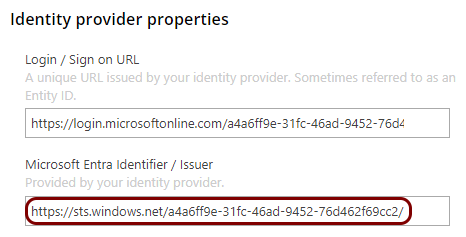
In the Azure tab, in the Step 4 (Set up Portnox Conditional Access)
section, click on the ⧉ icon next to the Microsoft Entra
Identifier field to copy the value.

-
In the Portnox tab, in the Identity provider properties section, click on the empty field
under the Microsoft Entra Identifier / Issuer heading and paste the value copied from
Azure.
-
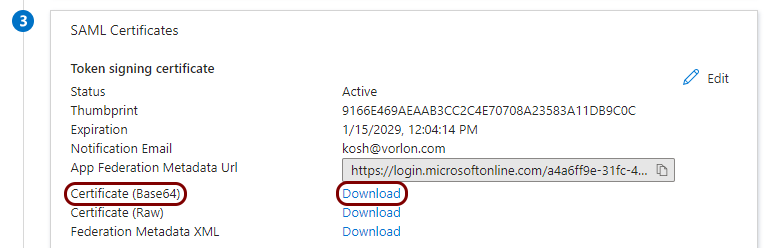
In the Azure tab, in the Step 3 (SAML Certificates) section, click on
the Download link next to the Certificate (Base64) field to download
the certificate file (Portnox Conditional Access.cer).
-
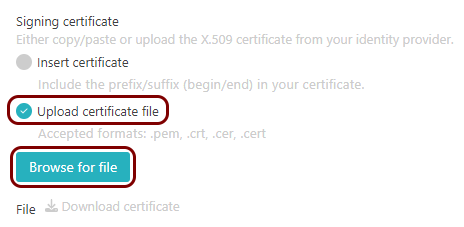
In the Portnox tab, in the section, click on the Add certificate link, select the Upload
certificate file option, click on the Browse for file button, and select the
file you just downloaded from Azure. Then, click on the Add certificate button.
Add attribute mapping
In this section, you will add attribute mapping in Azure. This mapping is needed by some applications to correctly map users between the identity provider and the application.
-
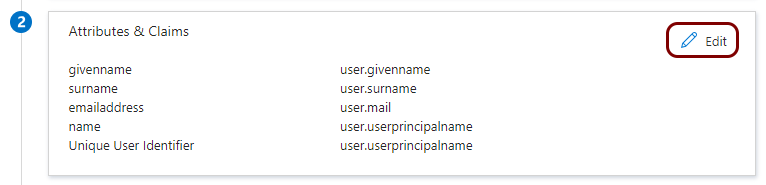
In the Step 2 (Attributes & Claims) section, click on the
Edit icon in the top-right corner.
-
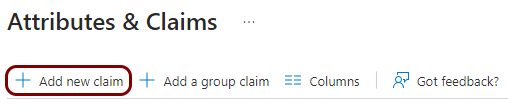
In the Attributes & Claims pane, click on the Add new claim
button.
-
Configure the new attribute mapping:

- In the Name field, enter urn:oid:1.3.6.1.4.1.5923.1.1.1.6.
- In the Name format field, select the URI option.
- In the Source field, select the Attribute option.
- In the Source attribute field, select the user.userprincipalname option.
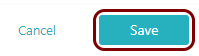
- Click on the Save button in the top-left corner.
Finalize the configuration
In this section, you will finalize the configuration in the Portnox Cloud and in Azure.
-
Finalize the configuration in the Portnox tab.
-
Scroll all the way down to the end of the page, and then click on the Save
button.
-
Scroll all the way down to the end of the page, and then click on the Save
button.
-
Finalize the configuration in the Azure tab.
-
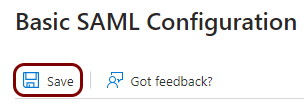
In the Basic SAML Configuration pane, click on the Save
button.
-
In the Basic SAML Configuration pane, click on the Save
button.
Result: You have added Entra ID as an identity provider for Portnox Conditional Access for Applications.
After configuring the identity provider, check your access privileges in Entra ID to make sure that your users can access this application. You can also click on the Test button in Step 5 to test your configuration.
Perpetual policy enforcement for Entra ID
Optionally, in this section, you will turn on the perpetual policy enforcement option for your Entra ID identity provider.
Without perpetual policy enforcement, if a device is no longer compliant or is manually blocked, it retains access to applications until the next time the user is asked to log in to Entra ID.
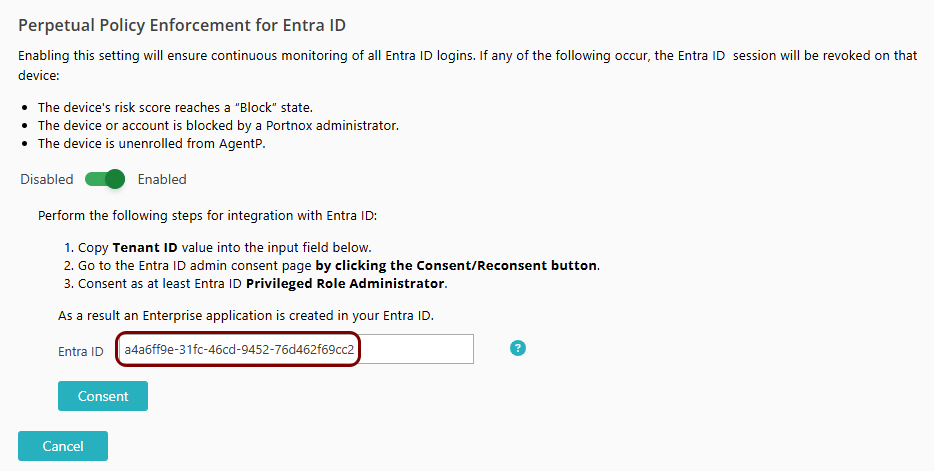
If you turn on the perpetual policy enforcement option, Entra ID will revoke application access if the device is blocked, if AgentP was uninstalled, or if the device risk score reached the Block level. This way, the user immediately loses access to the application if there is risk.
- In the Perpetual Policy Enforcement for Entra ID section, click on the Edit link.
- Set the switch to the Enabled position.
-
Copy the value of the Tenant ID field from Entra ID and paste it into the Entra
ID field.
Note: If the Entra ID already contains a value, and you only have one Entra ID identity provider, you do not need to perform this step. This means that Portnox Cloud was able to get this value from your Entra ID identity provider.
-
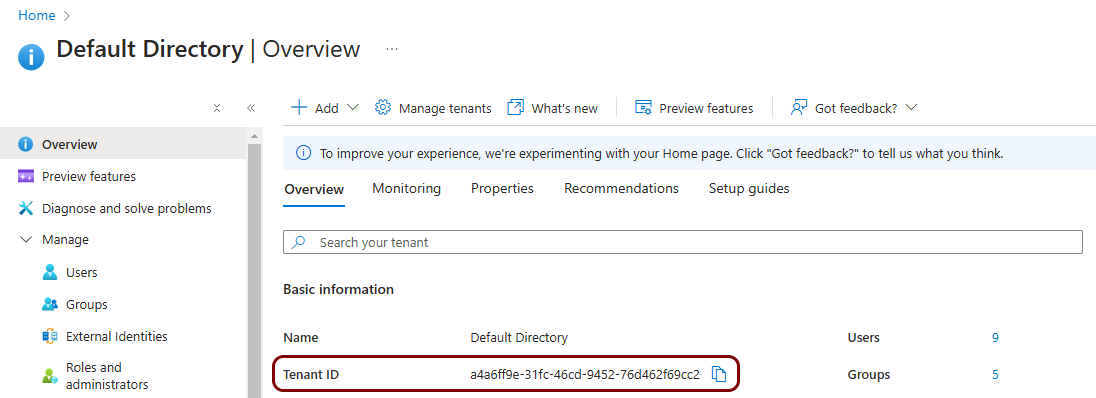
In the Azure Portal main menu, click on the Microsoft Entra ID option.
-
In the Default Directory pane, click on the ⧉
icon next to the Tenant ID field to copy the value to the clipboard.
-
Go back to the Portnox Cloud tab and paste the copied value into the Entra ID
field.
-
In the Azure Portal main menu, click on the Microsoft Entra ID option.
-
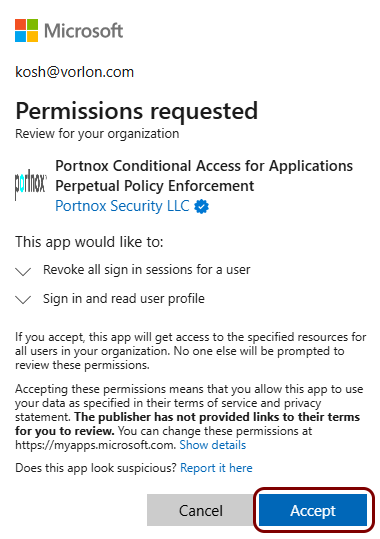
Click on the Consent button.
Important: You will be redirected to Microsoft Azure. Log in with a user that has the privileges of at least a Privileged Role Administrator.
-
In the Permissions required window, click on the Accept button.