VPN – OpenVPN
In this topic, you will set up the OpenVPN Access Server to use the Portnox Cloud RADIUS servers for authentication.
Configure the OpenVPN Access Server
In this section, you will add the Portnox Cloud RADIUS server information to the OpenVPN Access Server configuration and set RADIUS as the default authentication method.
-
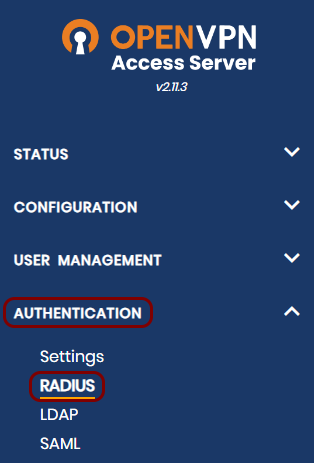
In the left-hand side menu, select the option.
-
In the RADIUS Authentication pane, in the RADIUS Settings section,
activate the switches next to the following options: Enable RADIUS Authentication and
Enable RADIUS Accounting reports.

-
In the RADIUS Server section, enter the IP addresses, port numbers, and shared secrets for
your Portnox Cloud RADIUS servers and/or the local RADIUS server.
Important:The IP addresses, port numbers, and shared secret values on screenshots are examples. Replace them with your individual IP addresses, port numbers, and shared secrets from your Portnox Cloud configuration.

-
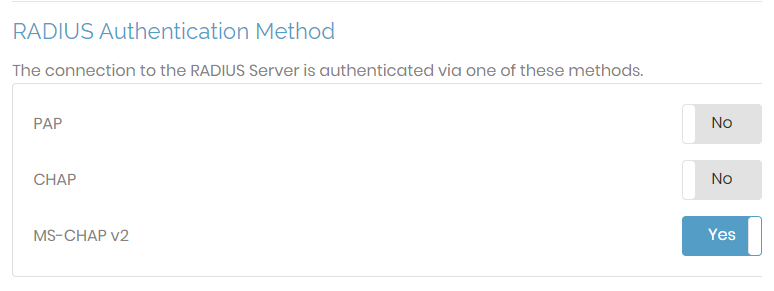
Scroll down to the RADIUS Authentication Method section and select the authentication method
(EAP method) that is supported by your authentication directory.
Note:If you use an online authentication provider such as Entra ID and Google Workspace, select PAP. If you use local Active Directory, select MS-CHAP v2.
-
Click on the Save Settings button to save your configuration.

-
Click on the Update Running Server button to update your running server with the new
configuration.

-
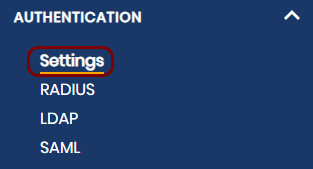
In the left-hand side menu, select the option.
-
In the User Authentication pane, in the Default Authentication System
section, select the RADIUS option.

- Optional:
If you want to use multi-factor authentication for all OpenVPN accounts (this includes the administrative interface
access), in the TOTP Multi-Factor Authentication section, activate the Enable TOTP
Multi-Factor Authentication switch.
 Note:You can also turn in multi-factor authentication for individual users.
 -
Scroll all the way down the pane and click on the Save Settings button.
Test your connection using the OpenVPN client
In this section, you will optionally test your configuration by establishing a VPN connection to the server from a client machine using the OpenVPN client.
-
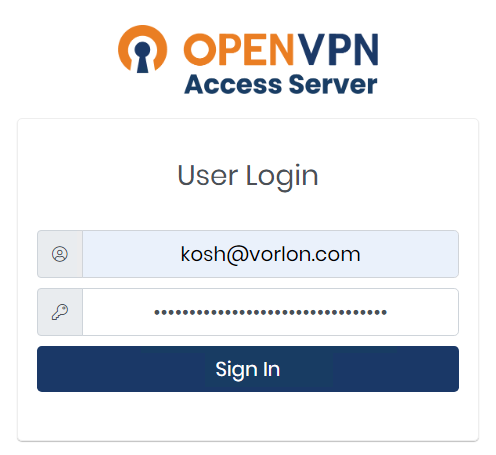
On the client computer, open the OpenVPN Access Server user interface in a web browser and log in using an account
managed by Portnox Cloud.
Use the IP address or the FQDN and the port that you configured for your Access Server when you installed it.
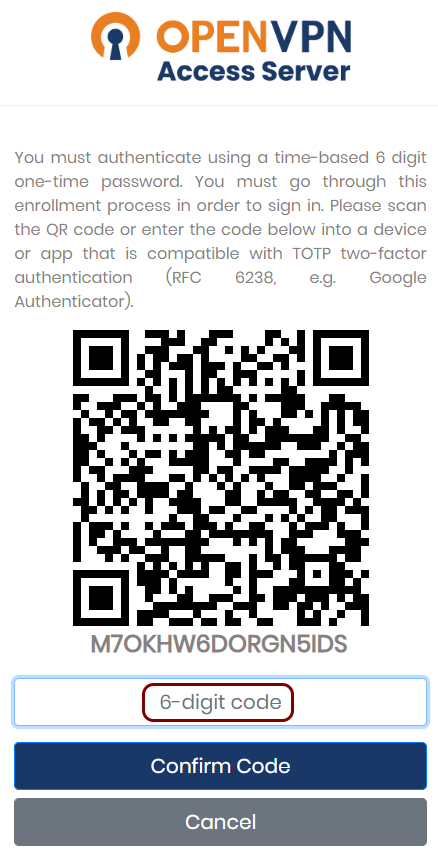
- Optional:
If you turned on multi-factor authentication, you will see a QR code to scan using your selected authenticator app.
Scan the QR code and then enter the 6-digit code from the authenticator app.
-
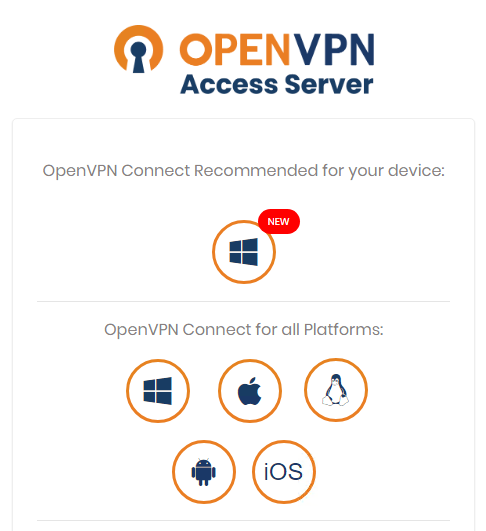
Download the OpenVPN Connect client for your operating system. Then, install the client.
OpenVPN detects your operating system and suggests the correct client.
-
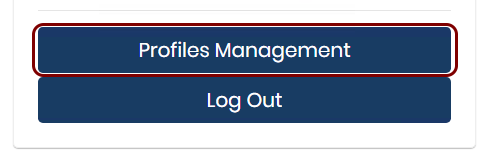
Scroll down the web page and click on the Profiles Management button.
-
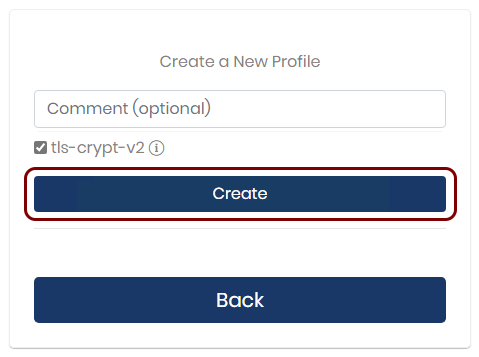
In the Create a New Profile pane, click on the Create button.
OpenVPN will generate a profile for you. Download it and save it on your local disk.
-
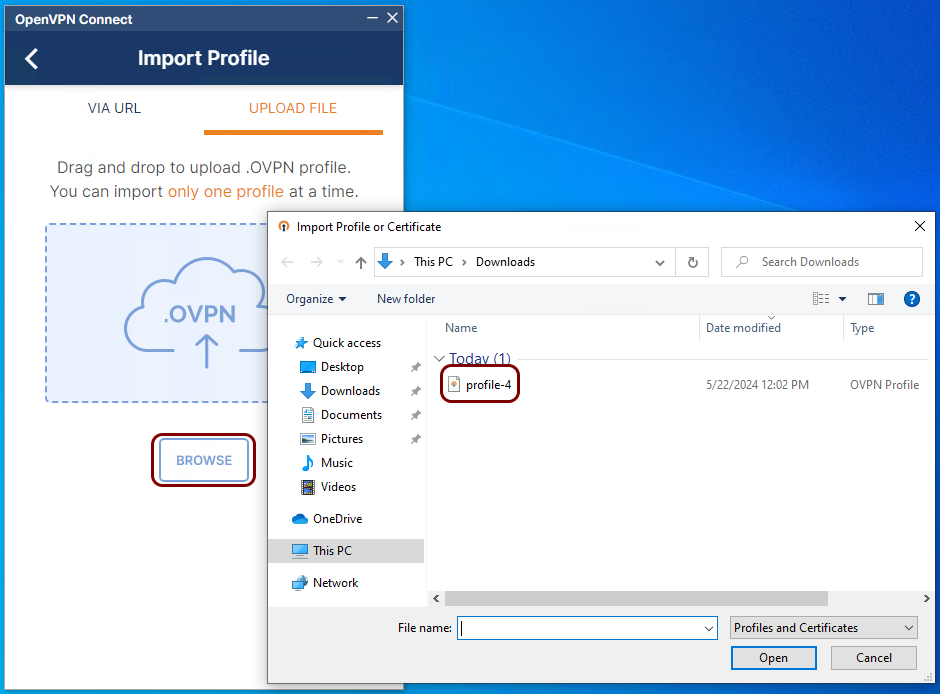
Open the OpenVPN Connect client. Click on the Browse button to select the profile you
downloaded in the previous step.
-
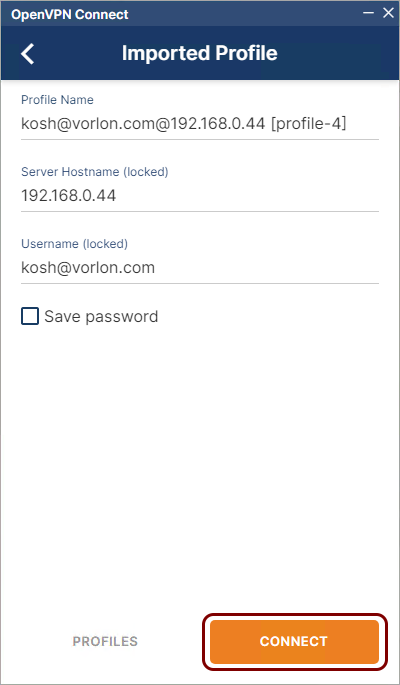
Click on the Connect button.
-
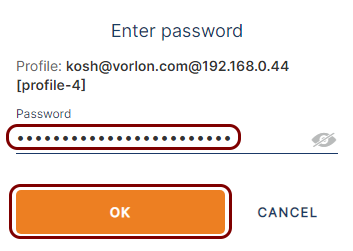
Enter the password to the account managed by Portnox Cloud and then click on the OK
button.
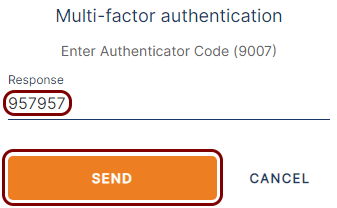
- Optional:
If you turned on multi-factor authentication, enter the 6-digit code from your authenticator app, and then click on
the SEND button.
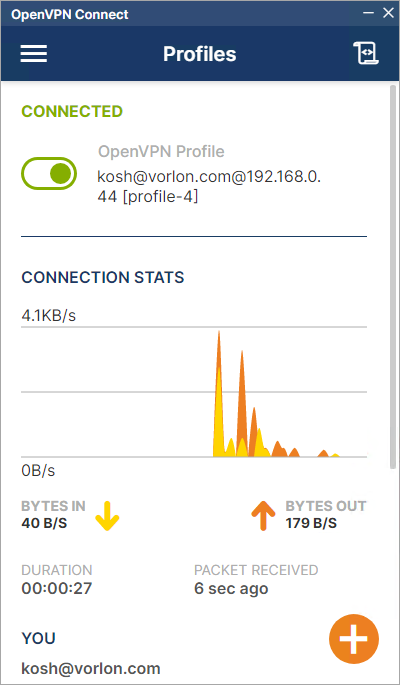
Result: The VPN connection is established successfully.