Integrate with Active Directory
In this topic, you will learn how to integrate Portnox™ Cloud with a local Active Directory (AD) instance using the Portnox LDAP Broker.
Make sure that you have at least one Windows server (physical or virtual), which has access to the local Active Directory, and where you can install the Portnox LDAP Broker.
-
In the Cloud portal top menu, click on the Settings option.

-
In the Cloud portal left-hand side menu, click on the option.

-
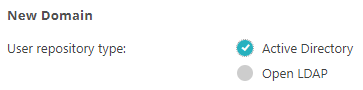
In the User repository type field, select the Active Directory
option.
-
In the Base DN field, type the Distinguished Name (DN) of the starting point for directory
server searches.

Distinguished Names are in the X.500 Directory Services format of Domain Components (DC). To convert a domain name to Domain Components, split the domain name at the period, and create a dc= entry for each part. For example, for the domain vorlon.com, the DN would be dc=vorlon,dc=com.
-
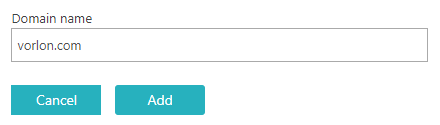
In the Domain name field, type the domain name controlled by your local domain controller and
click on the Add button.
-
In the Host and Port fields, enter the IP address of your domain
controller and the port number, and then click on the Save button.
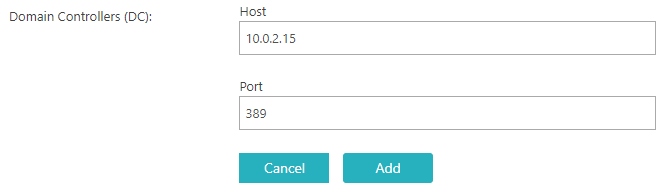
The typical port numbers are 389 for non-encrypted connections and 636 for SSL/TLS connections. If you want to use SSL/TLS connections to connect to your domain controllers, activate the Use SSL checkbox below.
Important:If using SSL/TLS, the Domain name must be a fully qualified domain name (FQDN) such as sigma957.vorlon.com, and the LDAP server must present a certificate with this FQDN in the Subject CN field or in the SAN DNS field.Note:There are two standards of SSL/TLS connections with LDAP, LDAPS (LDAP over SSL) and STARTTLS (LDAP over TLS). Portnox Cloud uses the LDAPS (LDAP over SSL) standard. -
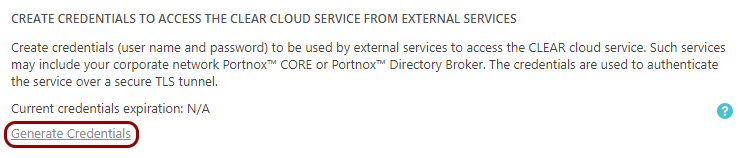
Create credentials to access Portnox Cloud from external services.
Note:Skip this step, if you already created the credentials for another purpose earlier.
-
In the Cloud portal left-hand side menu, click on the option.

-
Click on the Generate Credentials link.
-
Check your email. You will receive the credentials by email.
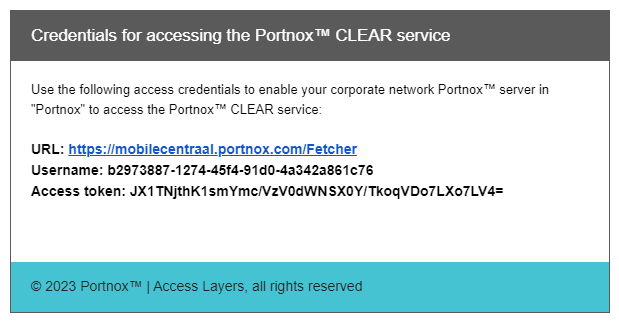 Note:Preferably, check the email on the device where you will be installing the broker or copy the information from the email to a file on that device.
-
In the Cloud portal left-hand side menu, click on the option.
-
Download, install, and configure the Portnox LDAP Broker software.
Note:The Portnox LDAP Broker is available for Windows only.
-
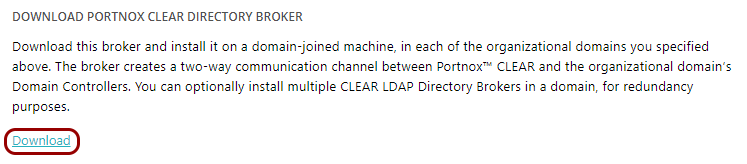
In the DIRECTORY INTEGRATION SERVICE section, scroll down to the Download
Portnox Cloud Directory Broker section, and click on the Download
link.
-
Run the broker installation file PortnoxADBroker.exe and click on the
Next button.

-
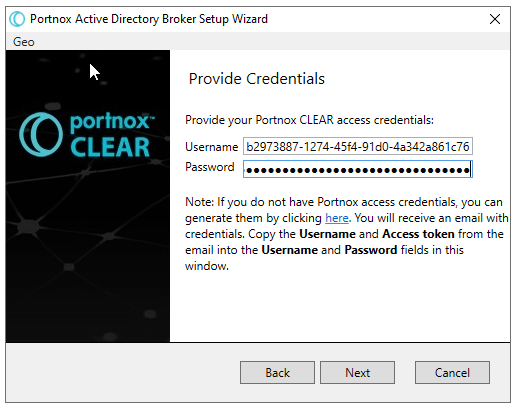
Paste the credentials from the email received earlier into the fields in the broker installation window and
click on the Next button.
-
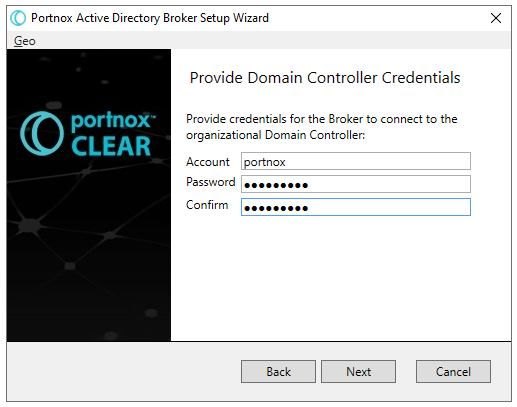
In the Provide Directory Controller Credentials step, input the credentials for a domain
controller user account and click on the Next button.
Note:These are credentials for a user account that exists in your domain controller, not in Portnox Cloud. For security, we recommend that you create a separate user in your domain controller, who only has read access and is only used by the broker.
- Optional:
Click on the Test button to test your configuration.
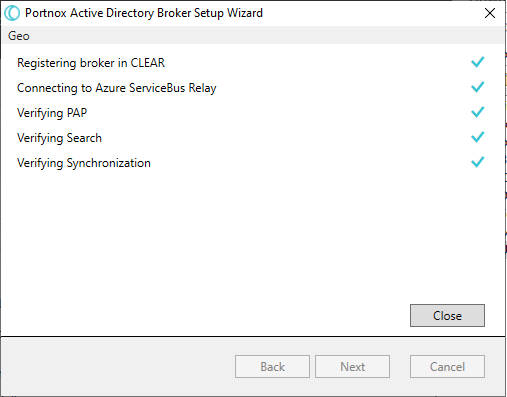 Warning:The testing process may create an extra entry in your list of LDAP Brokers in Portnox Cloud. If so, you can simply delete the extra entry. You can recognize the entry because it has no IP address listed, its state is Not updated, and its version number is 1.1.1.
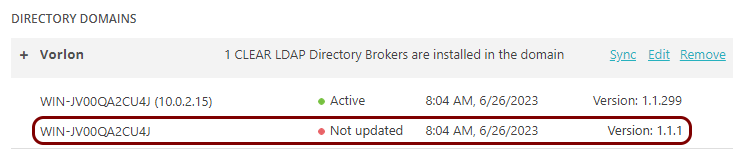
-
In the DIRECTORY INTEGRATION SERVICE section, scroll down to the Download
Portnox Cloud Directory Broker section, and click on the Download
link.
Result: You can authenticate devices on your network using your local Active Directory.

For troubleshooting, see the following FAQ topic: How to check if the LDAP Broker connects to the cloud