VPN – Windows Server Remote Access
In this topic, you will set up Remote Access on a Windows Server to use the Portnox Cloud RADIUS servers for authentication with the Active Directory domain.
Prerequisites:
The client must be connected to a domain and Portnox Cloud must be integrated with Active Directory for this domain (using LDAP Broker).
The Portnox Cloud group that the user belongs to must have VPN access configured.
Add the Remote Access role
In this section, you will add the Remote Access role to your Windows Server configuration using the Server Manager. Skip this section if your server already has this role.
-
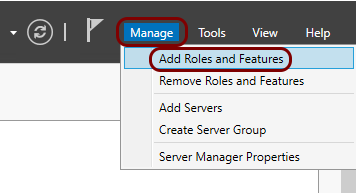
From the Manage menu, select the Add Roles and Features option.
-
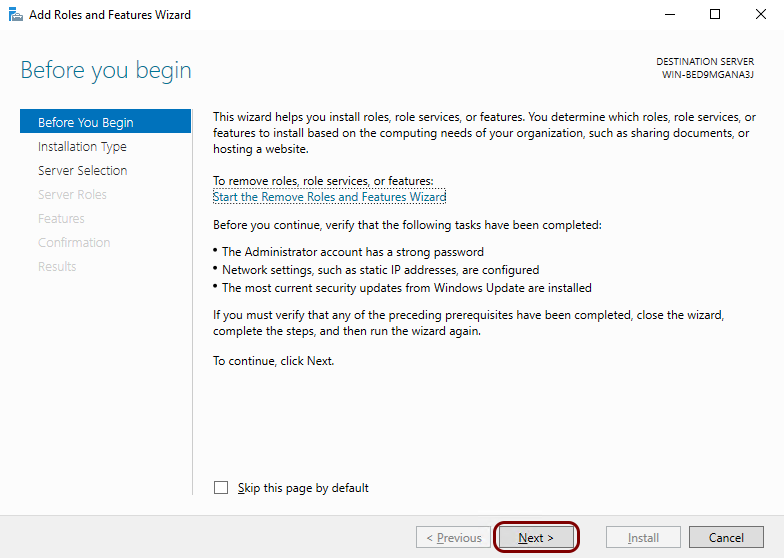
In the Add Roles and Features Wizard window, in the Before you Begin,
Installation Type, and Server Selection steps, click on the
Next button until you get to the Server Roles step.
-
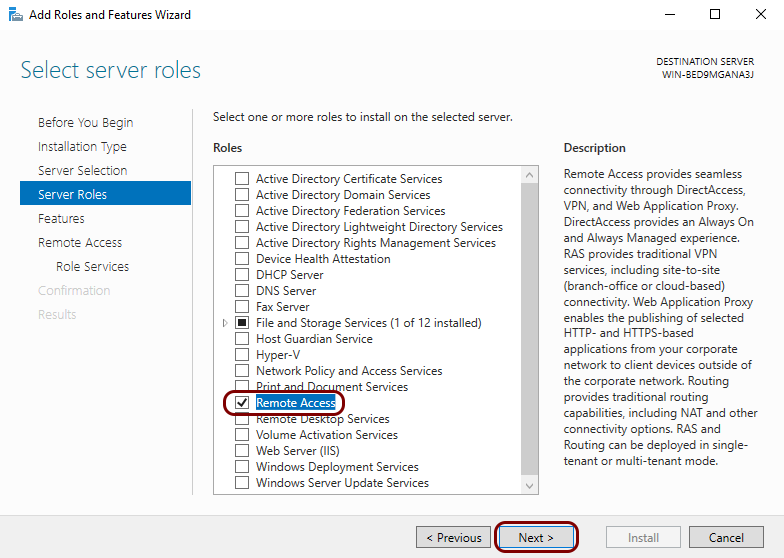
In the Server Roles step, activate the checkbox next to the Remote
Access option, and then click on the Next button.
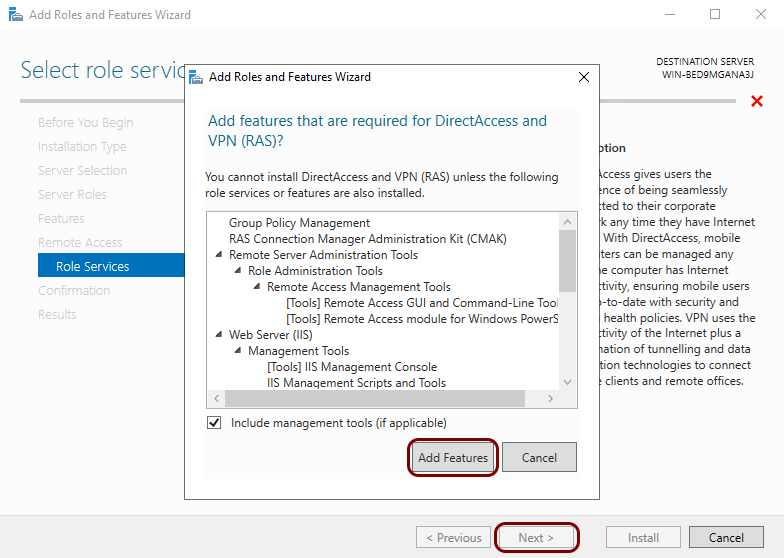
-
In the Role Services step, activate the checkbox next to the DirectAccess and VPN
(RAS) option and then click on the Add Features button. Then, click on the
Next button.
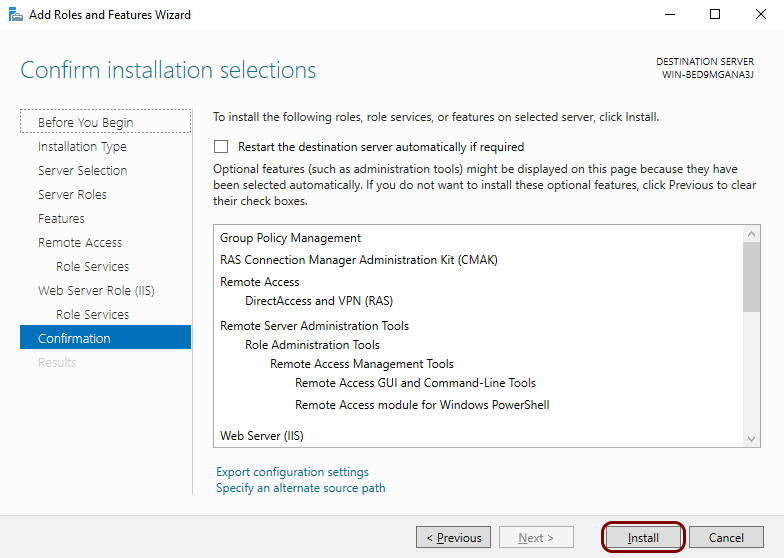
-
In the remaining steps, click on the Next button and in the
Confirmation step, click on the Install button.
Configure the Remote Access role
In this section, you will configure the Remote Access role using Server Manager to allow for VPN connections.
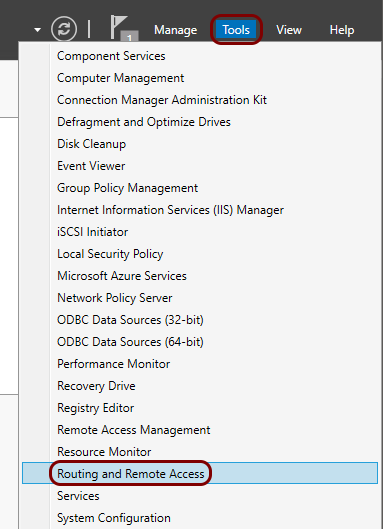
-
From the Tools menu, select the Routing and Remote Access
option.
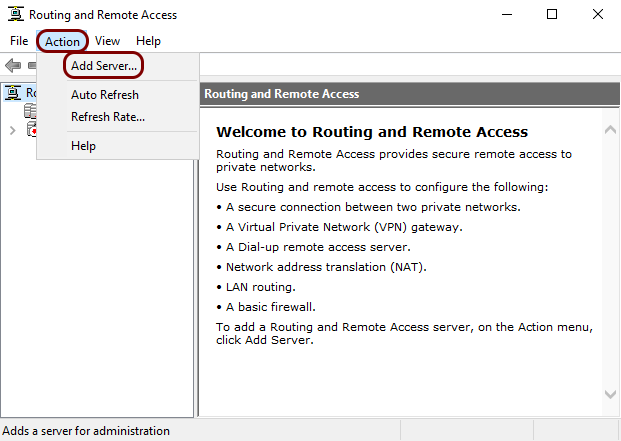
-
In the Routing and Remote Access window, from the Action menu, select
the Add Server option.
-
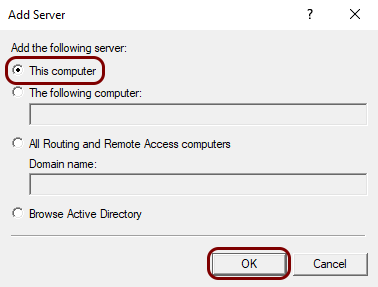
In the Add Server window, select the This computer option, and then
click on the OK button.
-
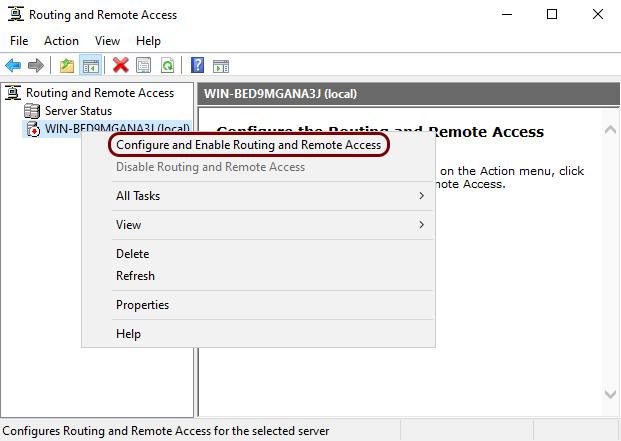
Right-click on the tree node that represents your computer and select the Configure and Enable Routing
and Remote Access option from the context menu.
-
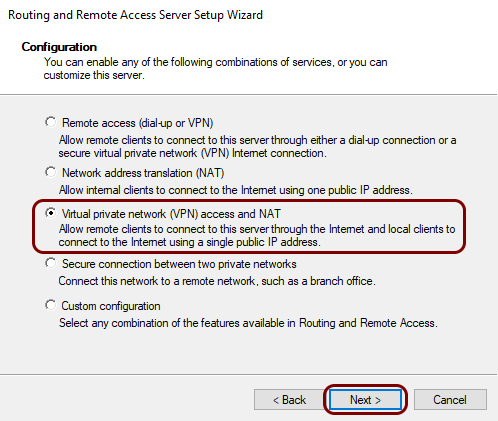
In the Routing and Remote Access Server Setup Wizard window, click on the
Next button. Then, in the Configuration step, select the
Virtual private network (VPN) access and NAT option and click on the
Next button.
-
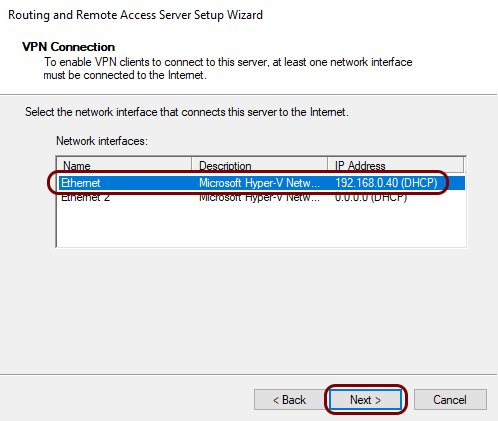
In the VPN Connection step, select the network interface that connects the server to the
Internet, and then click on the Next button.
-
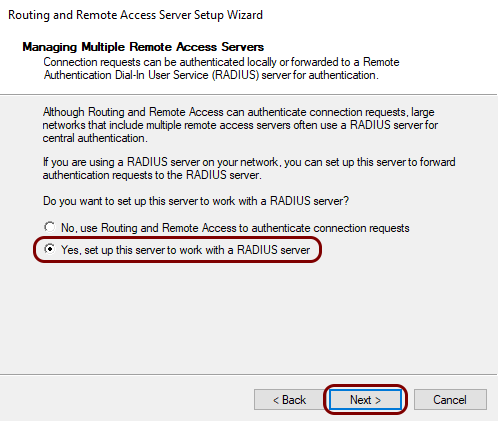
In the IP Address Assignment step, select the option that suits your environment, and then
in the Managing Multiple Remote Access Servers step, select the Yes, set up this
server to work with a RADIUS server option and click on the Next
button.
-
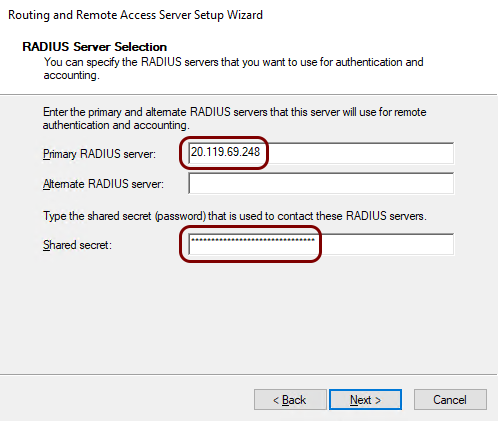
In the RADIUS Server Selection step, as the Primary RADIUS server,
enter the IP address of your Portnox Cloud RADIUS server and the
Shared secret of this server. Then, click on the Next button and
in the last step, click on the Finish button.
Important:The IP addresses, port numbers, and shared secret values on screenshots are examples. Replace them with your individual IP addresses, port numbers, and shared secrets from your Portnox Cloud configuration.
-
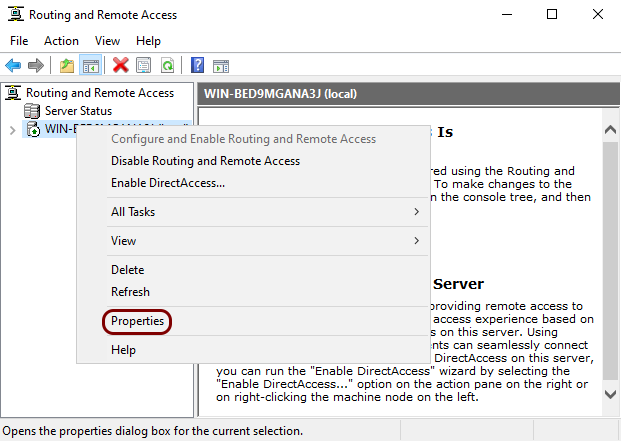
In the Routing and Remote Access window, right-click on the tree node that represents your
computer and select the Properties option from the context menu.
-
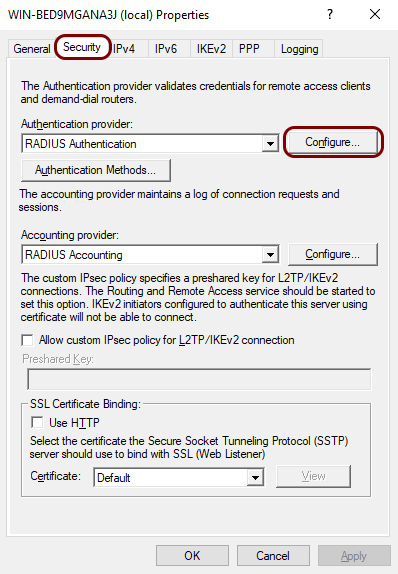
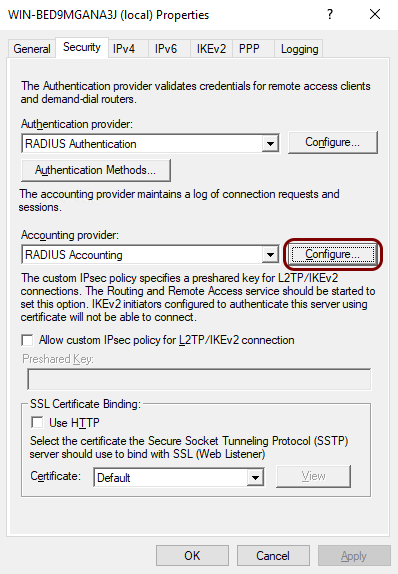
In the Properties window, click on the Security tab. Then, click on the
Configure button next to the Authentication provider field.
-
In the RADIUS Authentication window, click on the Edit button.
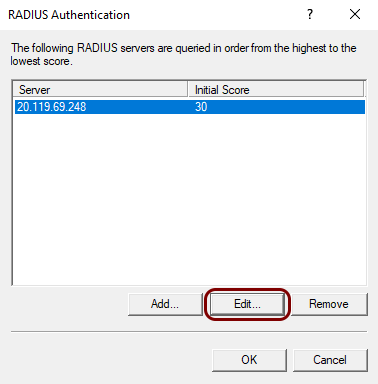
-
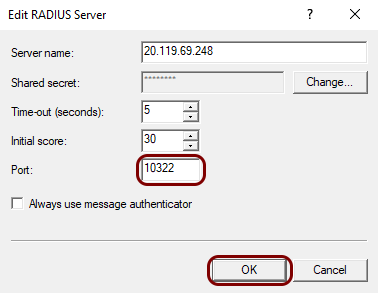
In the Edit RADIUS Server window, change the value of the Port to match
your Portnox Cloud RADIUS Authentication port number, and then click on the
OK button.
- Optional:
Add more Portnox RADIUS servers.
You can add a second Portnox Cloud RADIUS server and/or a Portnox local RADIUS server.
-
In the RADIUS Authentication window, click on the Add
button.

-
In the Add RADIUS Server window, enter your second server’s IP address in the
Server name field, click on the Change button to enter the
shared secret, and enter the correct Authentication port number for this server in
the Port field. Then, click on the OK button.

-
In the RADIUS Authentication window, click on the Add
button.
-
In the Security tab of the Properties window, click on the
Configure button next to the Accounting provider field and repeat
the above steps, adding the Accounting port number for the primary server and optionally
adding more Portnox Cloud or local RADIUS servers with their respective accounting port numbers.
Test your connection using a Windows VPN client
In this section, you will optionally test your configuration by establishing a VPN connection to the server from a Windows client machine.
-
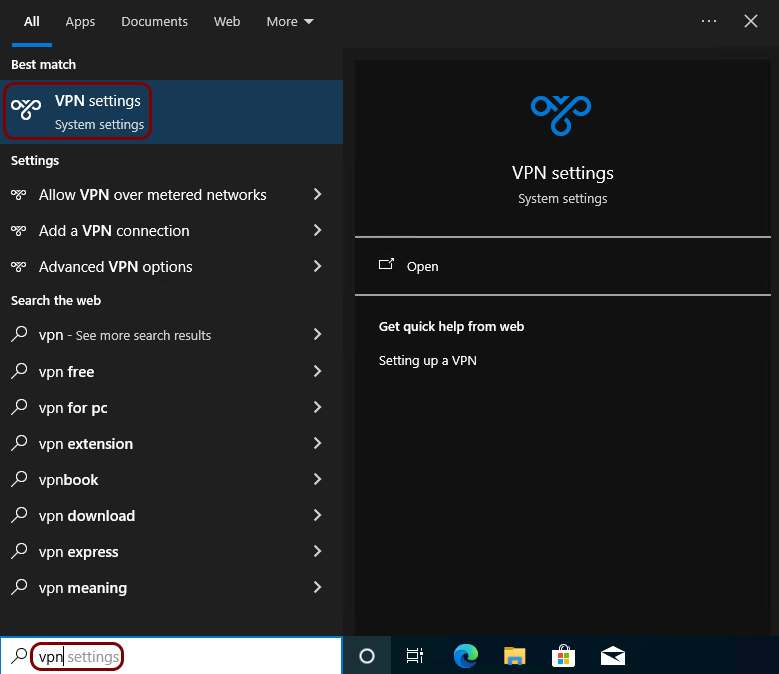
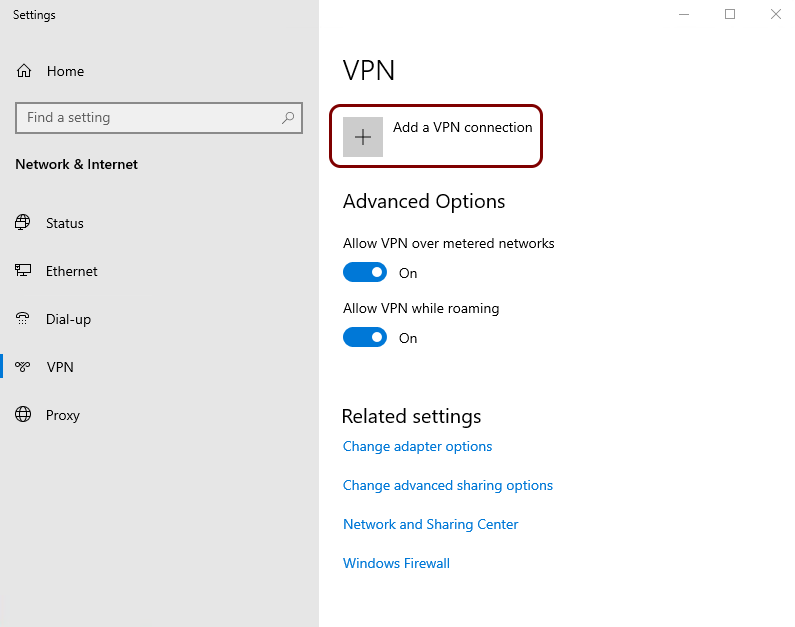
On the client computer, type vpn in the Windows search bar and select the VPN
settings application.
-
In the VPN window, click on the Add a VPN connection button.
-
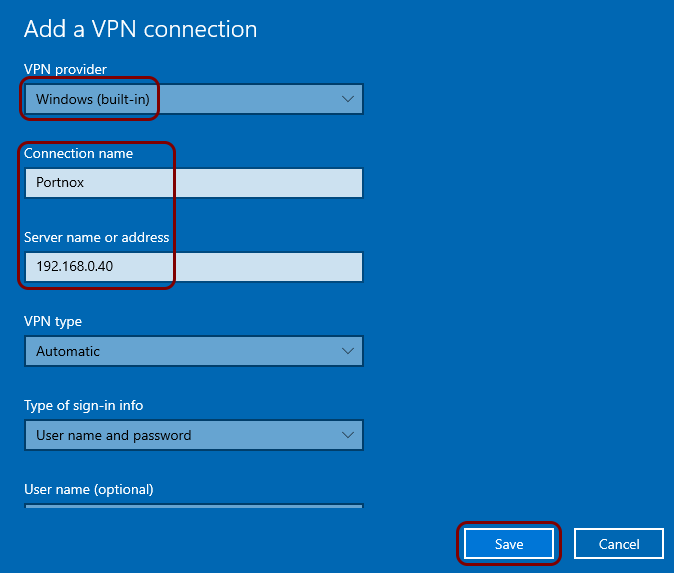
In the Add a VPN connection window, enter the VPN server’s IP address or hostname, choose a
name for the connection, and click on the Save button.
-
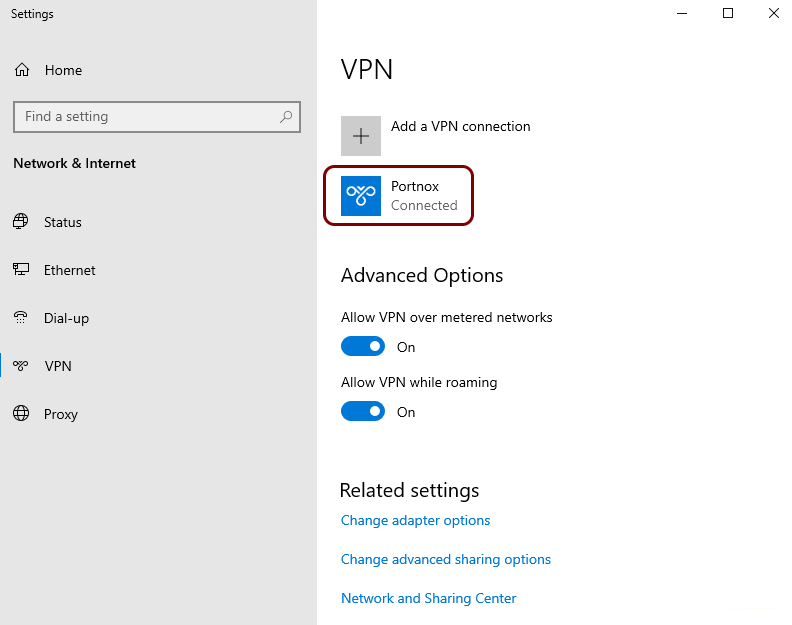
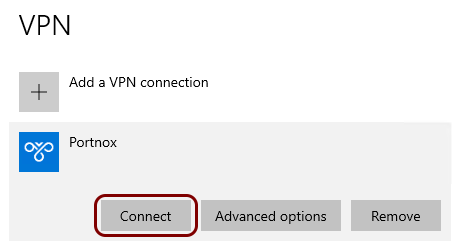
In the VPN window, click on the Connect button.
-
In the Sign in window, enter your login and password and click on the
OK button.
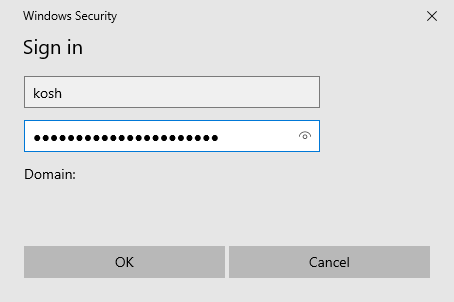 Note:The client should have the server’s certificate. If not, the user will be asked to confirm the validity of the connection.
Result: The VPN connection is established successfully.