Integrate with Microsoft Entra ID
In this topic, you will learn how to integrate Portnox™ Cloud with Microsoft Entra ID services.
Warning:
If you integrate your Portnox Cloud with both Entra ID and Active Directory, the Entra ID
integration takes precedence in case of devices that are enrolled in both directories. This means that if a device is found
in Entra ID, Portnox Cloud will not even check for its existence in Active Directory. This is because in Portnox Cloud, an
account representing a device can only be associated with one directory at a time.
-
In the Cloud portal top menu, click on the Settings option.

-
In the Cloud portal left-hand side menu, click on the option.

-
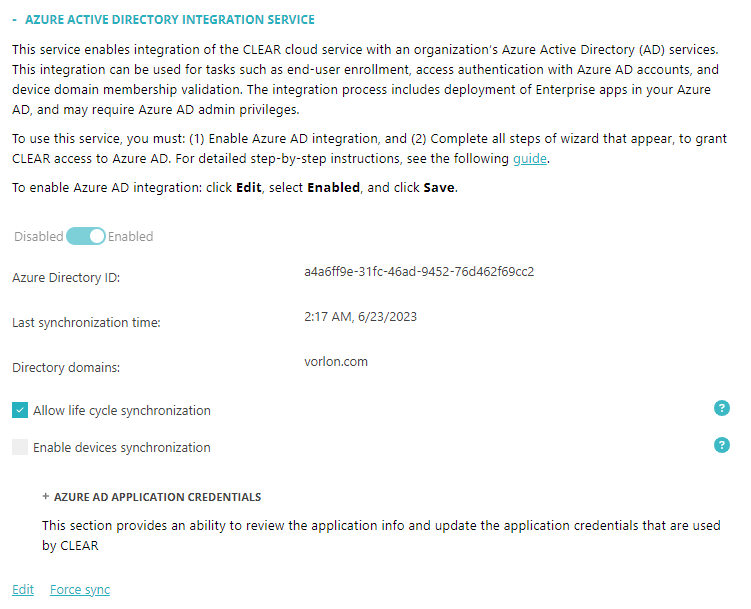
Enable the Entra ID integration.
-
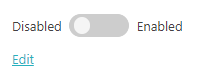
Under the Entra ID Integration Service heading and description, click on the
Edit link.
-
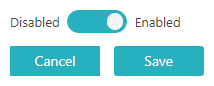
Click on the Disabled/Enabled switch to put it in the Enabled
position.
-
Under the Entra ID Integration Service heading and description, click on the
Edit link.
-
In the Application provisioning step, select the following option: Register a single
Portnox Cloud application in your Entra ID tenant. Then, click on the Start
integration button.
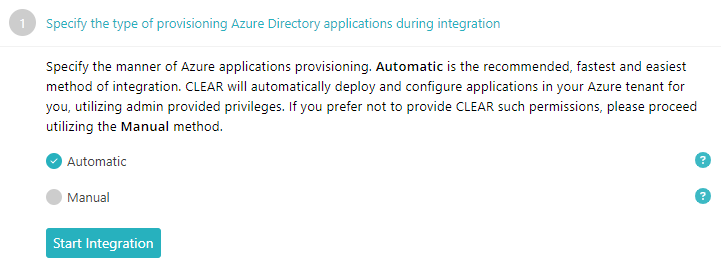 Important:If you prefer to use the legacy multi-application option, skip the above step and instead go to the following topic: Integrate with Entra ID using multiple applications. If you prefer to integrate manually to have granular control over application privileges in your Entra ID environment, go to the following topic: Integrate with Entra ID using manual provisioning.Warning:Wait for the Microsoft web servers to display the results of each step of the integration before you proceed further. Do not hurry. Otherwise, the integration process may fail and you will need to start it from scratch.
 -
Grant the Portnox Cloud integration application consent to read Entra ID data.
-
Click on the Grant consent button.

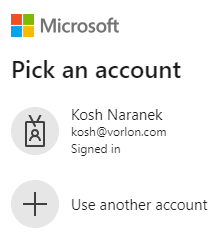
Your browser will display a Microsoft prompt to select an account.
-
Click on the admin account for your Entra ID tenant.
Your browser will display a Microsoft prompt asking you to confirm the required permissions.
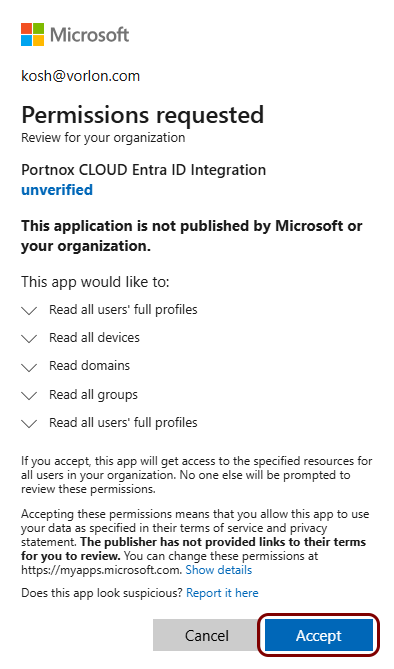
-
Click on the Grant consent button.
-
Select the domains managed by Entra ID that you want to associate with your Portnox Cloud organization.
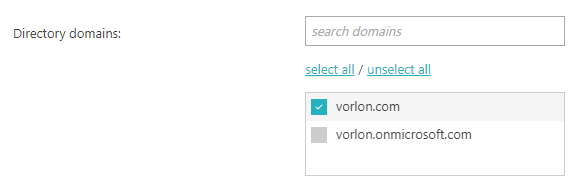
- If your Entra ID manages many domains you can use the search domains field to search for a string that matches a domain name. The list of domains below the search field will be updated as you type.
- Click on the select all or unselect all link to select or deselect all domains in the list.
- Click checkboxes next to domains to select or deselect them individually.
- After you select the domains, click on the Save Domains button to save your selection.
-
Under the Entra ID Integration Service section, click on the Force sync
link.
Portnox Cloud will start synchronizing immediately in the background with your Entra ID. If you do not click Force sync, the synchronization process will be started automatically later.
 Note:If your Entra ID directory is very large, this process can take up to approximately an hour.
Result: Your Entra ID integration is now active. You can authenticate devices on your network using Entra ID.