Integrate with Okta Workforce Identity using LDAP
In this topic, you will continue Portnox™ Cloud integration with the Okta Workforce Identity Cloud using LDAP.
This task is a continuation of the following task: Integrate with Okta Wokforce Identity.
You must complete the first steps in the previous task to continue with this one.
Warning:
If any of your Okta groups contain double quotes (") or a semicolon
(;) in the group name, it is recommended to use the REST API mode instead of the LDAP mode.
Otherwise, errors may occur when listing groups.
-
In the Integration mode field, you selected the LDAP option.

-
Create a LDAP admin user in Okta.
Important:The Okta LDAP integration needs user credentials. You must create a separate user for this purpose with the Read-only Administrator admin role or else the integration will not work. If you already created such a user account, you can skip relevant steps.
-
In the left-hand menu of the Okta administrative console, click on the Directory option
to expand the menu, and then click on the People option.
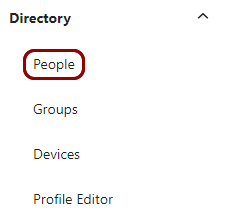
Your browser will open the People screen.
-
Click on the Add person button.

-
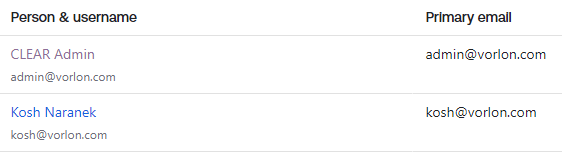
In the Add Person window, fill in the details.
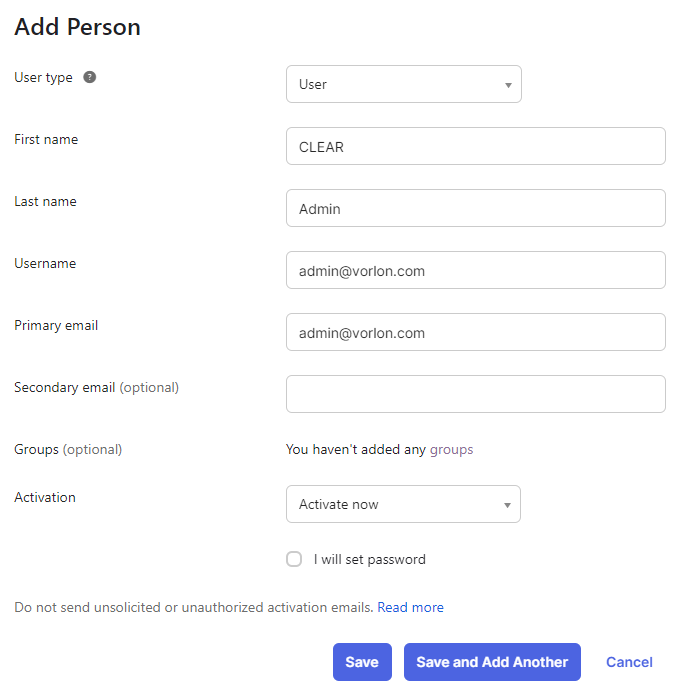 Note:Use an email address that you have access to.
You will receive an activation email. Paste the activation link into another browser instance, for example, the Incognito mode, to activate the new user and assign a password to this user.
-
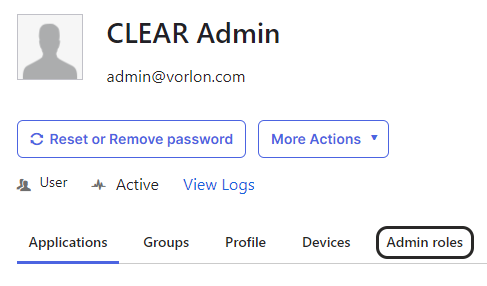
On the user screen, click on the Admin roles tab.
-
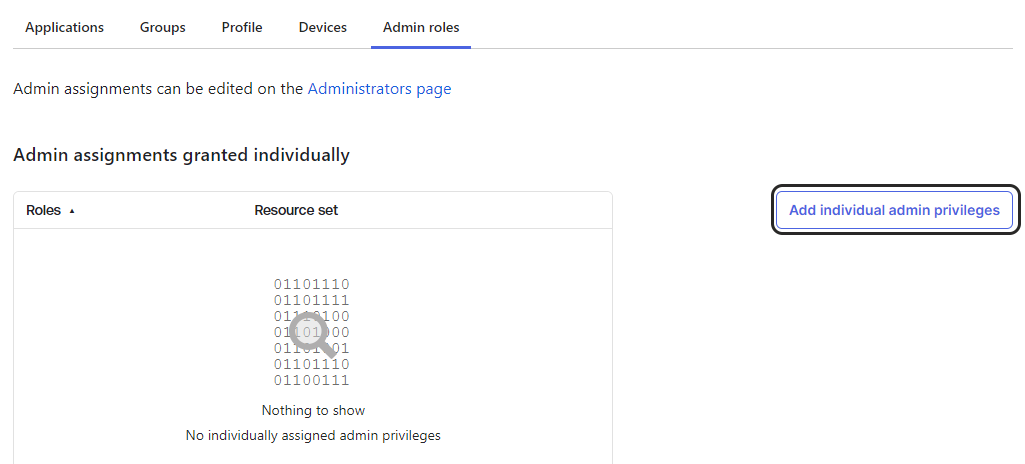
Click on the Add individual admin privileges button.
-
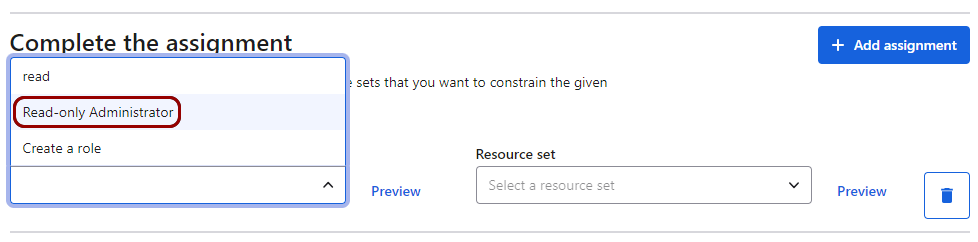
In the Role field, start typing read and click on the
Read-only Administrator role once it appears, then, click on the Add
assignment button.
Your Okta environment now has a dedicated user for Okta LDAP integration with Portnox Cloud.
-
In the left-hand menu of the Okta administrative console, click on the Directory option
to expand the menu, and then click on the People option.
-
Configure the LDAP interface in Okta.
-
In the left-hand menu of the Okta administrative console, click on the Directory option
to expand the menu, and then click on the Directory Integrations option.

Your browser will open the Directory Integrations screen.
-
In the right-hand side pane of the Directory Integrations screen, click on the
Add Directory button to display a menu, and then select the Add LDAP
Interface option.

Your browser will open the LDAP Interface screen.
-
In the left-hand menu of the Okta administrative console, click on the Directory option
to expand the menu, and then click on the Directory Integrations option.
-
Configure the Okta LDAP integration in Portnox Cloud.
- Go back to the Portnox Cloud screen on another browser tab. Scroll to the OKTA UNIVERSAL DIRECTORY section.
- Paste the Host value copied in the previous step into the Host field.
- Paste the Base DN value copied in the previous step into the Base DN field.
- Type the email address of the account created in previous steps into the Okta account field.
- Type the password created when activating the account mentioned above into the Password field.
