
How to troubleshoot errors with the guest network and the captive portal service
In this topic, you will learn how to troubleshoot typical problems with the guest network and the captive portal.
HTTPS certificate errors
When guests connect to the guest portal on the NAS, they may see an error or may be unable to connect. Example errors: Your connection is not private; This site is not secure; Potential security risk ahead; Self-signed root certificate, or Internal server error.
If your browser does not allow you to proceed past the certificate warning, try a different browser. Different browsers handle self-signed certificate warnings differently:
-
Google Chrome: Click on Advanced and then click on Proceed to [site] (unsafe).
-
Mozilla Firefox: Click on Advanced and then click on Accept the Risk and Continue.
-
Microsoft Edge: Click on Details and then click on Go on to the webpage. If this option is not available, type thisisunsafe directly in the address bar while the warning page is open. For more information, see: Microsoft documentation.
-
Safari: Click on Show Details and then click on Visit this website.
Chrome tracing
To help us diagnose problems with your captive portal configuration, we need you to provide us with a Chrome trace. Here are the steps to create such a trace on a Windows computer.
-
Install Chrome Canary.
The Chrome trace must be done on a browser with out-of-the box configuration and no extensions. The best way to do it is to install Chrome Canary, which is a standalone browser.
-
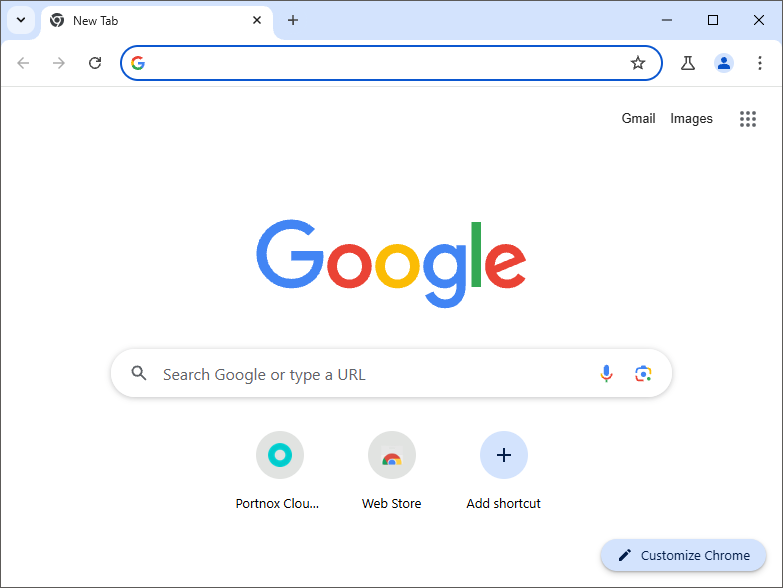
Run the downloaded installer. Chrome Canary will be installed and automatically started.
-
Run the downloaded installer. Chrome Canary will be installed and automatically started.
-
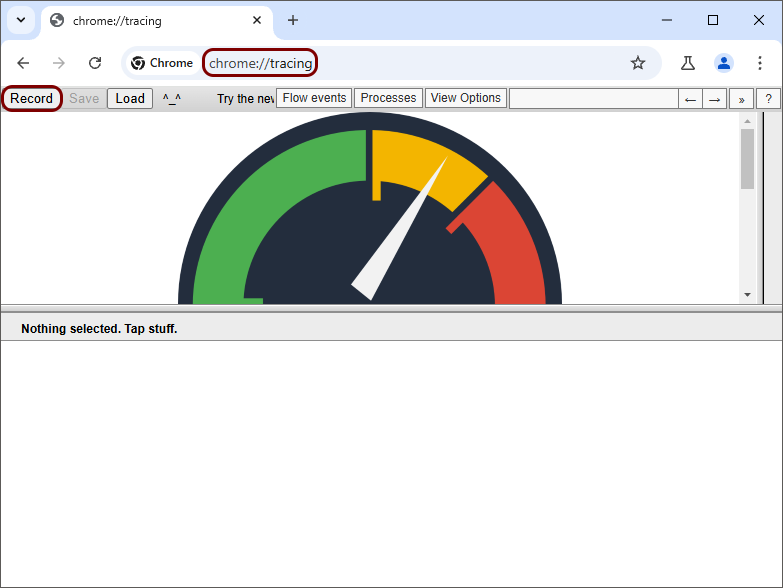
In the address bar, type: chrome:tracing, press Enter, and then click on the
Record button.
-
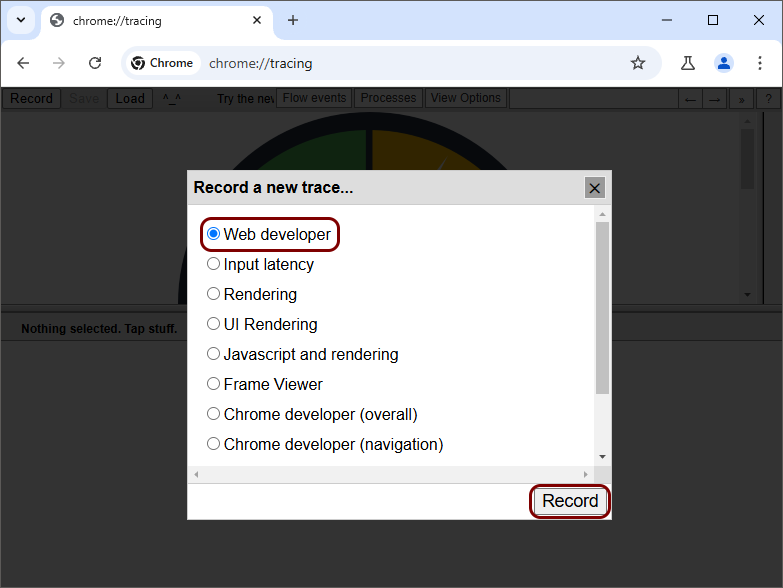
In the Record a new trace window, select the Web developer option, and
then click on the Record button.
-
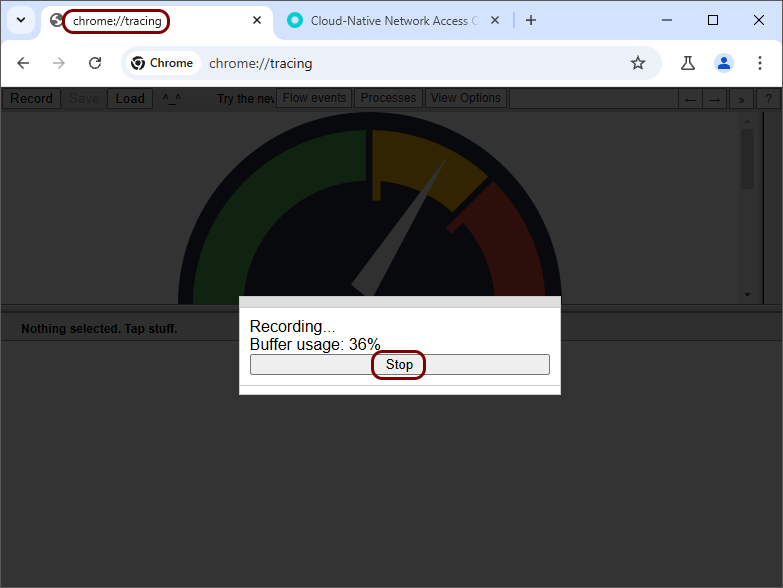
When you’re done recreating the steps that need to be recorded for troubleshooting purposes, go back to the first
tab, and then click on the Stop button.
-
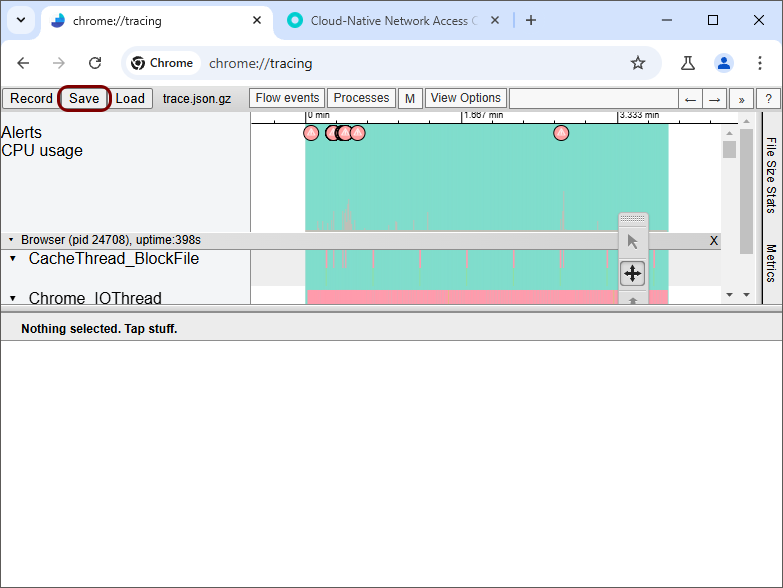
When Chrome is finished with processing the trace, click on the Save button and save the
.tar.gz trace file.
Miscellaneous issues
- Why does my guest portal still show the old organization name after I changed it in Portnox Cloud?
-
The name of the organization is included in the guest portal at the moment of its creation. If you change the organization name after the portal has already been created, the portal will continue to display the old name. This behavior is by design.
Workaround: Re-create the guest portal. The newly created portal will use the updated organization name.