Ethernet 802.1X configuration – Cisco Meraki
In this topic, you will learn how to configure Cisco Meraki switch ports to work together with Portnox™ Cloud and 802.1X RADIUS authentication for wired Ethernet connections.
Create an access policy
In this section, you will create an access policy for Portnox Cloud RADIUS servers that you will later apply to specific switch ports.
-
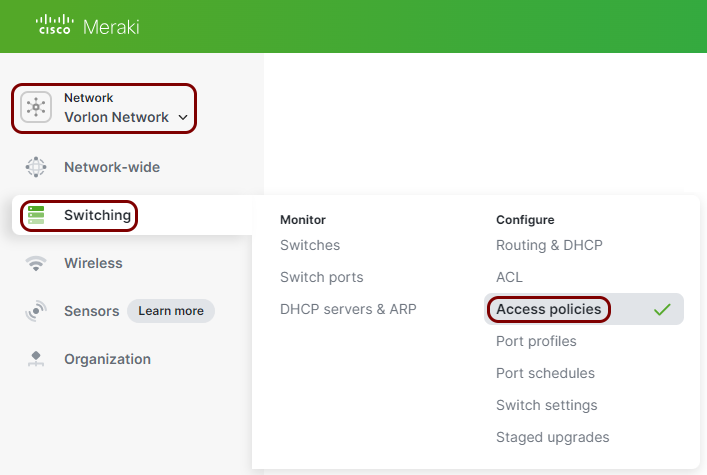
In the Meraki web interface, select your network, and then click on the menu option.
-
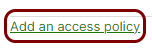
In the Access policies pane, click on the Add an access policy
link.
-
In the Name field, enter a name for this access policy, and in the Authentication
method field, select the my RADIUS server option.

In this example, we used the name Portnox Cloud, but you can use any name you like.
-
In the RADIUS servers field, click on the Add a server link to add
the Portnox Cloud RADIUS server.

-
In the Host field, enter the IP address of the Portnox Cloud
RADIUS server that you created earlier, in the Port field, enter the
authentication port for this RADIUS server, and in the Secret field, enter the shared secret
for this server.

- Optional:
Click on the Test button to open a pop-up and test the connectivity to the server.
Enter the credentials of an account that is registered in your Cloud in the Username
and Password fields, and then click on the Begin test
button.

- Optional:
Click on the Test button to open a pop-up and test the connectivity to the server.
Enter the credentials of an account that is registered in your Cloud in the Username
and Password fields, and then click on the Begin test
button.
-
Set the RADIUS accounting field to RADIUS accounting enabled.

-
Repeat the above steps in the RADIUS accounting servers section, entering the same IP
address and shared secret, and the accounting Port number from your Cloud RADIUS server
configuration (for one or two servers, depending on your configuration).

The above screenshot shows an example configuration for two Cloud RADIUS region servers. Adjust the IP addresses and port numbers to your tenant configuration.
- Optional:
In the Critical Auth VLAN section, in the Data and
Voice fields, enter the VLAN numbers that the device (data or voice) will be assigned to
if the RADIUS servers are not reachable at the moment.
 Note:If, for any reason, your NAS device is temporarily unable to connect to Portnox Cloud RADIUS servers, the client device attempting 802.1X authentication is assigned to this VLAN. This lets your network administrators maintain client connectivity to certain resources without compromising security in circumstances such as an Internet connection failure.Warning:As of February 2024, the Meraki critical auth VLAN functionality is a beta feature and we do not recommend using it on production systems. We have found the feature to have serious bugs, such as the inability to switch back to the expected VLAN once the RADIUS server is back online.
 -
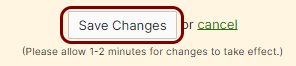
Click on the Save Changes button to save your configuration.
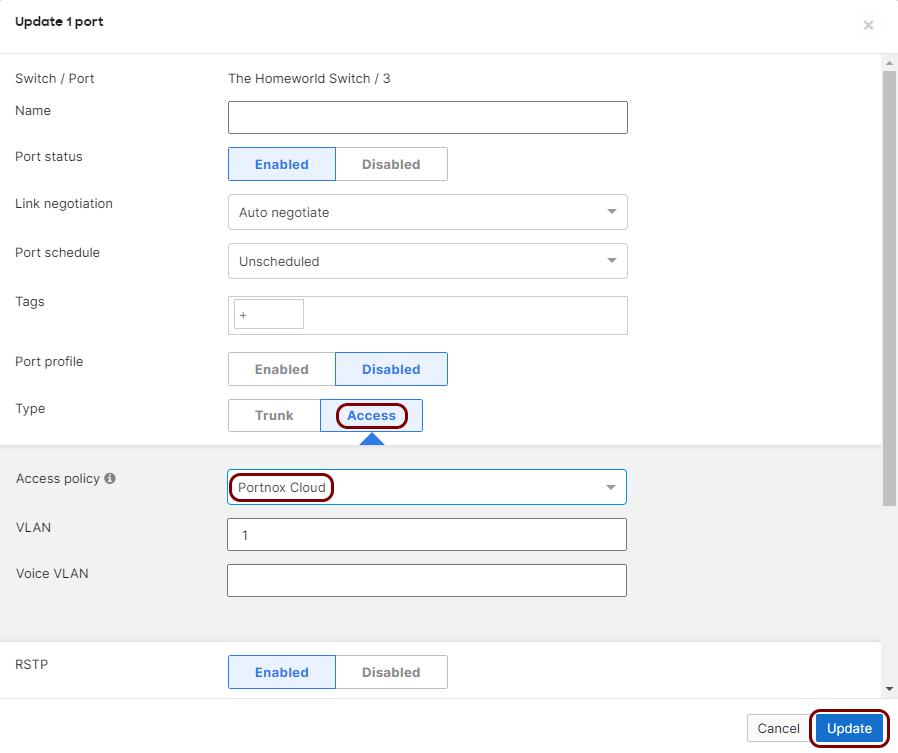
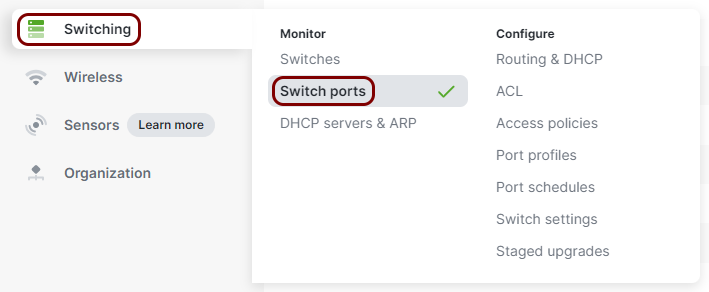
Assign the access policy to switch ports
In this section, you will assign the access policy that you just created to specific switch ports on your Meraki switches.
-
In the Meraki web interface, select your network, and then click on the menu option.
-
In the Switch Ports pane, find the port that you want to assign the policy to and click on its
name.
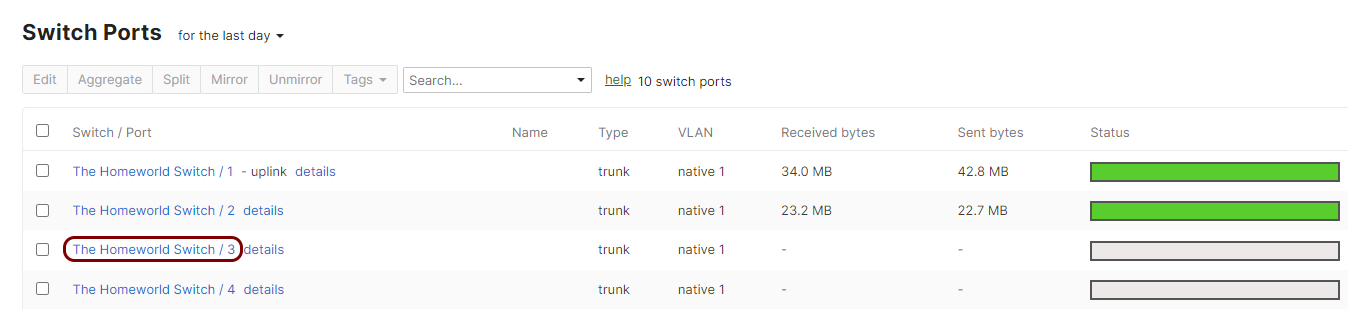
In the case of large number of switches/ports, you can use the search functionality to find the correct switch/port.
-
In the Update port pop-up, in the Type field, select the
Access option, in the Access policy field, select the access
policy that you just created, and then click on the Update button in the bottom-right corner
of the pop-up.