Onboard a Windows device using Portnox Connect
In this topic, you will learn how to onboard using Portnox Connect, a Windows computer, and a wired or wireless network managed by Portnox™ Cloud.
-
Enter the Portnox Connect download URL in your browser.
To learn how to set up the Portnox Connect and obtain the URL, see the following topic: Set up Portnox Connect.
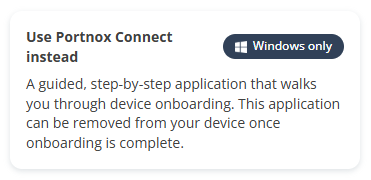
Alternatively, enter the self-onboarding portal URL in your browser and click on the Use Portnox Connect instead button.
-
Click on one of the available buttons representing authentication repositories. Then, complete the login process as
required by your authentication repository.
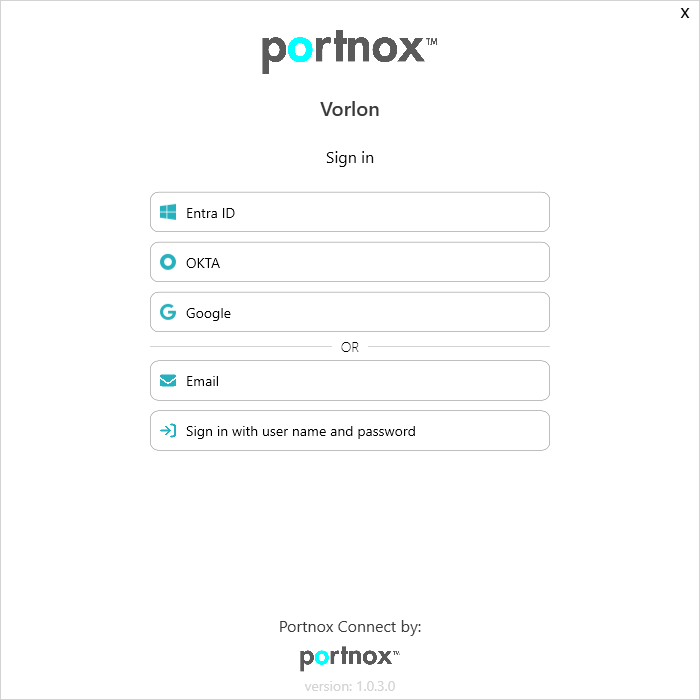 Note:The buttons available in Portnox Connect will depend on the authentication repositories integrated with your Portnox Cloud. It is very likely that your organization will only use one of them. The Email button is available only if you configured Portnox Connect to allow end-users to use and create Portnox accounts.Note:After you click one of the buttons with the name of an authentication repository, a browser window will open, where you will need to complete the login process for the selected repository. You can close this browser window after Portnox Connect finishes working.
 - Optional:
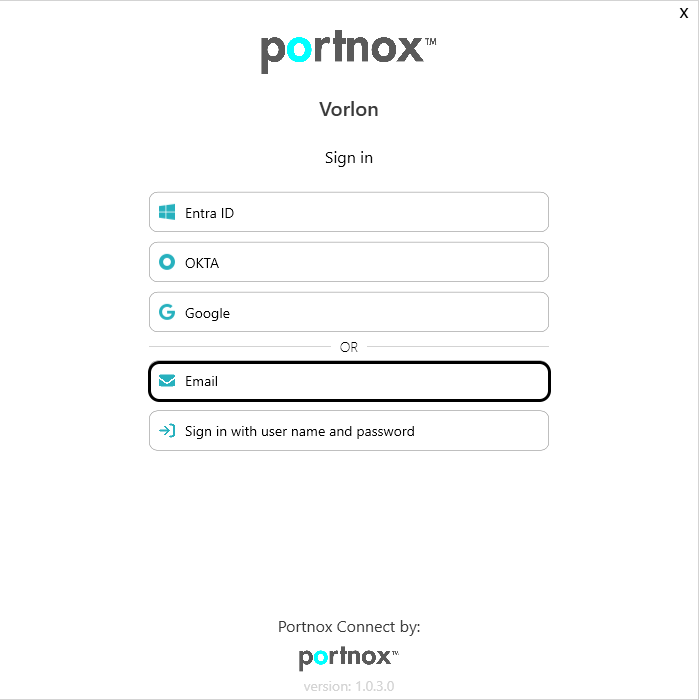
If the Email button is available and you want to use a Portnox account to authenticate with
Portnox Connect:
-
Click on the Email button
-
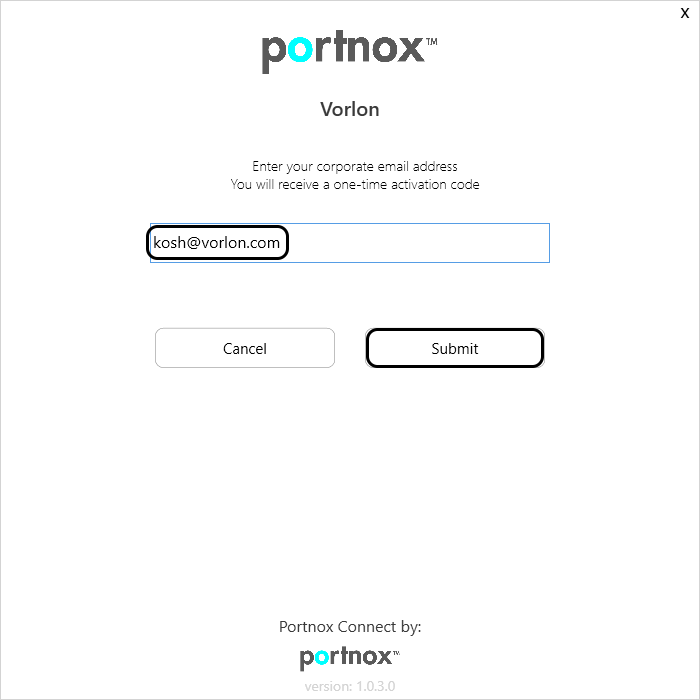
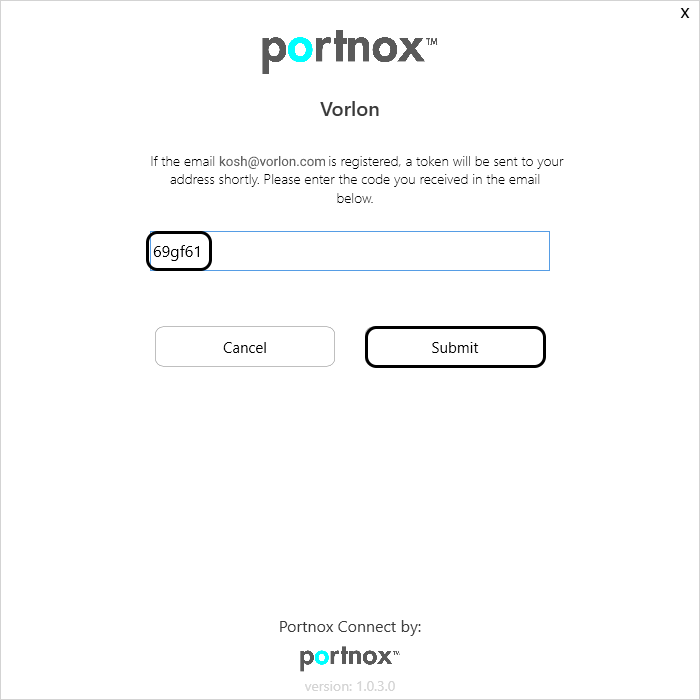
On the next screen, enter your email address in the Email address field, and then click
on the Submit button.
-
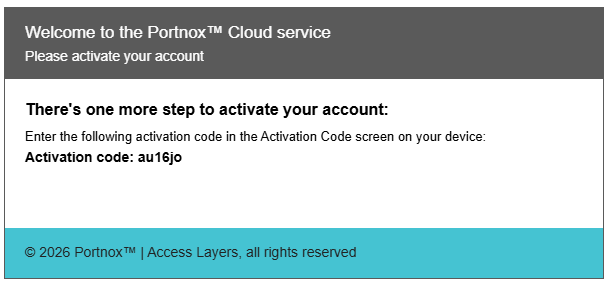
Check your email account. You will receive a code via email. Copy the code to the clipboard.
-
Paste the code in the empty field and click on the Submit button.
-
Click on the Email button
-
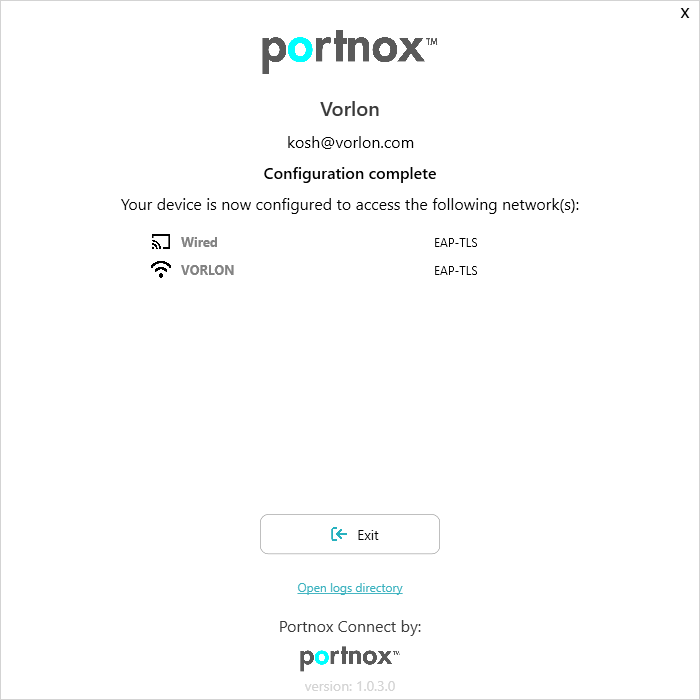
Portnox Connect will confirm that the configuration of your device is complete, and will list the networks that it
configured for you.
Note:
For troubleshooting and support, you can find Portnox Connect onboarding logs in the following location:
%TEMP%\PortnoxConnectLogs.txt.