Onboard an IoT device by creating a MAC-based account
In this topic, you will learn how to onboard an IoT device to a network managed by Portnox™ Cloud by manually creating a new MAC-based account in Cloud.
You can use this method to connect IoT devices to wired or Wi-Fi networks. The procedure is the same for both network types.
Configure a group in Portnox Cloud for MAC-based access
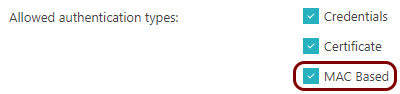
In this section, you will configure your Portnox™ Cloud group to allow devices to connect using MAC-based authentication.
To connect to the network, the IoT device’s account must be in a group that allows MAC-based authentication for the selected network (wired or specific Wi-Fi).
Do one of the following:
- If you already have a group that you want to assign this IoT device to, check its configuration for the selected network: wired and/or a specific Wi-Fi network.
- If you don’t have a group for the IoT device, create a new group and turn on MAC-based authentication for the selected network.
For more information about creating and editing the networks in the group, see the following topic: Create a group.
Find the network adapter’s MAC address
-
If you can’t find the network adapter’s MAC address, try the following:
-
Click on the Additional Info link in this alert.
Under the alert, you will see the MAC address of the IoT device.
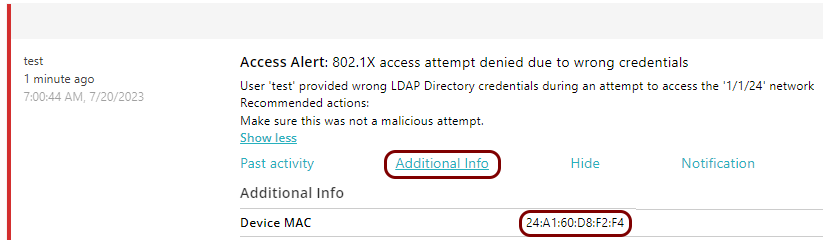
You can also look for a recent alert that says: MAC bypass denied and click on the Add MAC(s) to new or existing account link to proceed to the next task.

-
Click on the Additional Info link in this alert.
Manually create a new MAC-based account in Portnox Cloud
- Follow the steps in this topic: Create a MAC-based account.
- Make sure to assign the new account to the group selected in the previous task.
Connect the IoT device to the network managed by Portnox Cloud
In this section, you will establish the network connection between the IoT device and the network managed by Portnox™ Cloud.
-
Check the Portnox Cloud logs to make sure the connection is successful.
- In the Cloud portal top menu, click on the Alerts option.
- Find a recent alert that says: 802.1X authentication success.
Result: The IoT device is connected to the network.
