Onboard IoT devices by creating MAC-based accounts automatically
In this topic, you will learn how to configure Portnox™ Cloud to create MAC-based accounts automatically for any new devices connecting to the network.
You can use this method to connect IoT devices to wired or Wi-Fi networks. The procedure is the same for both network types.
Activate automatic device registration
Before you activate automatic device registration, make sure that the Default group allows MAC-based authentication for all relevant networks (wired and specific Wi-Fi). For more information about creating and editing the networks in the group, see the following topic: Create a group.
-
In the Cloud portal top menu, click on the Settings option.

-
In the Cloud portal left-hand side menu, click on the option.
-
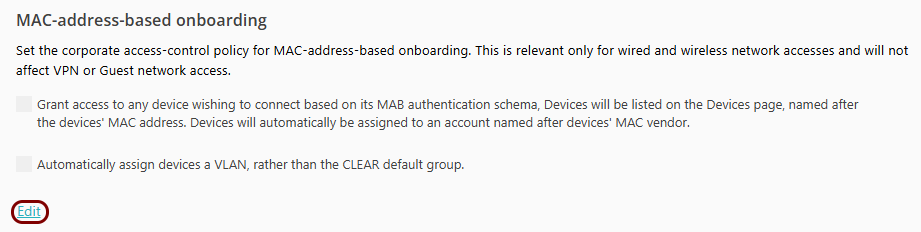
In the right-hand side pane, under the MAC-address-based onboarding heading, click on the
Edit link below.
- Optional:
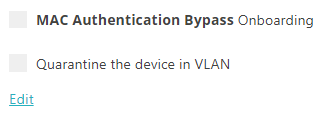
Click on the Automatically assign devices a VLAN, rather than the Portnox default group
checkbox to activate it and enter the VLAN number in the adjacent field.

If this setting is turned on, new devices that connect to the network will be quarantined in the selected VLAN and the automatically created accounts will be treated as quarantine accounts.
To remove the device from quarantine and let it access the network, you have to manually add the device’s MAC address to another MAC-based account and delete the quarantine account.
-
Click on the Save button to save your changes or click on the
Cancel button to abandon all changes.

After you click on one of the buttons, Portnox Cloud will exit the edit mode.
- You add a MAC address to a MAB account – the day when you do this counts as day 1.
- The day counter increases every day at midnight tenant-time,
- Any time the device with the MAC address authenticates, the counter resets to 1.
- The moment that the counter reaches the configured limit, the MAC address is removed from the MAB account.
- The device with the MAC address is no longer in the MAB account so it cannot authenticate.
Connect the IoT device to the network managed by Portnox Cloud
-
Check the Devices page to make sure the connection is successful.
Result: The IoT device is connected to the network.
-
If agentless IoT device fingerprinting is on:

-
If agentless IoT device fingerprinting is off:

-