Onboard a HP printer through self-onboarding
In this topic, you will learn how to onboard using the self-onboarding portal, a HP printer compatible with 802.1X, a Windows computer, the HP Smart application, and a Wi-Fi network managed by Portnox™ Cloud.
Before you begin, please note the following:
-
In this procedure, you use the Windows computer to configure the printer remotely, to get the certificate for the printer from the self-onboarding portal, and to add a password to the private key. You can also do these steps on a macOS system. However, to add a password to a private key on macOS, you will need to install and use third-party software such as OpenSSL.
-
If you want Portnox Cloud to generate a certificate for your printer through the self-onboarding portal, you must first create a user account that represents the printer in your integrated authentication repository or directly in Cloud. You must then be able to log in to the self-onboarding portal using that user account. After you complete the onboarding procedure, we recommend that you disable user logins for this account in your authentication repository or change the password if you use Cloud as your authentication repository. While we recommend creating individual accounts for each printer, you can also use a common user account for all printers or current user accounts.
-
We know that the following HP printer models are compatible with 802.1X Wi-Fi networks: HP LaserJet Pro 3001-3008, 4001-4004, MFP 3101-3108, 4101-4104. If your printer model is not one of these models, consult your documentation or contact your HP sales representative to find out if your HP printer is compatible with 802.1X. The HP Embedded Web Server currently does not support 802.1X for wired networks.
-
Update the firmware on your printer to the latest version. We have encountered problems with 802.1X connectivity caused by outdated firmware.
-
We assume that you use the HP Smart software to manage and configure your printer. If not, please download and install HP Smart from the Microsoft Store and make sure you can connect to your printer using this software before you add the new certificate. While you can also configure the printer using the HP Embedded Web Server and a browser, this will become difficult after you install the new certificate, because HP printers use the same certificate for 802.1X authentication and for browser authentication, and browsers may be unable to recognize the self-signed certificates generated by Cloud.
-
The HP Embedded Web Server also supports authentication with credentials. However, it only supports LEAP and PEAP EAP methods, which are not secure. Therefore, we do not recommend and we do not provide instructions on setting up HP printers with credential-based 802.1X. If you must use credentials, Portnox Cloud supports PEAP, but only with the latest HP firmware installed.
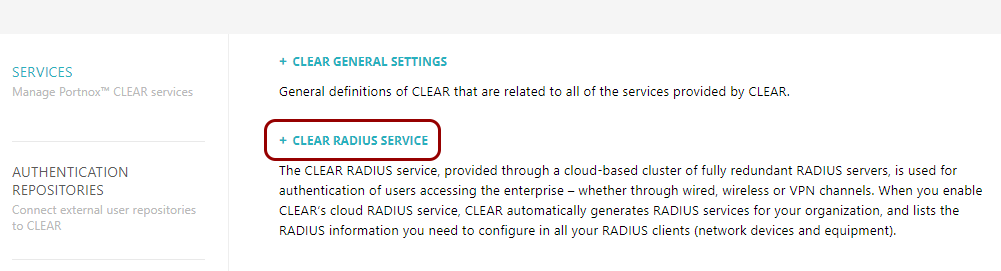
Download the root CA certificate from Portnox Cloud
In this section, you will download the Portnox™ Cloud root CA certificate from the Cloud portal.
HP Smart asks you to upload a root CA certificate when configuring 802.1X connections. This is necessary so that the printer can verify the validity of Cloud RADIUS servers, which have certificates signed by this root CA certificate.
-
In the Cloud portal top menu, click on the Settings option.

-
In the Cloud portal left-hand side menu, click on the option.
The right-hand pane shows the list of active servers.

-
Click on the Download root certificate link to download the root CA certificate.
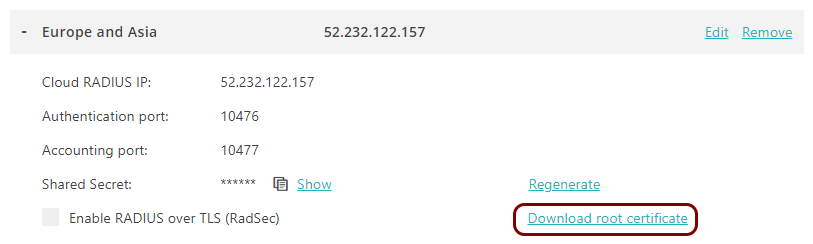
Save the file on your disk to use it later. The default name of the file is rootCertificate.cer.
Authenticate with the self-onboarding portal and download the certificate
In this section, you will learn how to authenticate with the self-onboarding portal using your corporate identity and then download the certificate for the printer.
In the following steps, do not use your personal Portnox or corporate account. Instead, use an account that you either:
Created for the printer in one of your authentication repositories
Created for the printer in Portnox Cloud (Portnox account) or
Want to create for the printer in Portnox Cloud (Portnox account).
-
Click on one of the available buttons representing authentication repositories. Then, complete the login process as
required by your authentication repository.
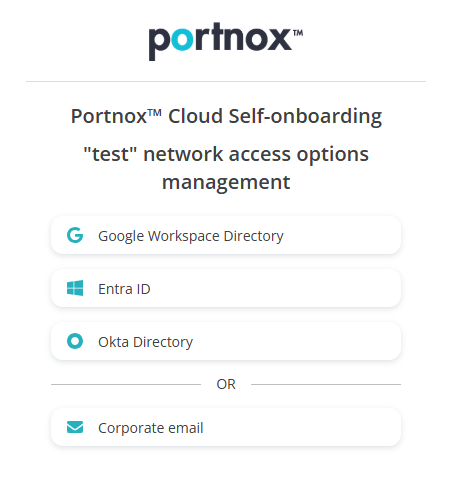 Note:The buttons available on this page will depend on the authentication repositories integrated with your Portnox Cloud. It is very likely that your organization will only use one of them. The Corporate email option is available only if you configured the self-onboarding portal to allow end-users to use and create Portnox accounts using the self-onboarding portal.
 -
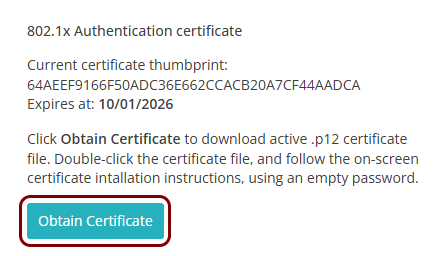
Click on the Obtain Certificate button to download the certificate.
Add a password to the printer certificate’s private key
In this section, you will temporarily import the downloaded certificate and then export it again, adding a password to the private key.
By default, private keys generated by Portnox Cloud and included with certificates have empty passwords. However, HP Smart does not accept an empty password for the private key, so you need to add a password to the private key to use the certificate with your HP printer.
-
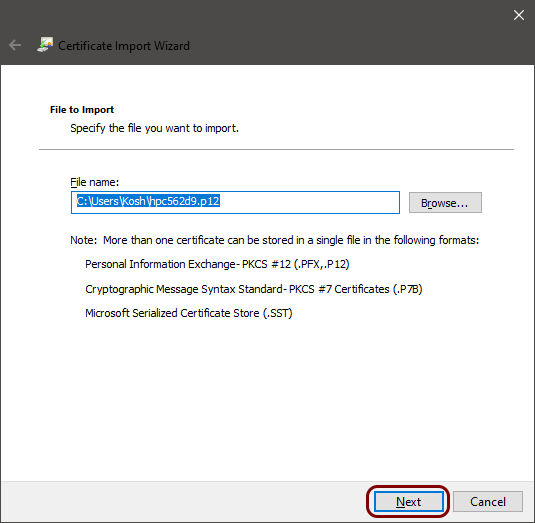
Import the downloaded certificate.
-
In the first step of the Certificate Import Wizard, click on the
Next button.

In this step, you select the user certificate store by default. Note that you will delete the certificate after you add the password to the private key, so the selected certificate store is not important.
-
In the second step of the Certificate Import Wizard, click on the
Next button.
-
In the third step of the Certificate Import Wizard, leave the
Password field empty, activate the Mark this key as
exportable checkbox, and then click on the Next button.
You must leave the password field empty because private keys included with Portnox Cloud certificates by default have empty passwords.

-
In the fourth step of the Certificate Import Wizard, click on the
Next button.

-
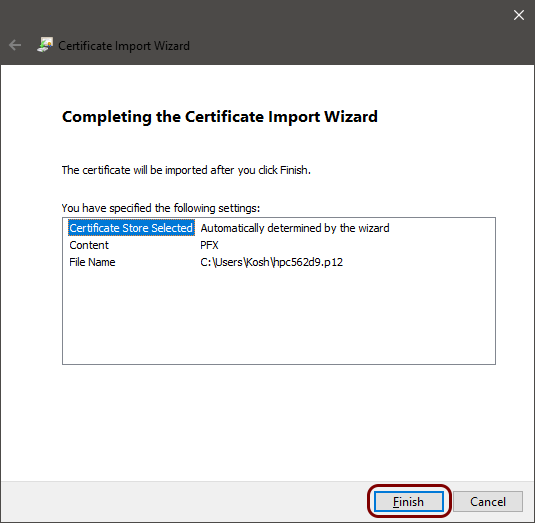
In the fifth and final step of the Certificate Import Wizard, click on the
Finish button.
-
In the first step of the Certificate Import Wizard, click on the
Next button.
-
Export the certificate and the private key, adding a password to the private key.
-
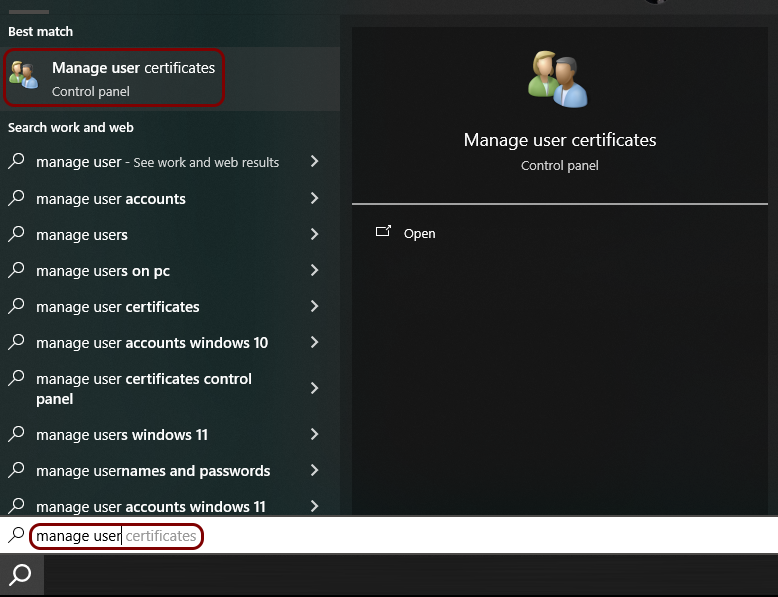
Open the Windows Certificate Manager by typing manage user certificates in the
Windows search bar and clicking on the Manage user certificates icon.
-
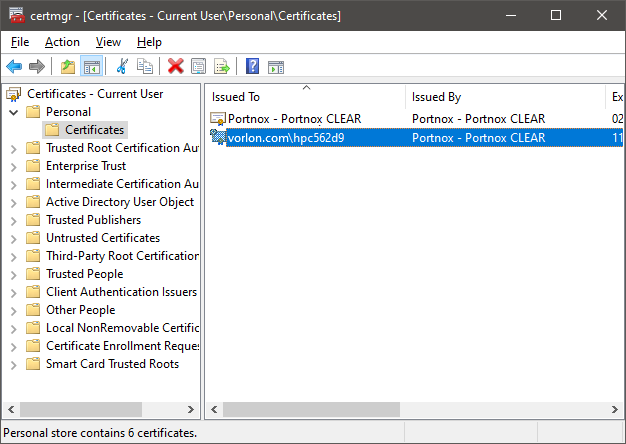
In the certmgr window, go to the folder and double-click on the certificate that you just imported.
-
In the Certificate window, go to the Details tab, and click on
the Copy to File button.

-
In the first step of the Certificate Export Wizard, click on the
Next button.

-
In the second step of the Certificate Export Wizard, select the Yes, export
the private key option, and then click on the Next button.

-
In the third step of the Certificate Export Wizard, click on the
Next button.

-
In the fourth step of the Certificate Export Wizard, activate the
Password checkbox and enter a password in the Password and
Confirm password fields. Then, click on the Next
button.

You will use this password later when configuring the device.
-
In the fifth step of the Certificate Export Wizard, specify the file name to save the
exported certificate and private key. Then, click on the Next button.
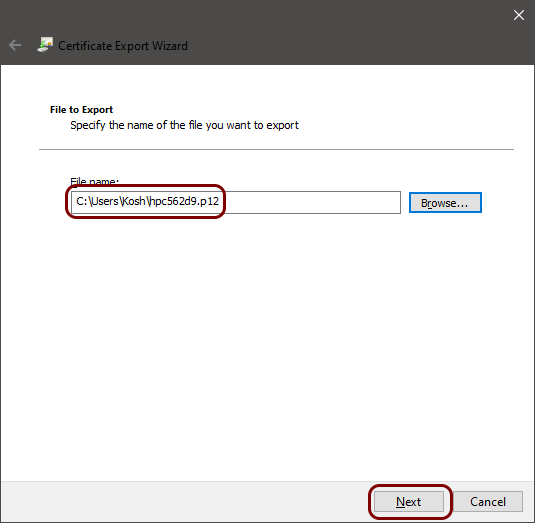
You can replace the previously imported file. The .pfx and .p12 extensions represent the same file format.
-
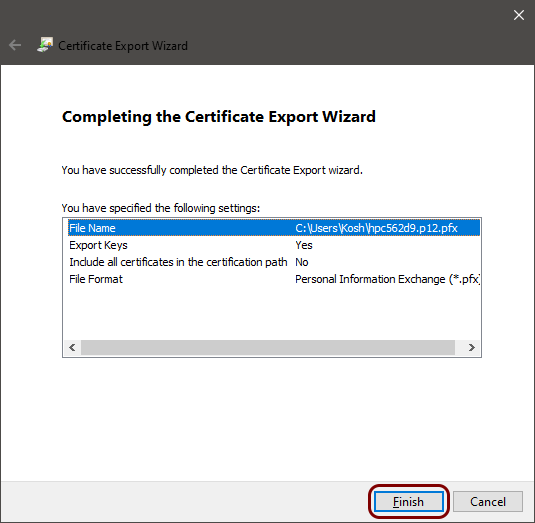
In the last step of the Certificate Export Wizard, click on the
Finish button.
-
Open the Windows Certificate Manager by typing manage user certificates in the
Windows search bar and clicking on the Manage user certificates icon.
-
Delete the temporarily imported certificate from your certificate store.
-
Select the certificate in your certificate store.
-
Select the certificate in your certificate store.
Result: You added a password to the private key of the downloaded certificate.
Configure the printer’s Wi-Fi connection
In this section, you will use HP Smart software to configure the printer for your Wi-Fi network managed by Portnox™ Cloud.
To be able to access the printer through HP Smart and configure the connection, you must first connect to the printer directly using Wi-Fi Direct, or connect the printer to a non-secured Wi-Fi or wired network. To connect to Wi-Fi Direct, go to Step one in the HP documentation for 802.1X connections. To connect to a non-secured Wi-Fi or wired network, follow the instructions in the printer manual or go to hpsmart.com/setup.
-
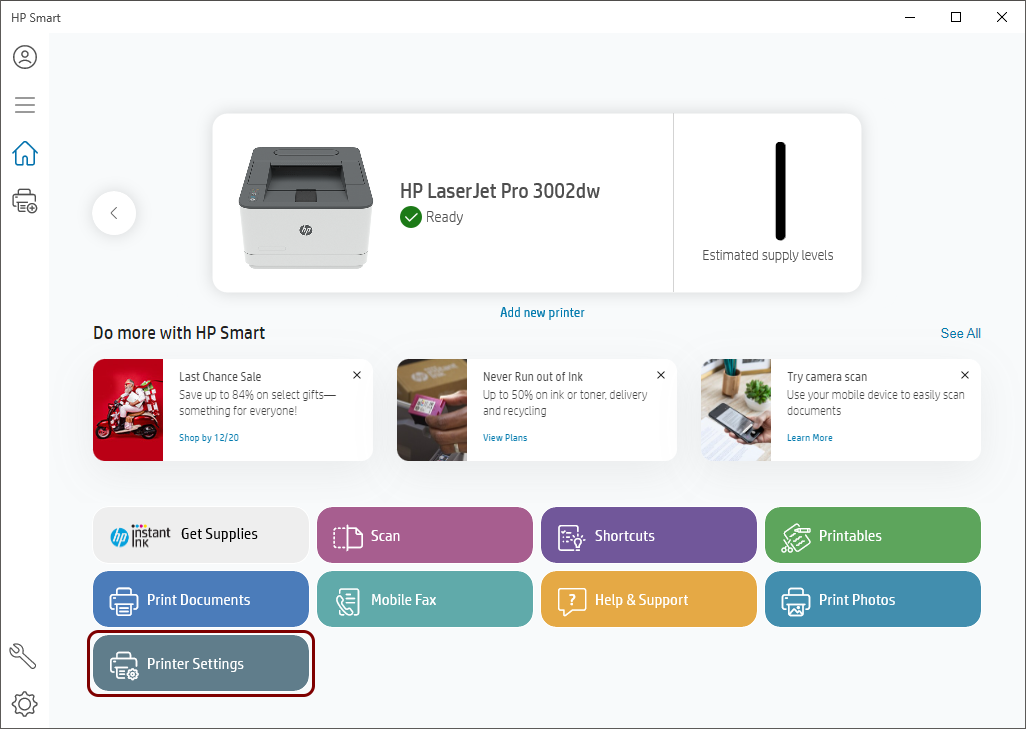
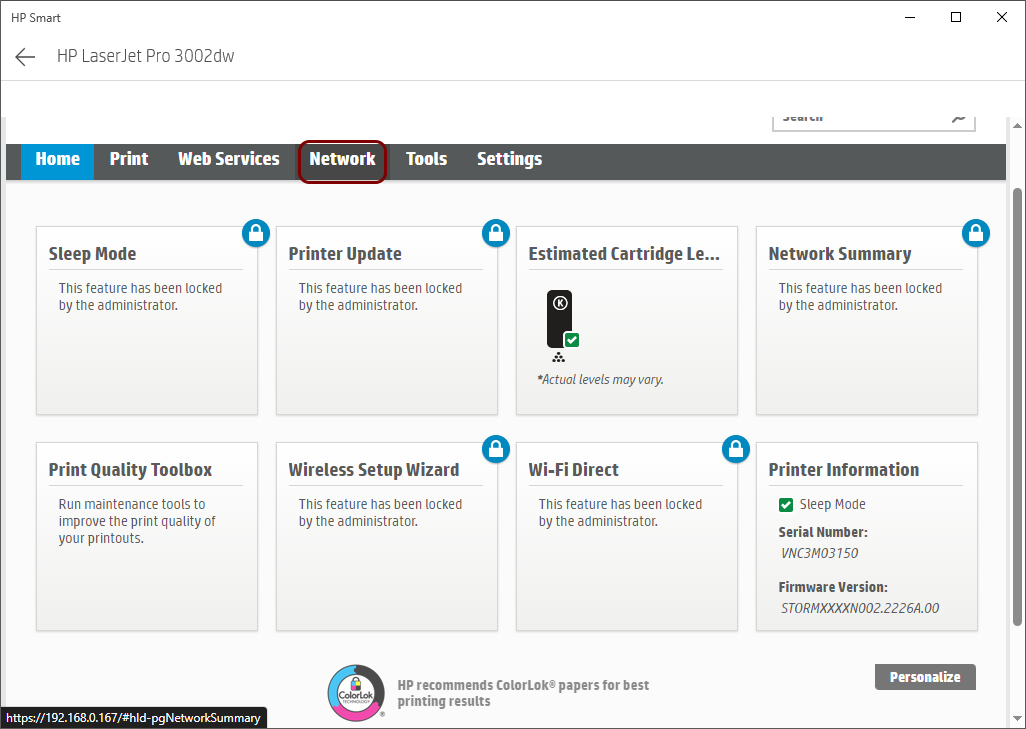
In the HP Smart user interface, click on the Printer Settings button.
-
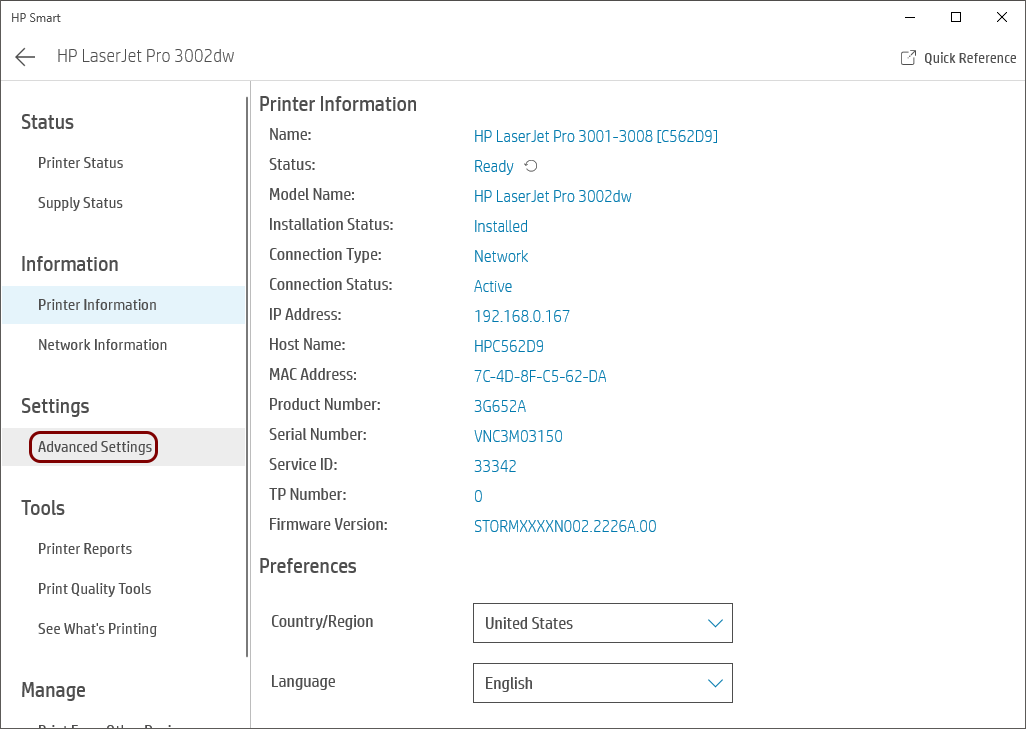
In the HP Smart left-hand side menu, click on the Advanced Settings option to open the
Embedded Web Server in HP Smart.
-
In the Embedded Web Server’s top menu, click on the Network option.
-
Enter the PIN number for the printer and click on the Submit button.

The PIN number is printed on a label inside the printer, in the cartridge access area.

-
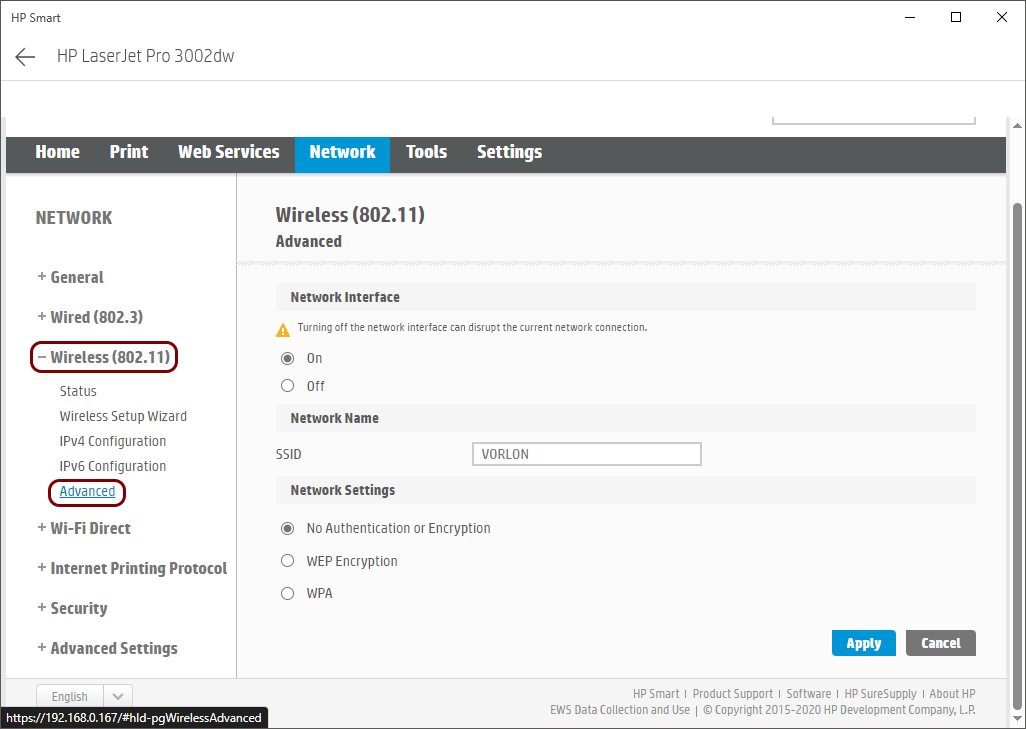
On the Network page, in the left-hand side menu, select .
-
Configure the wireless network settings:
-
In the field, enter the SSID of your network.

-
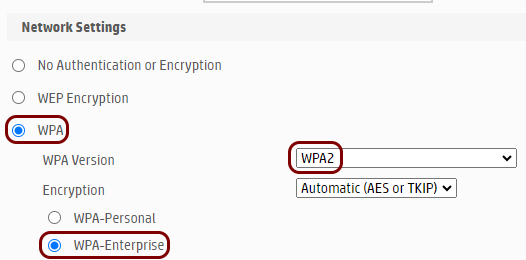
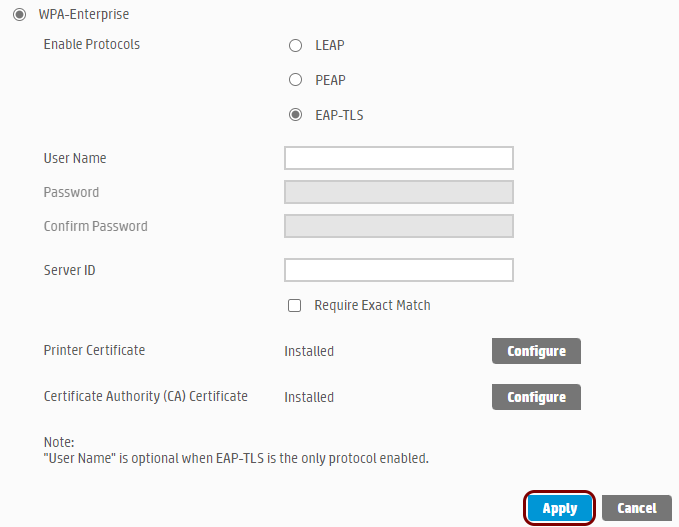
In the Network Settings section, click on the WPA option, in
the WPA Version field, select WPA2, and then click on the
WPA-Enterprise option.
-
In the Enable Protocols section, select the EAP-TLS option,
and then click on the Configure button next to the Certificate Authority
(CA) Certificate label.

-
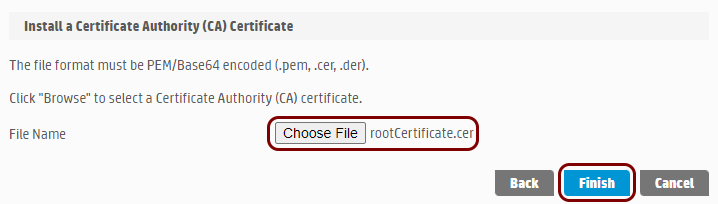
In the Install a Certificate Authority (CA) Certificate section, click on the
Choose File button, select the root CA certificate file that you downloaded
earlier from Portnox Cloud, and then click on the Finish button.
-
Click on the Configure button next to the Printer Certificate
label.

-
In the Printer Certificate Options pane, select the Import a Certificate
and Private Key option and click on the Next button.

-
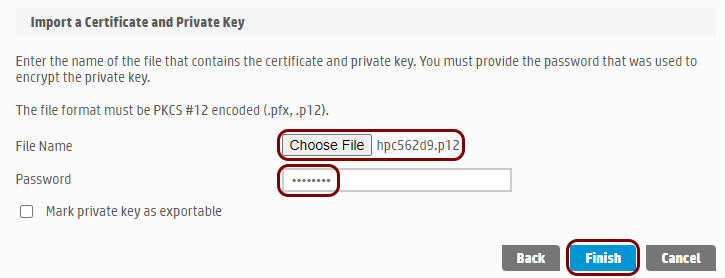
In the Import a Certificate and Private Key pane, click on the Choose
File button, choose the certificate that you obtained from the self-onboarding portal (the
file with the added private key password), in the Password field, enter the password
you chose for the private key, and then click on the Finish button.
-
Click on the Apply button to apply your changes and connect to the secured Wi-Fi
network.
-
In the field, enter the SSID of your network.
Reissue a certificate before it expires
In this section, you will learn how to issue a new certificate if your current certificate is about to expire, and what steps you need to do after you reissue the certificate to remain connected to the network.
When you reissue the certificate, the old certificate is revoked, which means it becomes invalid even if it has not yet expired. If you just reissue the certificate but you do not reconfigure the printer, you will lose access to the network even before the old certificate expires.
-
Click on the Reissue certificate button.
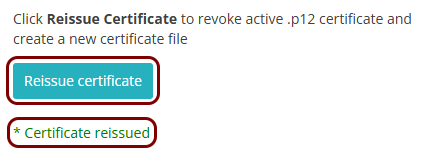
When the process finishes, you will see the information: * Certificate reissued.