Integrate Tailscale with Zero Trust Network Access
In this topic, you will find general instructions on how to integrate Tailscale with Portnox™ Zero Trust Network Access.
Create a Portnox Cloud application configuration
In this step, you will create a configuration in Portnox Cloud that will contain all the information necessary to integrate with Tailscale.
-
In the Cloud portal top menu, click on the Zero Trust Resources option.

-
On the Resources screen, click on the Create resource button.

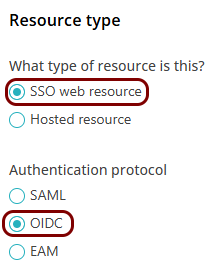
- In the What type of resource is this? section, select the SSO web resource option.
- In the Authentication protocol section, select the SAML option.
- Click on the Next button.
-
In the Resource details section, enter a Resource
name and optionally a Description.
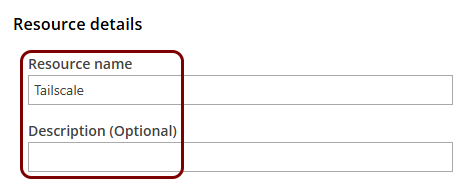
In this example, we used the name Tailscale for the new application configuration but you can use any name you like.
Create a WebFinger endpoint for Tailscale
In this section, you will create a file that will serve as a WebFinger endpoint for Tailscale, and upload this file to your web server.
When signing up for Tailscale using an OIDC identity provider, you must serve a WebFinger endpoint from your web server to prove that you are the owner of the domain. For example, if you sign up as kosh@vorlon.com, you must serve the endpoint from the following URL: https://vorlon.com/.well-known/webfinger. Make sure that you have access to the web server and can create the relevant file when signing up for Tailscale.
Sign up for Tailscale using a custom OIDC identity provider
In this section, you will sign up for a new Tailscale tenant using Portnox as a custom OIDC identity provider.
-
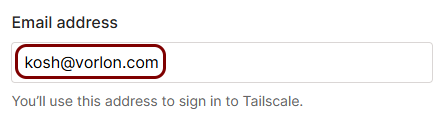
In the Email address field, enter the email address that you want to use to sign up for
Tailscale.
-
Click on the Get OIDC Issuer button.

-
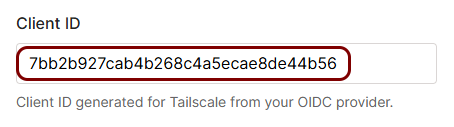
In the Portnox tab, click on the ⧉ icon next to the Client
ID field to copy the value to your clipboard.

-
In the Tailscale tab, paste the copied value into the Client ID field.
-
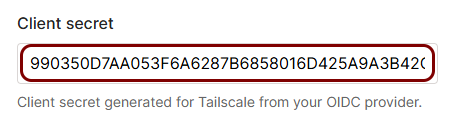
In the Portnox tab, click on the ⧉ icon next to the Client
Secret field to copy the value to your clipboard.
 Warning:You will not be able to copy this value later. We recommend that you store it in a safe location for the future, for example, using a password manager application.
 -
In the Tailscale tab, paste the copied value into the Client secret field.
-
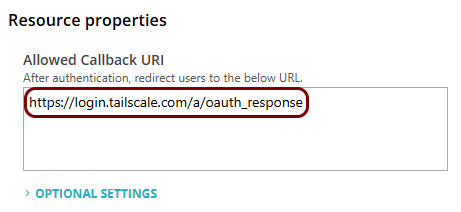
In the Portnox tab, paste the following value into the Allowed Callback URI field:
https://login.tailscale.com/a/oauth_response.
Finalize the configuration
In this section, you will finalize the configuration in Portnox Cloud and Tailscale.
-
Finalize the configuration in the Portnox tab.
-
Click on the OPTIONAL SETTINGS link to show
additional fields, and then in the Application Login URI field, enter the
following value: https://login.tailscale.com/start/oidc.
Note:This step is required if you want to show this application in the ZTNA Secure Access Portal.

-
Scroll all the way down to the end of the page, and then click on the Add resource
button.
-
Click on the OPTIONAL SETTINGS link to show
additional fields, and then in the Application Login URI field, enter the
following value: https://login.tailscale.com/start/oidc.
-
Finalize the configuration in the Tailscale tab.
-
Click on the Sign up with OIDC button.

-
Click on the Sign up with OIDC button.
Result: You have configured Tailscale to be accessible using Portnox Zero Trust Network Access.