Manage other administrator accounts
In this topic, you will learn how to manage Portnox™ Cloud administrator accounts other than yours.
-
In the Cloud portal top menu, click on the Settings option.

-
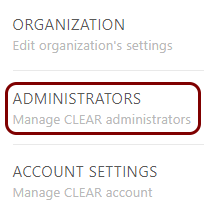
In the Cloud portal left-hand menu, click on the Administrators option.
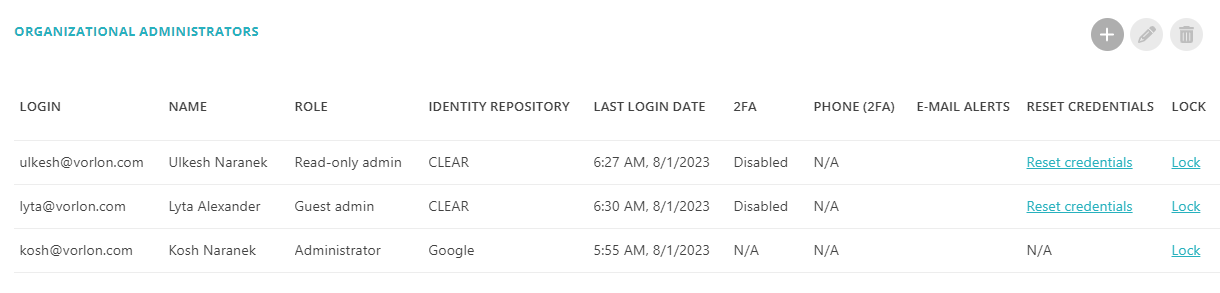
In the right-hand side pane, you will see a list of existing administrators. Your administrator account is not on the list but other administrators will see your administrator account on the list and will be able to manage it.
-
To add a new administrator, click on the plus icon in the top-right section of the right-hand
pane.
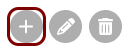
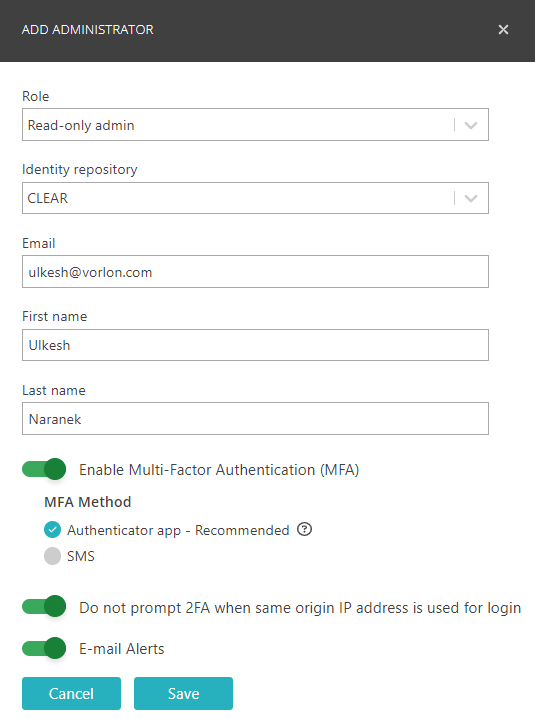
The ADD ADMINISTRATOR window opens.
-
In the Role field, select the type of administrator:
-
Administrator: This administrator account will be able to see and change all Portnox Cloud settings.
-
Read-only admin: This administrator account will be able to read all Portnox Cloud settings but will not be able to change any settings.
-
Guest admin: This administrator account will be able to access only the Guests menu.
-
Read-only guest admin: This administrator account will be able to read all Portnox Cloud settings, but will only be able to change the settings in the Guests menu.
Administrator type: Administrator Read-only admin Guest admin Read-only guest admin Full access to the tenant ☑ — — — Read-only access to the tenant ☑ ☑ — ☑ Full access to the Guests menu ☑ — ☑ ☑ Note:For more information about managing guest access, see the following topic: Configure a guest Wi-Fi network. -
-
In the Identity repository field, select the type of repository to manage the administrator account. The Portnox Cloud option is always available and indicates that the administrator account will be managed internally by Portnox Cloud, without using external authentication.
Important:Your Portnox tenant does not need an integration with Entra ID or Google Workspace to let you add administrators from Entra ID or Google Workspace repositories. However, if you want to add an administrator from Okta, your tenant must be integrated with Okta. -
Some of the other options in this window are editable only for the Portnox Cloud repository because if you select a different repository, it is the repository that stores and manages this information.
-
For explanation of other options such as multi-factor authentication, see the following topic: Manage your administrator account.
-
-
Too delete an existing administrator, select an administrator from the list, and then click on the
bin icon in the top-right section of the right-hand side pane.
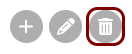
Confirm your choice by clicking on the OK button in the confirmation window.
-
Too edit an existing administrator, select an administrator from the list, and then click on the
pencil icon in the top-right section of the right-hand side pane.
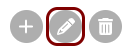
Edit the options described above and click on the Save button to save your changes. Some of the options are editable only for the Portnox Cloud repository. You cannot change the repository type or the user ID (email address) of the account.