Integrate with Absolute Secure Endpoint
In this topic, you will learn how to integrate Portnox™ Cloud with Absolute Secure Endpoint to provide device security information for risk assessment policies.
Generate an API token in Absolute
In this section, you will learn how to generate an API token in Absolute to integrate with Portnox Cloud.
-
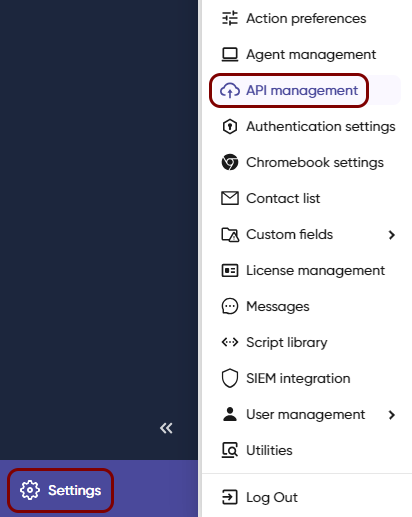
In the bottom-left corner, click on the Settings menu, and then select the API
management menu option.
-
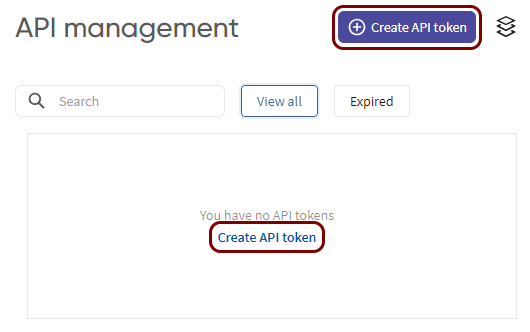
In the API management pane, click on the Create API token link or
button.
-
Add a name and an optional description for your API token in the Add title and
Add description (optional) fields.

-
In the Expiration field, set the token expiration date to the maximum possible validity
period length (1 year).
 Important:You will have to create a new token and configure the integration again when the current token expires.
 -
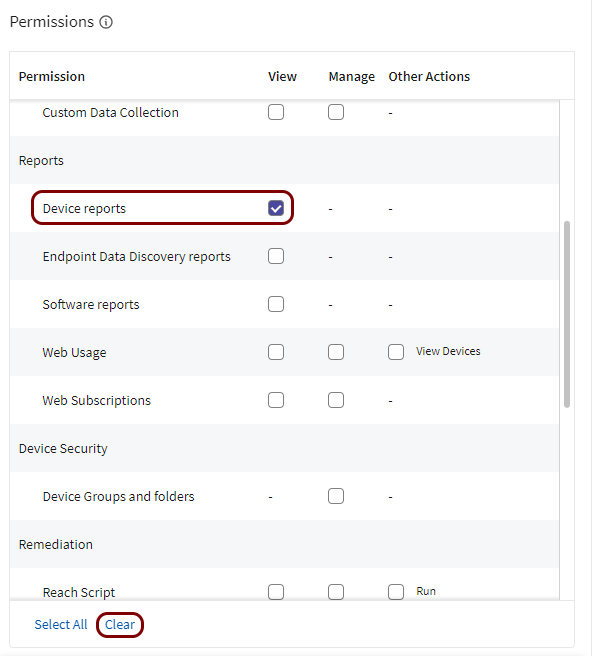
In the Permissions section, set the permissions for the API token.
By default, the API token has the permissions of the user creating the token, so you should remove all unnecessary permissions. The only required permission for integration with Portnox Cloud is Device reports. We recommend that you click the Clear button and then activate only the required permission.
-
Click on the Save button to save the API token.
-
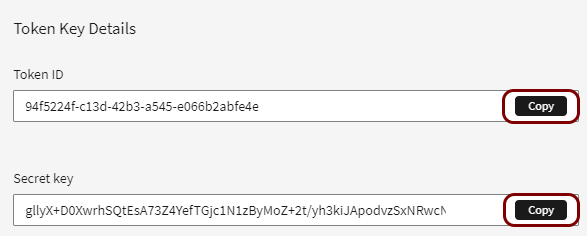
In the Token Key Details section, copy the Token ID and the
Secret key values to a temporary file. You will need to enter these values in Portnox
Cloud later, and you cannot copy them later.
Configure the Absolute integration in Portnox Cloud
In this section, you will configure your Portnox Cloud tenant to use the API token created in Absolute in order to integrate with Absolute Secure Endpoint.
-
In the Cloud portal top menu, click on the Settings option.

-
In the Cloud portal left-hand menu, click on the option.

-
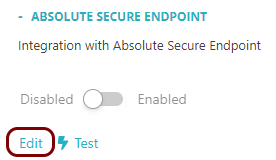
Under the ABSOLUTE SECURE ENDPOINT heading and description, click on the
Edit link.
-
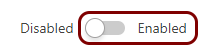
Set the switch to the Enabled position.
-
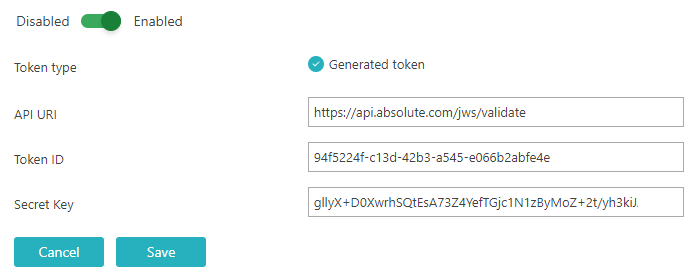
Enter the configuration values:
-
Test your integration by clicking on the Test button.
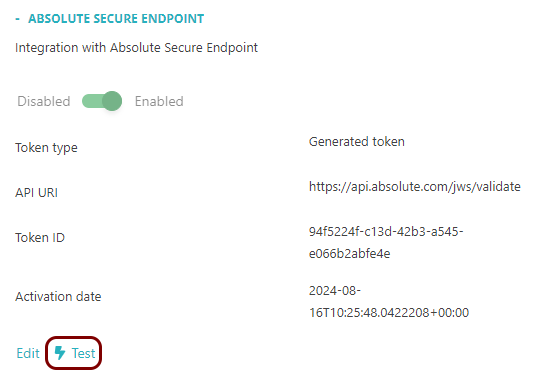
The successful response is: HTTP Response Status Code: OK.
After configuring the integration, adjust your risk assessment policies (look for the risk attribute called Not managed by Absolute Secure Endpoint).