Integrate with Microsoft Intune

In this topic, you will learn how to set up the integration between Portnox™ Cloud and Microsoft Intune.

Important: To integrate Portnox Cloud with Microsoft Intune, you must first integrate it with Microsoft Azure. Both integrations must use the same directory.

  1. In the Cloud portal top menu, click on the Settings option.

  2. In the Cloud portal left-hand menu, click on the INTEGRATION SERVICES tile.

  3. In the right-hand side pane, find and click on the MS INTUNE INTEGRATION SERVICE heading.

    More options appear under the MS INTUNE INTEGRATION SERVICE heading and description.

  4. Enable Microsoft Intune integration
    1. Under the MS INTUNE INTEGRATION SERVICE heading and description, click on the Edit link.

    2. Click on the Disabled/Enabled switch to put it in the Enabled position.

    3. Click on the Save button.
  5. Check if the Azure Directory ID field is automatically populated with the Directory ID from your Azure integration.

    If the Azure Directory ID field is not populated, perform the following steps:

    1. Open the Azure Portal in a new browser tab.
    2. In the Search resources, services, and docs field, start typing entra id. When the Microsoft Entra ID tile is visible below, click on this tile.

    3. In the Overview section, click on the  ⧉  icon next to the Tenant ID field to copy the Tenant ID value to the clipboard.

    4. Close the Azure Portal browser tab.
    5. Go back to the Portnox Cloud browser tab and paste the Tenant ID into the Directory ID field.

  6. Grant Portnox Cloud permissions to deploy enterprise applications in your Azure tenant.
    1. Click on the Sign in with Azure Account button.

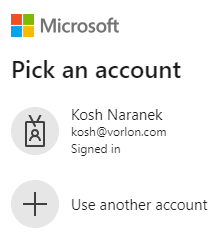
      Your browser will display a Microsoft Azure prompt to select an account.

    2. Click on the admin account for your Azure tenant.

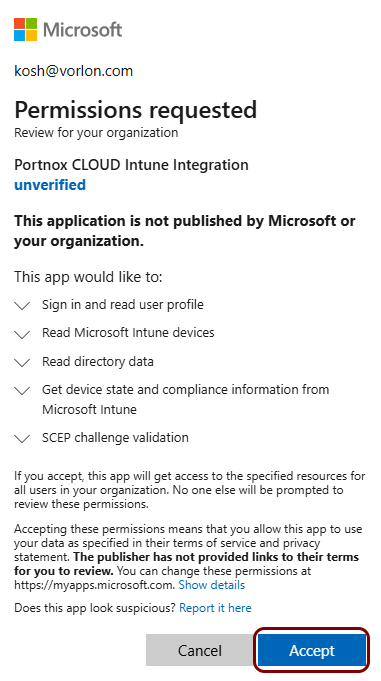
      Your browser will display a Microsoft Azure prompt asking you to confirm the required permissions.

    3. Click on the Accept button to confirm permissions that the Portnox Cloud enterprise application will have to your Microsoft Entra ID data.
  7. Grant the Portnox Cloud enterprise application permissions to read Microsoft Intune data.
    1. Click on the Grant permissions button.

      Important: If the selected Azure account does not have administrative privileges, you may be unable to integrate or asked to contact your administrator.

      Your browser will display a Microsoft Azure prompt asking you to confirm the required permissions.

    2. Click on the Accept button to confirm permissions that the Portnox Cloud enterprise application will have to your Microsoft Intune data.
  8. Grant the Portnox Cloud enterprise application permissions for SCEP validation.
    1. Click on the Grant permissions button.

      Important: If the selected Azure account does not have administrative privileges, you may be unable to integrate or asked to contact your administrator.

      Your browser will display a Microsoft Azure prompt asking you to confirm the required permissions.

    2. Click on the Accept button to confirm permissions that the Portnox Cloud enterprise application will have for SCEP validation.

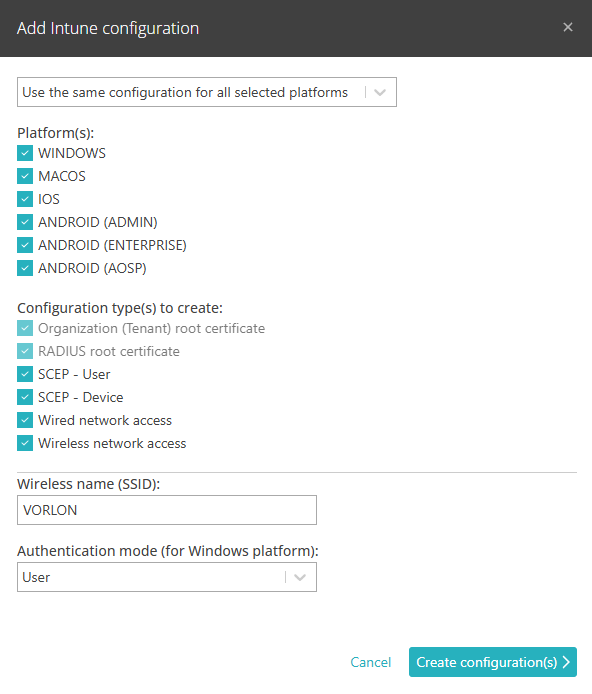
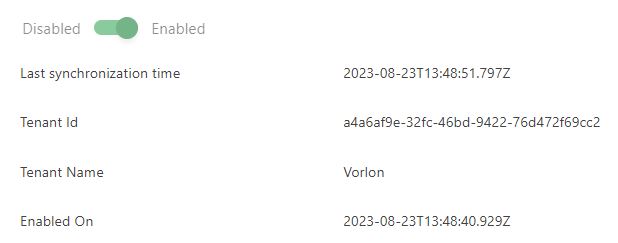
Result: Your Intune integration is now active.
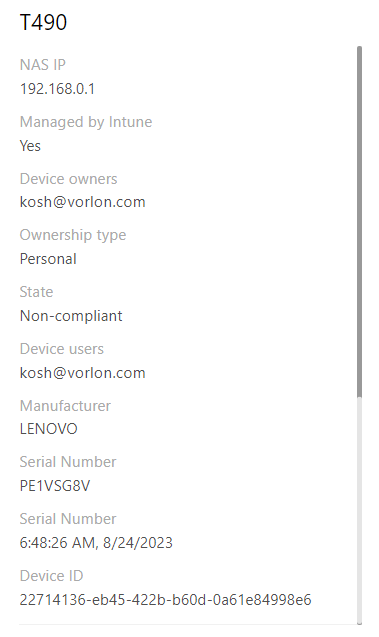
You can see Intune-related information for specific devices on the Devices screen by selecting an Intune-managed device from the list and scrolling the right-hand side pane.