
Guest access – Juniper Mist
In this topic, you will learn how to configure access points managed by Juniper Mist to work together with the Portnox™ Cloud captive portal for guest user authentication.
Before you begin configuring your guest SSID, you must configure the guest network in Portnox Cloud and note down the values of the fields: IP (for walled garden) and Captive Portal URL. You will fill in the Shared Secret field of the guest network later, using the API secret that Mist generates for your guest SSID.
Note:
Unlike many other manufacturers, which use RADIUS to authorize guests after they log in to the captive portal, Juniper
Mist uses an API secret shared between Mist and Portnox Cloud. You do not need to configure any RADIUS servers for this
guest SSID. Mist does not use RADIUS for this guest portal in any way.
Important:
This guide gives general instructions for integrating Portnox Cloud with
specific third-party devices. We try to provide useful examples for common models, but settings can differ between
manufacturers, models, and environments. Because of this, we cannot guarantee these steps will work in every case.
For questions or problems with RADIUS setup – which is an industry standard and not specific to Portnox – or with
device-specific settings and troubleshooting, we recommend checking the device manufacturer’s documentation and contacting
their support team. Portnox Support can help when possible, but detailed setup of third-party devices is usually best
handled by the manufacturer. We also recommend updating your NAS device firmware to the latest version, as old
firmware can cause issues.
Important:
All values in this configuration are examples. Make sure to adjust the
configuration to your individual profile names, RADIUS server addresses, ports, and keys by replacing the values that are
presented as underlined italics.
Note:
This configuration was tested on Juniper Mist with an AP36 access point running firmware 0.15.34533. The capabilities and
the user interface on other versions of the platform may differ.
-
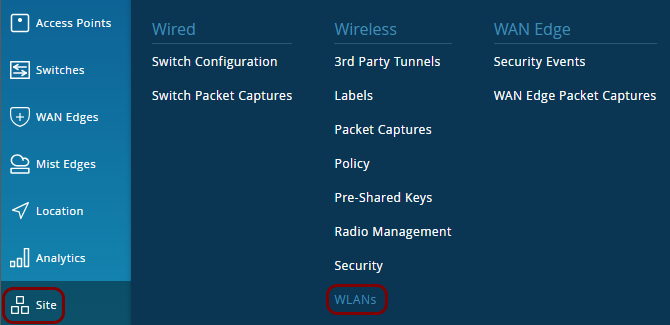
In the left-hand side menu of the Mist Cloud, click on the following menu options: .
-
In the WLANs pane, click on the Add WLAN button in the top-right
corner.
-
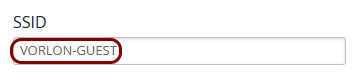
In the New WLAN pane, in the SSID field, type the SSID of your new guest
WLAN.
-
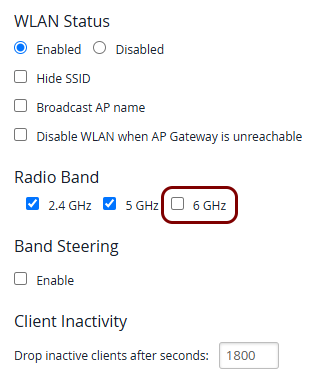
Deactivate the Wi-Fi features that limit the available security options:
Note:If the 6 GHz checkbox is active or Wi-Fi 7 is enabled, the WPA2 and Open Access options are not available in the Security section.
-
In the Radio Band section, deactivate the 6 GHz
checkbox.
-
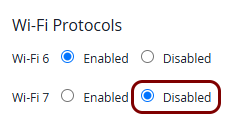
In the Wi-Fi Protocols section, make sure that the Disabled
option is selected in the Wi-Fi 7 row.
-
In the Radio Band section, deactivate the 6 GHz
checkbox.
-
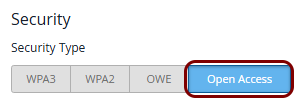
In the Security section, click on the Open Access tile.
-
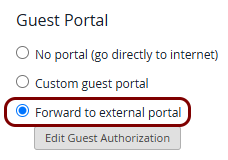
In the Guest Portal section, select the Forward to external portal
option.
-
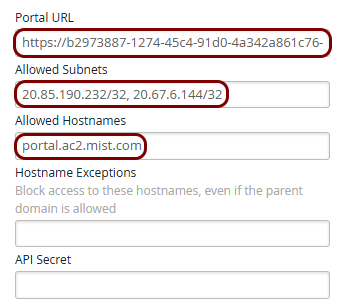
Enter the details of the Portnox Cloud captive portal:
-
Click on the Create button in the top-right corner of the New WLAN pane
to create the new WLAN.

-
In the WLANs pane, which opens after you create the WLAN, click on the name of the guest SSID that
you created.

-
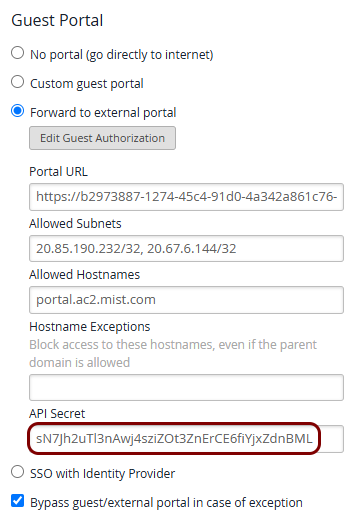
In the Guest Portal section, copy the value of the API Secret
field.
-
In Portnox Cloud, go to , edit your guest network configuration, paste the API secret in
the Shared Secret field, and save the configuration.
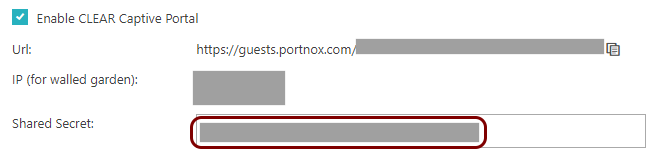 Note:Do not confuse the captive portal’s shared secret with the RADIUS server’s shared secret. These are two different values.
Result: Your guest users can now access the guest Wi-Fi network, using the Portnox Cloud guest network management functionality.