Edit your Entra ID integration
In this topic, you will learn how to edit your Portnox™ Cloud integration with Entra ID. You will also learn about the meaning of additional options for this integration.
Before you begin, you must have a working integration with Entra ID.
To create an integration with Entra ID, read the following topic: Integrate with Microsoft Entra ID.
-
In the Cloud portal top menu, click on the Settings option.

-
In the Cloud portal left-hand side menu, click on the option.

The browser displays the configuration of your Entra ID integration under the AZURE ACTIVE DIRECTORY INTEGRATION SERVICE heading and description.
-
Click on the Edit link below your configuration to start editing your Entra ID
integration.

-
If you want to turn off your Entra ID integration:
-
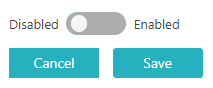
Click on the Disabled/Enabled switch to put it in the Disabled
position.
-
Click on the OK button in the confirmation window.

Note: If you turn the integration on again, you will have to configure it from the beginning. -
Click on the Disabled/Enabled switch to put it in the Disabled
position.
-
If you want to disallow life cycle synchronization, click on the Allow life cycle
synchronization checkbox to deactivate it.

Life cycle synchronization means that Portnox Cloud will react to changes in the directory. For example, if this setting is on, and if you disable or delete an Entra ID user, all the devices associated with this user will be unregistered from Cloud. If this setting is off, you will have to unregister devices manually or wait until the retention period expires. By default, life cycle synchronization is on.
-
If you want to turn on device synchronization, click on the Enable devices synchronization
checkbox to activate it.

If this setting is turned on, during periodic synchronization Portnox Cloud receives information about devices that have been removed from Entra ID and treats these devices as inactive (archived). If this setting is turned off, Cloud will archive inactive devices after the retention period is over (for information about retention periods, see the following topic: Device retention periods.
-
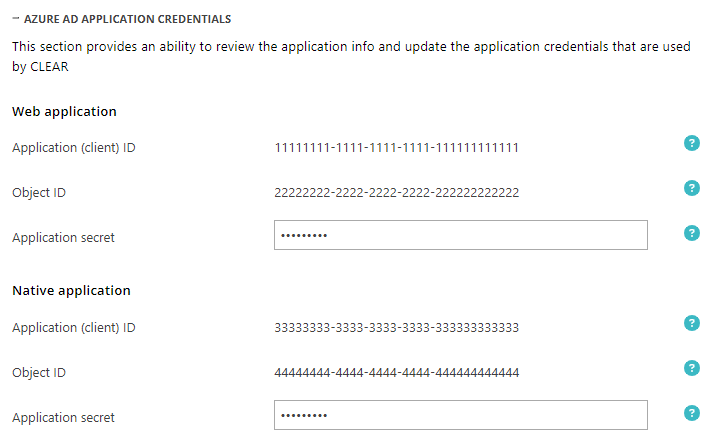
If you want to check or change the application credentials that Portnox Cloud has in your Azure environment:
-
Click on the AZURE AD APPLICATION CREDENTIALS heading.
Portnox Cloud will show your Entra ID credentials under the AZURE AD APPLICATION CREDENTIALS heading.
-
Click on the AZURE AD APPLICATION CREDENTIALS heading.
-
Click on the Save button to save your changes or click on the
Cancel button to abandon all changes.
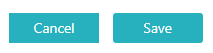
After you click on one of the buttons, Portnox Cloud will exit the edit mode.