Bypass multi-factor authentication in Entra ID
In this topic, you will learn how to whitelist the IP addresses of Portnox™ Cloud services in Microsoft Entra ID so that you can bypass multi-factor authentication (MFA) when accessing Entra ID services.
MFA based on Conditional Access
In this section, you will learn how to bypass MFA based on Microsoft Conditional Access.
- Open your Azure Portal dashboard.
-
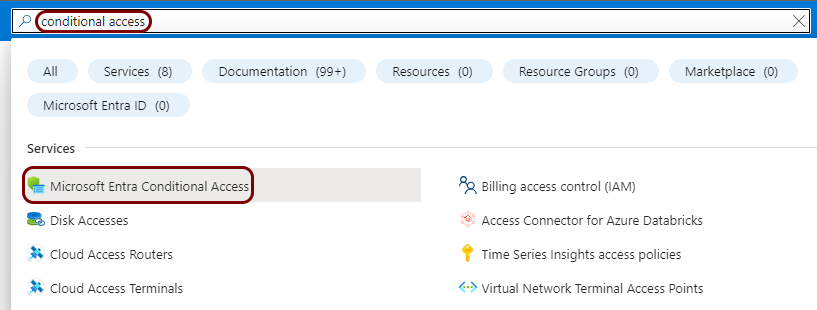
In the Search resources, services, and docs field, start typing conditional
access, and then click on the Microsoft Entra Conditional Access entry listed
below.
-
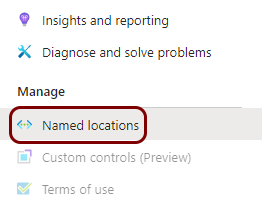
In the left-hand side menu of the Conditional Access pane, click on the Named
locations option.
-
In the top menu, click on the + IP ranges location button.

-
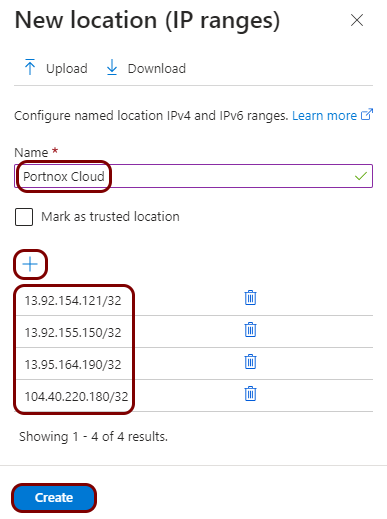
In the New location (IP ranges) pane, in the Name field, enter a name
for the new range, and then click on the + button to add IP ranges. When
done, click on the Create button below.
In this example, we used the name Portnox Cloud but you can use any name you like.
-
If your instance uses the United States region for the Cloud RADIUS server, enter the following IP ranges:
- 13.92.154.121/32 (used for network authentication)
- 13.92.155.150/32 (used for AgentP enrollment)
-
If your instance uses the European region for the Cloud RADIUS server, enter the following IP ranges:
- 13.95.164.190/32 (used for network authentication)
- 104.40.220.180/32 (used for AgentP enrollment)
If your instance uses both regions, add all four IP ranges listed above.
-
-
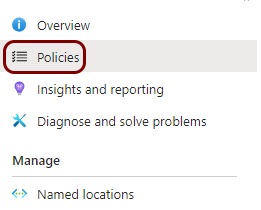
In the left-hand side menu of the Conditional Access pane, click on the
Policies option.
-
Find the policy that you want to edit in the list of existing policies and click on its name.
 Note: Select the policy that has multi-factor authentication enabled, where you need to bypass MFA to gain access to Portnox Cloud services.
 -
In the pane for the selected policy, click on , and in the Select pane, select the IP range you just created, click on the
Select button, and then click on the Save button.

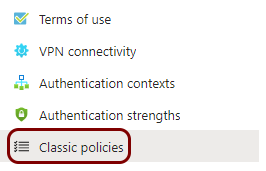
- Optional:
If classic policies are configured, whitelist the IP addresses in classic policies, too.
Legacy MFA
In this section, you will learn how to bypass Microsoft’s legacy MFA (Microsoft Online Services).
- Open your Azure Portal dashboard.
-
In the Azure Portal main menu, click on the Microsoft Entra ID option.
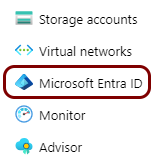
You can access the main menu by clicking on the icon in the top left corner of the Azure Portal.
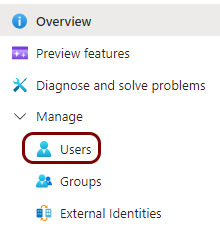
-
In the left-hand side menu, click on the option.
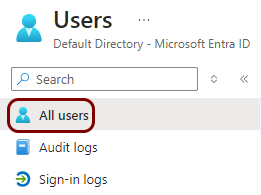
- Optional:
In the left-hand side menu of the Users pane, click on the All users
option if it’s not selected (it is selected by default).
-
In the top menu of the Users pane, click on the Per-user MFA
option.

- Optional:
Check if any users are configured with legacy MFA:
-
In the Multi-Factor Auth status field, select the Enabled
option and see if any users are listed below.

-
In the Multi-Factor Auth status field, select the Enforced
option and see if any users are listed below.

If no users are configured with legacy MFA, you may skip the next step.
-
In the Multi-Factor Auth status field, select the Enabled
option and see if any users are listed below.
-
Under the multi-factor authentication pane title, click on the service
settings option.

-
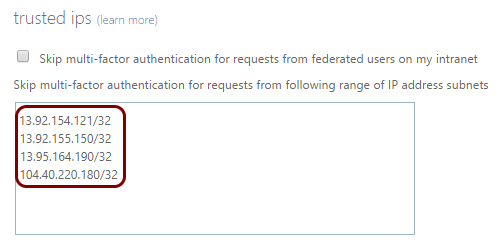
In the trusted ips section, enter the IP ranges in the CIDR
notation (one per line) and then click on the Save button.
-
If your instance uses the United States region for the Cloud RADIUS server, enter the following IP ranges:
- 13.92.154.121/32 (used for network authentication)
- 13.92.155.150/32 (used for AgentP enrollment)
-
If your instance uses the European region for the Cloud RADIUS server, enter the following IP ranges:
- 13.95.164.190/32 (used for network authentication)
- 104.40.220.180/32 (used for AgentP enrollment)
If your instance uses both regions, add all four IP ranges listed above.
-