Create a site
In this topic, you will learn how to create a site in Portnox™ Cloud.
A site in Portnox Cloud represents a physical location, such as an office, where a specific NAS device is located.
-
In the Cloud portal top menu, click on the Devices option.

-
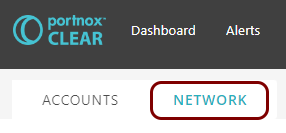
In the top left, click on the NETWORK tab.
-
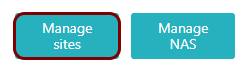
In the bottom left, click on the Manage sites button.
Your browser will show your site tree.
Note:There is always a default root site that cannot be removed. Initially, it is named like your Portnox Cloud account and contains all your NAS devices. -
To add a site, click on the parent site, and then click on the + button in the top right.
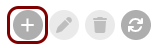
If you don’t click on a parent site, the new site will be added into the hierarchy under the root site.
-
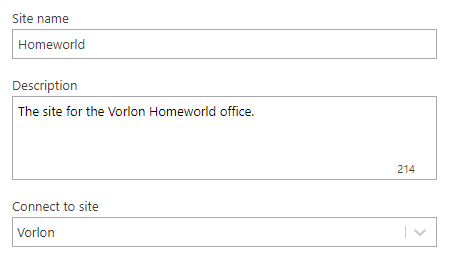
In the Site name field, enter the name for the site, and in the
Description field, enter an optional description.
-
In the NAS Assignment section, click on the Add NAS assignment link to
define a range of IP addresses.

If a NAS device that connects to Portnox Cloud has an external IP address that matches the range selected for this site, Cloud will assign it to this site.
Important:This automatic assignment will only work the first time a device authenticates using this NAS. If the NAS is already added to Portnox Cloud because some device already authenticated using this NAS, the Cloud will show the old site assignment. To change the NAS’s site assignment, delete the NAS from the Cloud and then authenticate using this NAS again.-
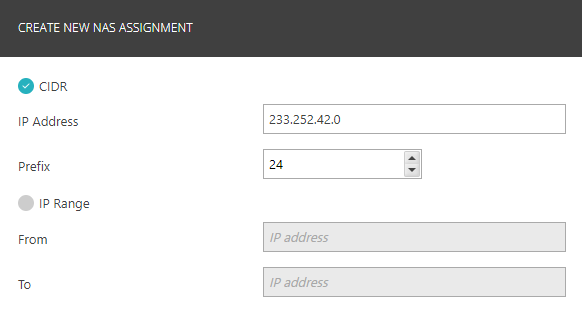
In the CREATE NEW NAS ASSIGNMENT window, choose CIDR or
IP Range to define the range of addresses.
-
If you select CIDR, enter the base address in the IP Address field and the bit suffix in the Prefix field.
Important:Do not enter a full CIDR-format address in the IP Address field. Do not leave the value 0 in the Prefix field if you want to define a single IP address for a site – in such case, the bit suffix value should be 32. -
If you select IP Range, enter the From and To IP addresses.
-

The NETWORK RANGE/IP table contains the network ranges to identify your NAS devices as belonging to this site.
-
In the CREATE NEW NAS ASSIGNMENT window, choose CIDR or
IP Range to define the range of addresses.
-
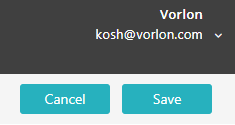
To save your settings, click on the Save button in the top right corner.
Result: Your site hierarchy will be updated with your new site.
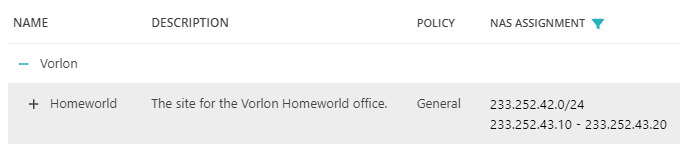
You can add more, edit, or delete sites by using the buttons in the top right. You can hide and show fragments of the tree by clicking on the +/- symbols next to site names.