Create or edit an access control policy
In this topic, you will learn how to create and assign an access control policy in Portnox™ Cloud.
To understand what are policies in Portnox Cloud, what types of policies are available, and how they work together with accounts and groups, read the following topic: What are policies in Portnox Cloud?.
-
In the Cloud portal top menu, click on the Policies option.

-
In the Access Control Policy Name field, enter the name for the new policy and in the field
below, enter an optional description.
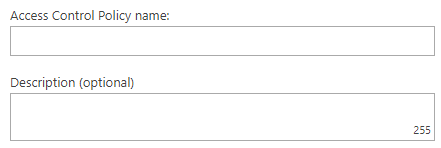
If you’re editing the System Default Policy, you cannot change its name.
-
On the left-hand side, click on the Wireless (Network) option to configure policy rules for
wireless networks.
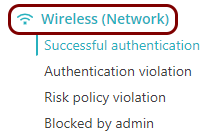
Each policy contains rules for all three network types as well as for applications. If you do not configure a specific type, Portnox Cloud will use default settings for that type.
-
In the SUCCESSFUL AUTHENTICATION tab, define the rules for successful authentication for
wireless networks:
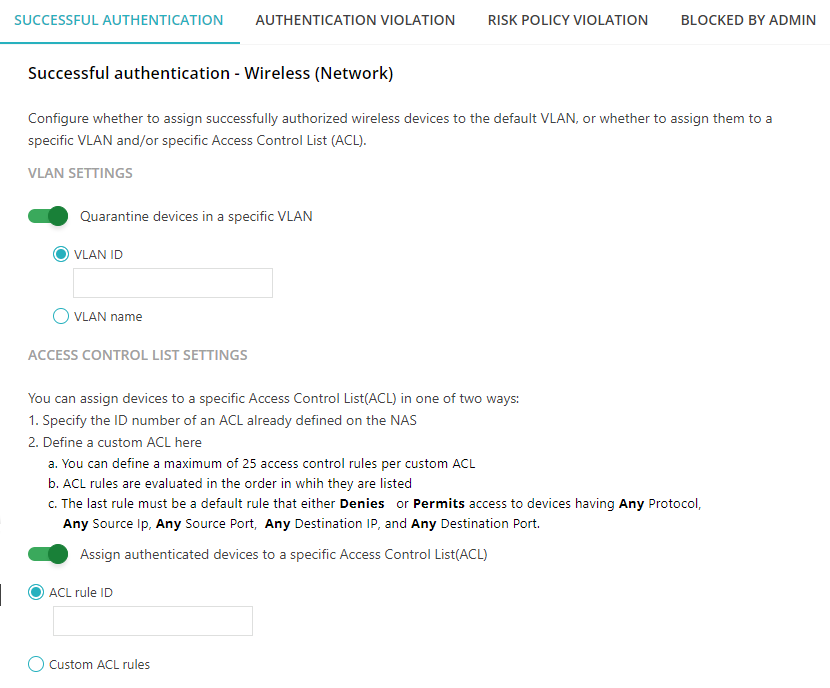
These rules will apply if the device authenticates successfully with Portnox Cloud and gains access to the network.
-
If you selected DACL Policy Builder in the previous step, click on the Add
new rule link to create a new rule.
Important:Only NAS devices that support dACLs (downloadable ACLs) can execute custom ACL rules. While most professional NAS devices support this technology, there are notable exceptions. Check your NAS device documentation for information about dACL support.Portnox Cloud supports the following vendors for downloadable ACLs:
- Aruba
- Brocade
- Cisco
- HP
- Huawei
- Juniper
- Ruckus
For an example of how to create dACLs on a Cisco switch using the Policy Builder, see the following topic: Create a downloadable access control list (dACL) on a Cisco switch using the Policy Builder.
If you use devices that do not support dACLs, for example, Cisco Wireless LAN Controllers (WLCs) and Wireless Service Modules (WiSMs), you need to create the ACL on the device and refer to that ACL using the ACL rule ID.
-
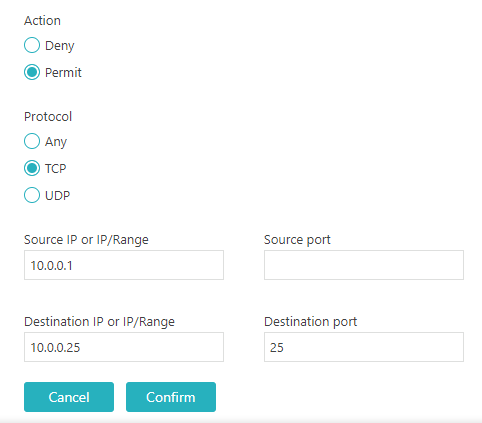
In the Action field, select whether this rule will Deny or Permit packets that match the rule.
-
In the Protocol field, select the protocol that this rule applies to: TCP, UDP, or Any.
-
In the Source IP or IP/Range field, enter the source IP address or the source IP address in the CIDR format or leave the field empty to match all source IP addresses.
-
In the Source port field, enter the source port number or leave the field empty to match all source port numbers.
-
In the Destination IP or IP/Range field, enter the destination IP address or the destination IP address in the CIDR format or leave the field empty to match all destination IP addresses.
-
In the Destination port field, enter the destination port number or leave the field empty to match all destination port numbers.
Click on the Confirm button to save the rule. Add more rules using the Add new rule link (maximum 65 rules) or edit/remove existing rules using Edit or Remove links on the right-hand side of a selected rule.

-
If you selected Custom DACL in the previous step, in the Attribute
name field, select the attribute name relevant to your NAS device, and in the text area below,
paste your existing dACL.
For example:
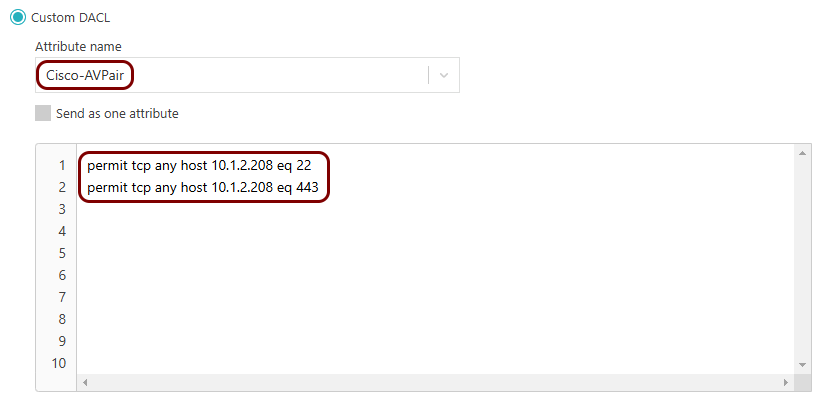 Note:The Custom DACL option supports up to 65 lines.
-
If you selected DACL Policy Builder in the previous step, click on the Add
new rule link to create a new rule.
-
In the AUTHENTICATION VIOLATION tab, define the rules for authentication violation for wireless
networks:
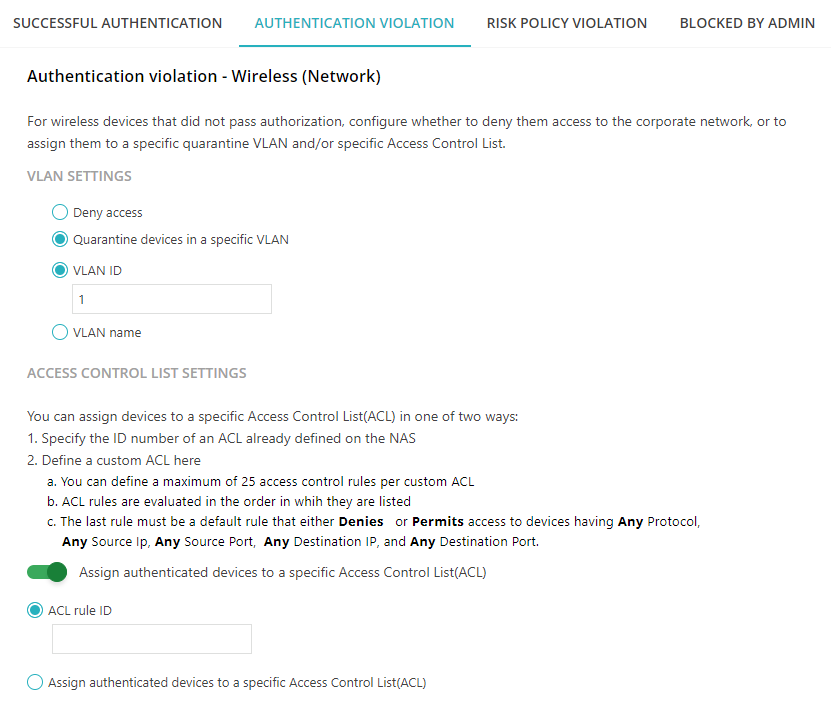
These rules will apply if the device fails to authenticate with Portnox Cloud for any reason.
-
In the left-hand side menu, select the VPN (Network) option and repeat the following steps for
all tabs: SUCCESSFUL AUTHENTICATION, AUTHENTICATION VIOLATION,
RISK POLICY VIOLATION, and BLOCKED BY ADMIN:
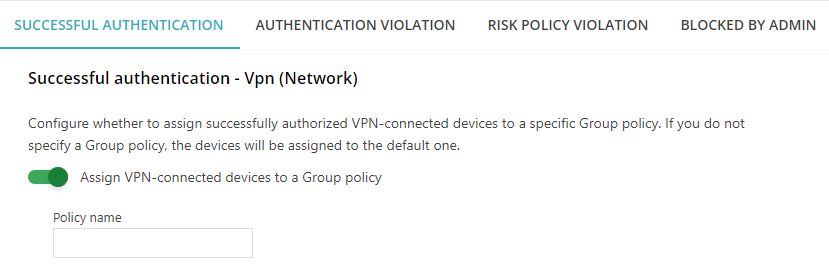
The configuration options for VPNs are identical for all four tabs.
Important:In this context, the term group policy refers to the Cisco definition, as outlined in Cisco documentation, rather than the more popular Microsoft interpretation of group policy: A group policy is a set of user-oriented attribute/value pairs for IPSec connections that are stored either internally (locally) on the device or externally on a RADIUS server. -
If you’re creating an access control policy for application access,
in the left-hand side menu, select the ZTNA Resource option.
Application access control policies are used only by the Portnox Zero Trust Network Access functionality, and in such policies, there are no network-related settings.
-
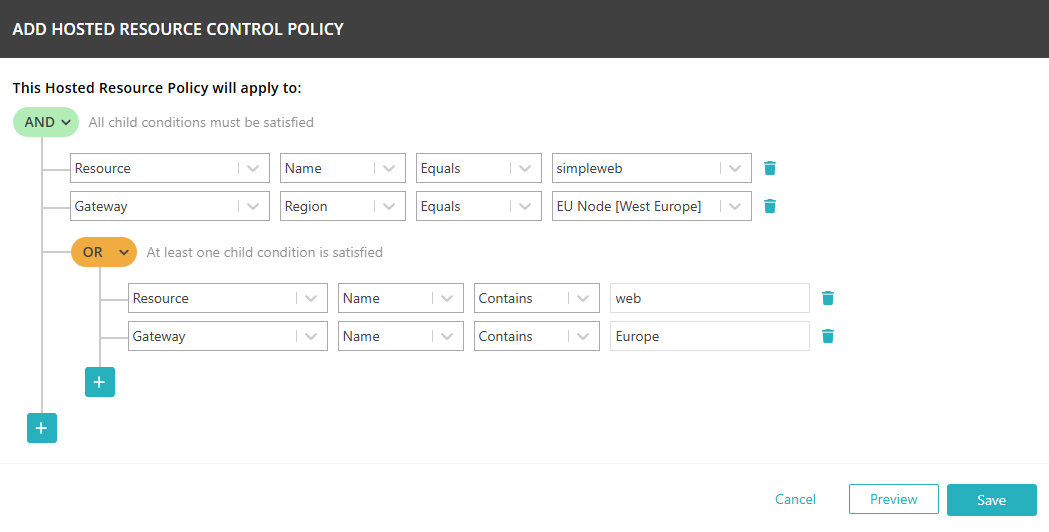
In the Authorized resources tab, add or edit conditions using a condition builder. These
conditions will control hosted resource access with ZTNA.
Note:This does not apply to SSO Web resources. These resources are always accessible to all groups by default because they are public Internet applications and do not require access control.
Click on the + Add new link to add a new condition set or click on the ✎ icon to edit an existing condition set.
-
Click on the AND/OR button in a logical branch to change the logical condition.
-
Click on the + button in a logical branch and select Add rule to add another condition to the current logical branch.
-
Click on the + button in a logical branch and select Add And/Or block to add a sub-branch to the current logical branch.
-
In the first column of a logical rule, select Resource or Gateway to set the class of parameters to be tested in the condition.
-
In the second column of a logical rule, select a parameter applying to the site or to the NAS, such as Name (for both resources and gateways) or Region (for gateways) to be tested in the condition.
-
In the third column of a logical rule, select Equals, NotEquals, StartsWith, EndsWith, or Contains to set the comparison operator.
-
In the fourth column of a logical rule, enter a value for comparison or select from a list of possible values (depending on the condition).
-
-
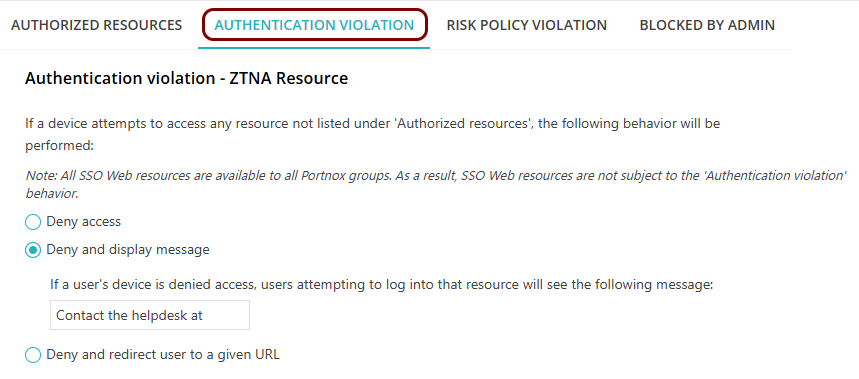
In the Authentication violation tab, decide what action to take if a device that is
attempting to access a hosted resource is not allowed to access resources listed as Authorized
resources.
-
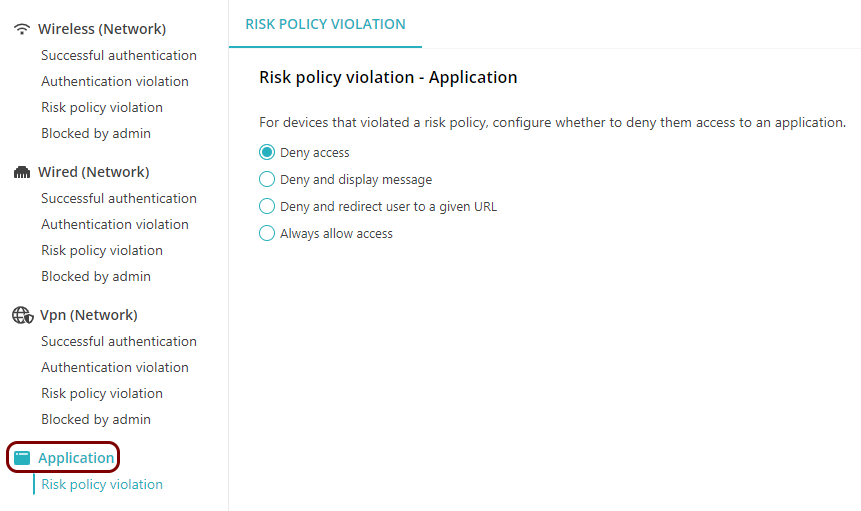
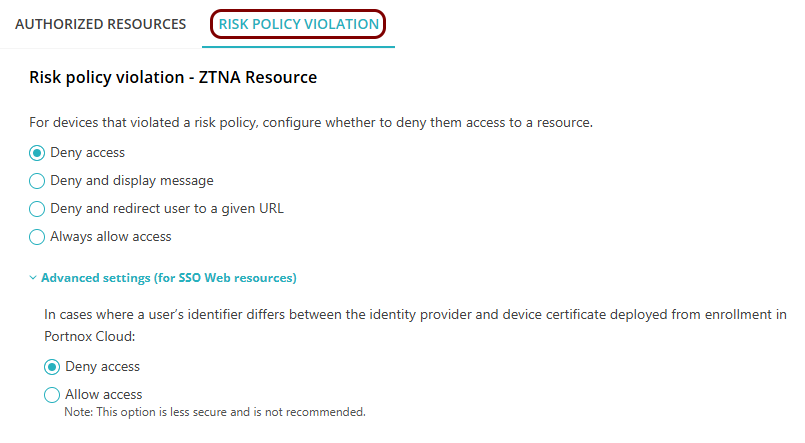
In the Risk policy violation tab, decide what action to take if a device that is
attempting to access a resource violates a risk assessment policy.
-
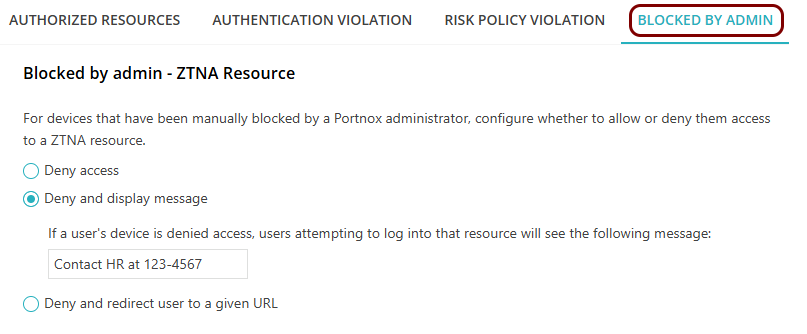
In the Blocked by admin tab, decide what action to take if a device that is attempting
to access a resource was manually blocked by the administrator.
-
In the Authorized resources tab, add or edit conditions using a condition builder. These
conditions will control hosted resource access with ZTNA.
-
To save your policy settings, click on the Save button on the bottom right of the page.
Result: You created or edited an access control policy. You can now assign this policy to groups.

To assign policies to groups, see the following topic: Assign policies to a group.