Create or edit a custom RADIUS attribute policy
In this topic, you will learn how to create and assign a custom RADIUS attribute policy in Portnox™ Cloud.
To understand what are policies in Portnox Cloud, what types of policies are available, and how they work together with accounts and groups, read the following topic: What are policies in Portnox Cloud?.
Your network configuration and NAS devices may need specific custom RADIUS attributes for authentication or authorization. Portnox Cloud lets you define custom RADIUS attribute sets as policies and then assign these sets of attributes to specific groups using condition trees for flexible control.
-
In the Cloud portal top menu, click on the Policies option.

-
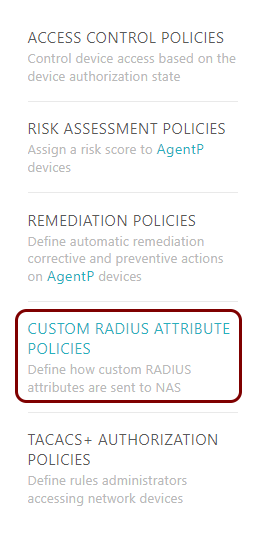
In the Cloud portal left-hand menu, click on the CUSTOM RADIUS ATTRIBUTE POLICIES tile.
-
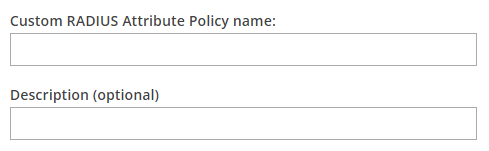
In the Custom RADIUS Attribute Policy name field, enter the name for the new policy and in the
Description (optional) field, enter an optional description.
-
Click on the Add attribute button to open the ADD A NEW CUSTOM RADIUS
ATTRIBUTE window.

-
In the ADD A NEW CUSTOM RADIUS ATTRIBUTE window, add a new attribute to the policy.
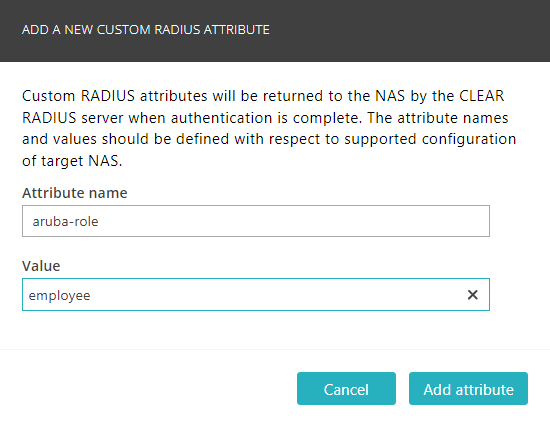
- In the Attribute name field, enter the attribute name as required by your NAS device.
- In the Value field, enter the attribute value as required by your NAS device.
- Click on the Add attribute button to add the attribute to the policy.
Note:You can add multiple attributes with the same name.Note:The maximum length of a custom attribute value is 256 characters. -
Click on the Save button below to save your policy.

Result: You created or edited a custom RADIUS attribute policy. You can now assign this policy to groups.

To assign policies to groups, see the following topic: Assign policies to a group.