Run the local TACACS+ server in VMware Workstation
In this topic, you will learn how to install and configure the Portnox™ Cloud local TACACS+ server in the VMware Workstation hypervisor.
To configure the local TACACS+ server in the VMware Workstation hypervisor, you must first:
- Download the local TACACS+ server virtual machine file for VMware (OVA format)
- Configure the settings for the local TACACS+ server and download the configuration for the virtual machine file.
To do these steps, go to the following topic: Set up a local TACACS+ server using a virtual machine.
-
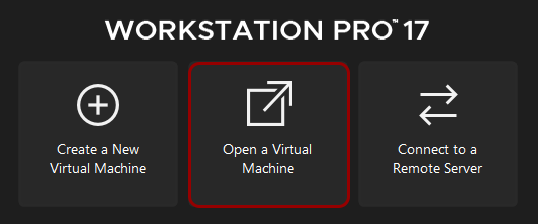
In the right-hand side pane, click on the Open a Virtual Machine tile.
-
In the Import Virtual Machine window, enter a name for the virtual machine and click on the
Import button.

In this example, we used the name Portnox local TACACS+, but you can use any name you like.
-
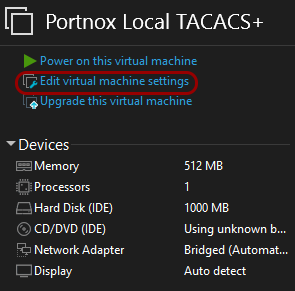
In the right-hand side pane, click on the Edit virtual machine settings link.
-
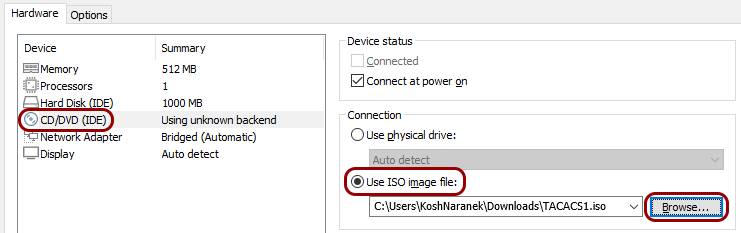
In the Virtual Machine Settings window, click on the CD/DVD icon on the
left-hand side, select the Use ISO image file option in the right-hand side pane, click on the
Browse button, find the .iso file that you downloaded earlier, and open
it. Then, click on the OK button.
 Note:The exact name of the file is NAME.iso, where NAME is the name you entered in the Name field when configuring the local TACACS+ server.
 -
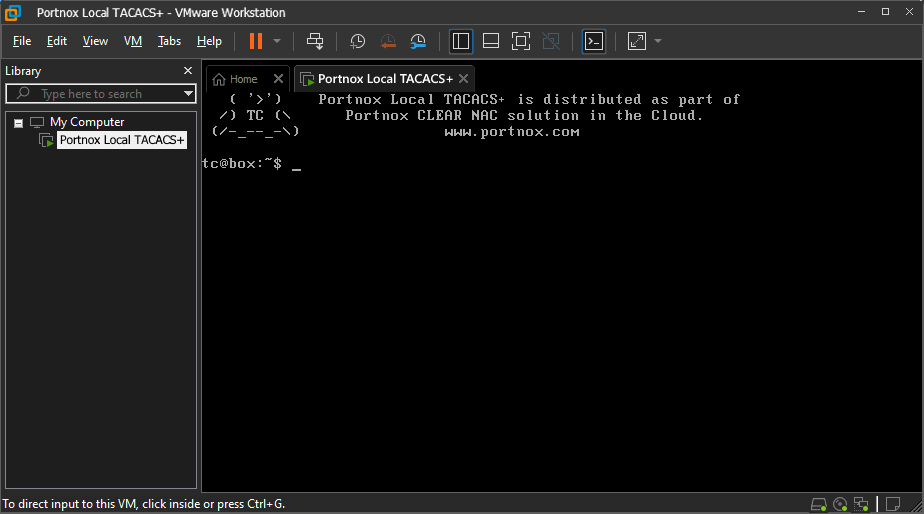
In the right-hand side pane, click on the Power on this virtual machine link.
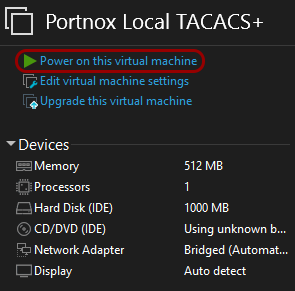
Result: Your local TACACS+ server is active.
You can check its status in Portnox Cloud, in the section.
