Run the local TACACS+ server in a container
In this topic, you will learn how to deploy the Portnox™ Cloud local TACACS+ server using Docker containers.
For information about how the Portnox Cloud TACACS+ service works, see the following topic: How does the Portnox Cloud TACACS+ service work?.
-
In the Cloud portal top menu, click on the Settings option.

-
In the Cloud portal left-hand side menu, click on the option.
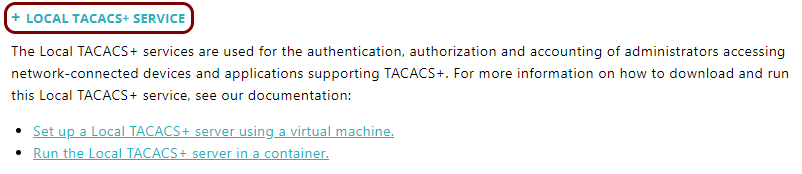
-
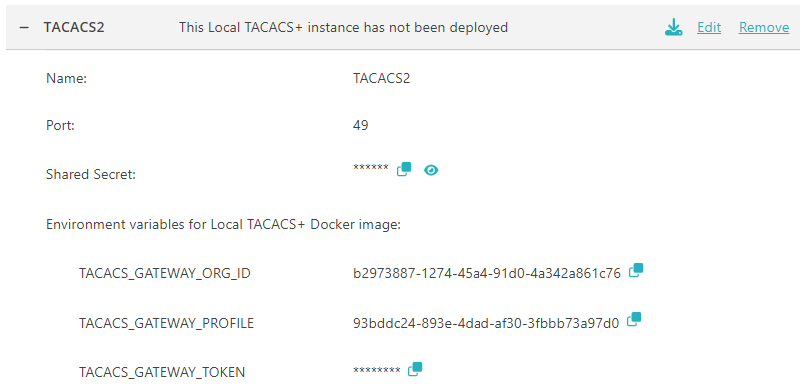
In the Name field, enter a name for your local TACACS+ server.

This name is also used as the hostname that your NAS devices will use to contact the local TACACS+ server. However, using the IP address in NAS configuration is recommended. You will find the IP address later, in the cloud platform that you will use to run the Docker image. You can also choose a local network address if you run the Docker image on-premises.
-
Click on the 👁 icon and hold it to note down the value of the Shared
Secret field to use it when configuring NAS devices to contact this local TACACS+ server.

If you want to generate a different shared secret, click on the Regenerate link under the field.
Note:After you save the server settings and view them, you can use the ⧉ icon to copy the value to the clipboard. -
Click on the Save button to save the configuration.
 Note:If you click on the Save And Download button instead, your browser will download the ISO image with the configuration. You can set up the local TACACS+ server using this ISO file but it’s more difficult and in most cases unnecessary. Instead, we recommend that you set up the local TACACS+ server using the environment variables only.
 -
Click on the row that represents the newly added TACACS+ server to display more information.