Deploy the local TACACS+ server container in Amazon Web Services (AWS)
In this topic, you will learn how to deploy the Portnox™ Cloud local TACACS+ server container in Amazon Web Services (AWS) using AWS Fargate.
To deploy the local TACACS+ server Docker container in AWS Container Instances, you must first configure the settings for the local TACACS+ server container and generate environment variables. To do it, go to the following topic: Run the local TACACS+ server in a container.
Read the following important information before you begin:
-
AWS Fargate is one of the options to deploy the local TACACS+ server container in AWS. Other options include using Amazon Elastic Kubernetes Service (EKS) or EC2 instances. If you choose a different option, please follow the relevant AWS documentation for your chosen method.
-
In order for the local TACACS+ server container in AWS to be able to communicate with your NAS devices in your local network, you must create a Virtual Private Cloud (VPC) in AWS and connect it to your local network. AWS offers many ways of achieving this. This topic is beyond the scope of this guide, but you can find useful information in the following AWS documentation topic: Connect your VPC to remote networks using AWS Virtual Private Network.
-
You cannot place NAS devices behind a NAT because the local TACACS+ server uses the source IP address of the connection, and with a NAT in place, that address would be the same for several NAS devices.
-
When you’re using stateless containers and you want to update to a newer version of the Docker image, you need to delete the container and recreate it from scratch with the same parameters.
Create a Virtual Private Cloud (VPC)
In this section, you will create a Virtual Private Cloud (VPC) with a private subnet for local TACACS+ server containers.
-
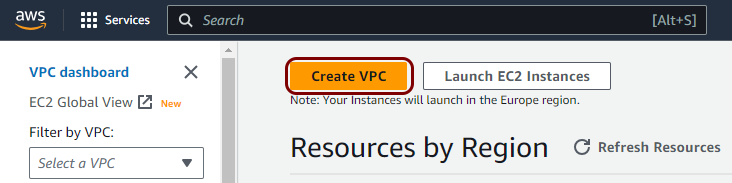
In the Services menu of the AWS portal, select the option.

-
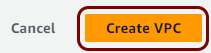
In the VPC dashboard pane, click on the Create VPC button to begin
creating the VPC.
-
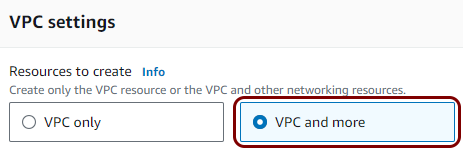
In the VPC settings section, select the VPC and more option.
-
In the Name tag auto-generation section, activate the
Auto-generate checkbox and enter a prefix in the text field below.

In this example, we used the prefix portnox, but you can use any prefix you like.
-
In the IPv4 CIDR block field, enter the IPv4 CIDR
block for your private network.
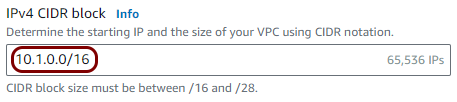
In this example, we used the 10.1.0.0/16 private network block but you can use any block you like. The default block offered by AWS is 10.0.0.0/16.
-
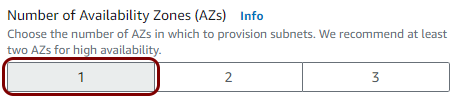
In the Number of Availability Zones (AZs) field, select
1.
-
In the Number of public subnets field, select 1 and in the
Number of private subnets field, select 1.
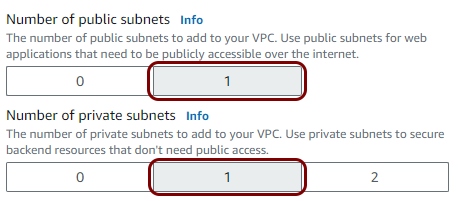 Note:You need the public subnet in AWS to connect the local TACACS+ server to the internet.
 -
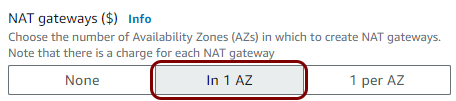
In the NAT gateways field, select the In 1 AZoption.
-
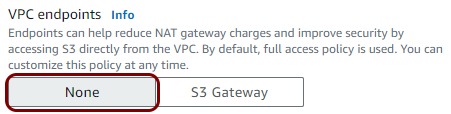
In the VPC endpoints field, select the None option.
-
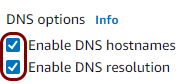
Activate the checkboxes: Enable DNS hostnames and Enable DNS
resolution.
-
Click on the Create VPC button below to create the VPC.
-
In the Name tag auto-generation section, activate the
Auto-generate checkbox and enter a prefix in the text field below.
Create a task definition and a cluster
In this section, you will deploy the local TACACS+ server Docker container to the Virtual Private Cloud created in the previous step by creating a task definition and a cluster.
-
In the Services menu of the AWS portal, select the option.

-
In the left-hand side menu of the Amazon Elastic Container Service pane, click on the
Task definitions option.

-
In the top-right corner, click on the Create new task definition button.

-
In the Create new task definition pane, in the Task definition family
field, enter a name for your task definition.

In this example, we used the task name TACACS but you can use any name you like.
-
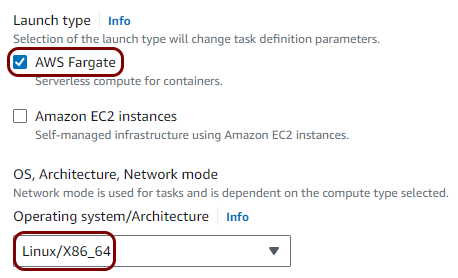
In the Infrastructure requirements section, in the Launch type field,
select the AWS Fargate option and in the Operating system/Architecture
field, select the Linux/X86_64 option.
-
In the section, in the Name field, enter a name for the container, and in the
Image URI field, enter portnox/portnox-tacacs:latest.

In this example, we used the container name tacacs but you can use any name you like.
Notice:When entering the Portnox container image URI in the Select Amazon ECR image dialog, AWS may display the messageThe image URI is not a private ECR URI. This occurs because AWS expects image URIs to reference a private Amazon Elastic Container Registry (ECR) repository, whereas Portnox container images are hosted on the public Docker Hub registry. This is expected behavior and does not indicate a configuration error; disregard the message and proceed with the deployment. -
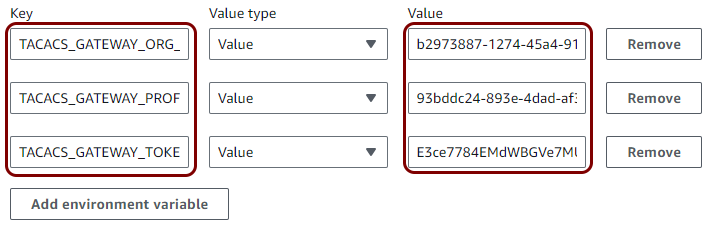
In the section, click on the Add environment variable button three times to add three
environment variables. Then, copy and paste the values of the three environment variables that you saved earlier (or copy them directly from Portnox Cloud) into three
Key and Value pairs.
Optional: If you want to store the TACACS_GATEWAY_TOKEN value safely as a secret, you can use the AWS Systems Manager Parameter Store:
-
Go back to the task definition tab, and in the relevant environment variable, as the value enter
ssm:/tacacs_gateway_token.

-
Go back to the task definition tab, and in the relevant environment variable, as the value enter
ssm:/tacacs_gateway_token.
-
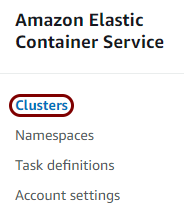
In the left-hand side menu of the Amazon Elastic Container Service pane, click on the
Clusters option.
-
In the top-right corner, click on the Create cluster option.
-
In the Cluster name field, enter a name for your cluster, and in the
Infrastructure section, select the AWS Fargate option. Then, click
on the Create button below.
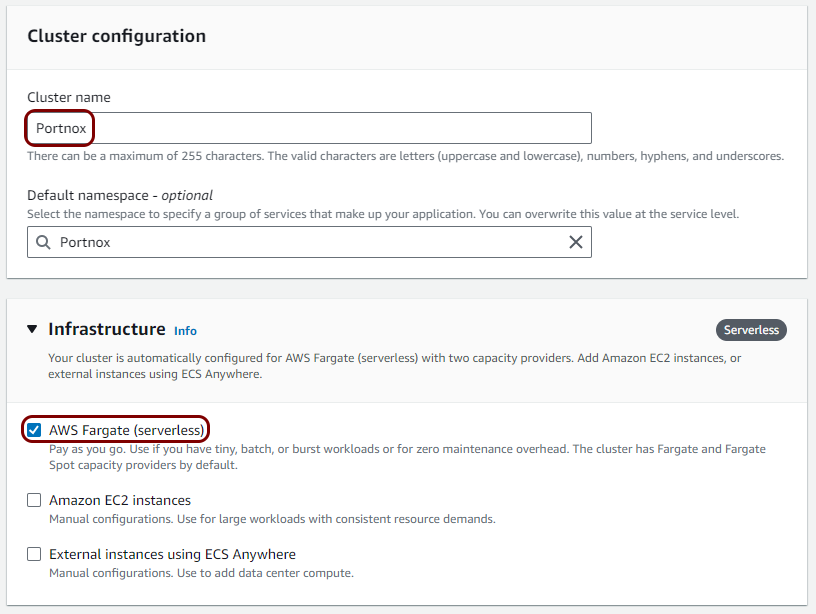
In this example, we used the cluster Portnox but you can use any name you like.
-
After your cluster has been created successfully, in the left-hand side menu of the Amazon Elastic
Container Service pane, click again on the Task definitions option.
-
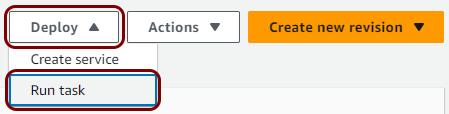
Click on the Deploy button in the top-right corner, and select the Run
task option.
-
In the Create pane, in the Existing cluster field, select the cluster
that you just created.

-
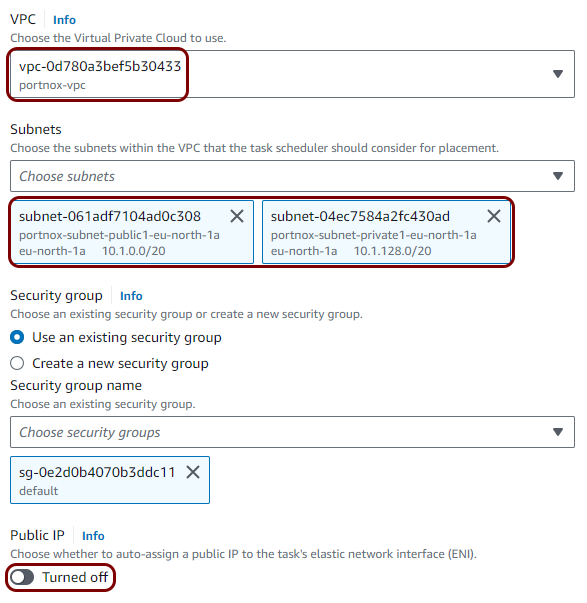
Scroll down to the Networking section and click on the heading to show the section. In the
VPC field, select the virtual private cloud that you created earlier, in the
Subnets field, select the subnets that you created together with the VPC, and in the
Public IP section, turn the switch off.
-
Scroll all the way down and click on the Create button.
Result: Your local TACACS+ server is active.

You can check its status in Portnox Cloud, in the section.

Create a private hosted DNS zone
In this section, you will create a private hosted DNS zone for your Virtual Private Cloud, which lets you configure your NAS devices to access the local TACACS+ server using a fully-qualified domain name (FQDN) instead of its IP address.
Every time that you stop and restart your local TACACS+ server container in AWS, it may be assigned a different IP address on the subnet, which means you would have to reconfigure your NAS devices after every restart. Unfortunately, at this time, AWS does not offer any method to maintain a fixed IP address on its virtual private cloud.
To overcome this problem, you can configure a private hosted DNS zone in AWS, assign a private FQDN to the local TACACS+ server, and configure the NAS devices to access this server using this FQDN. This way, if you need to restart the container and get a different IP address, you can just change the IP address in the zone definition instead of having to reconfigure every NAS device.
-
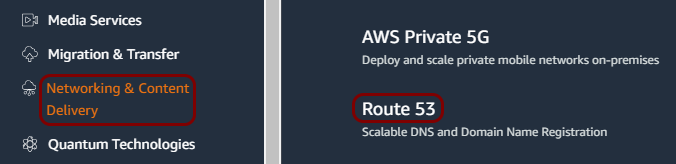
In the Services menu of the AWS portal, select the option.
-
In the left-hand side menu of the Route 53 pane, click on the Hosted
zones option.

-
In the top-right corner, click on the Create hosted zone button.

-
In the Create hosted zone pane, in the Domain name, enter the local
domain name that you want to use and in the Type section, click on the Private
hosted zone option.
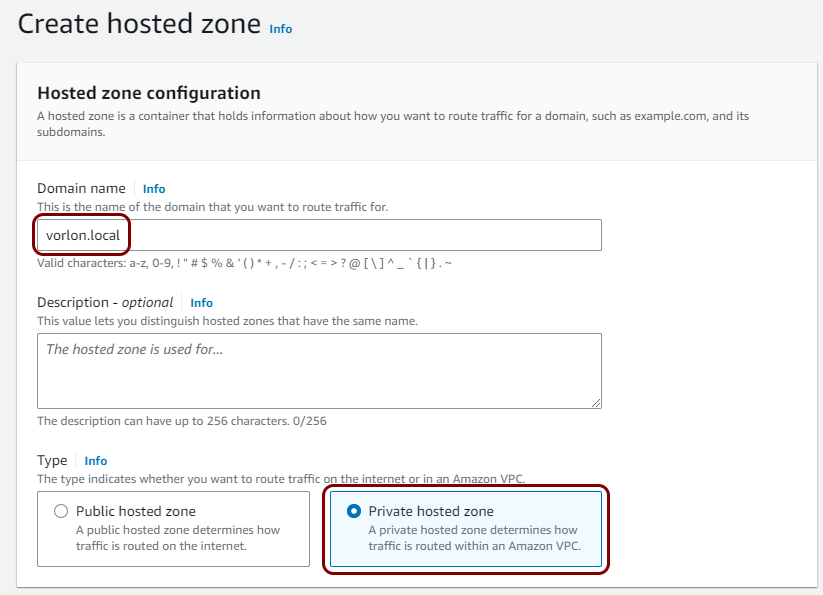
In this example, we used the domain vorlon.local but you can use any domain you like.
-
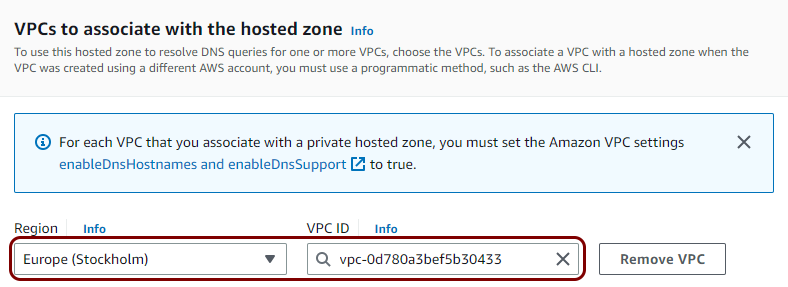
In the VPCs to associate with the hosted zone section, in the Region
field, select the region in which you created your VPC
earlier, and in the VPC ID field, select your VPC ID from the list.
-
Then, click on the Create hosted zone button below to create the hosted zone.

-
In the pane that represents your newly created hosted zone, in the Records section, click on
the Create record button.

-
In the Create record pane, in the Record name field, enter the name
that you want to use for your local TACACS+ server host, in the Record type field, select the
A – Routes traffic to an IPv4 address and some AWS resources option, and in the
Value field, enter the IP address of your deployed local TACACS+ server container that
you noted down in the previous task.
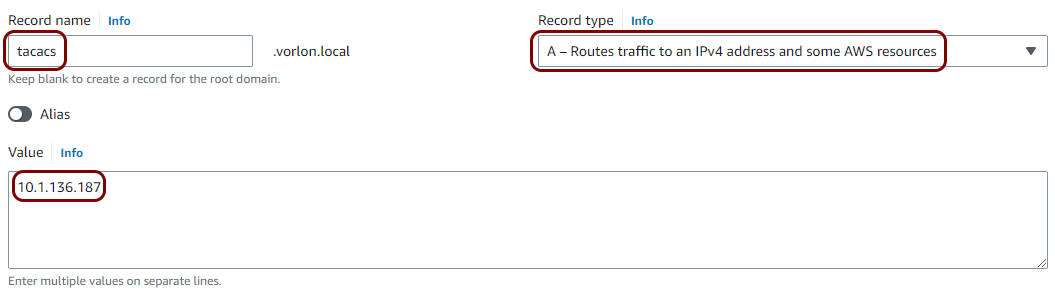
In this example, we used the tacacs record name to create a tacacs.vorlon.local record but you can use any record name you like.
Note:If you didn’t note down the IP address earlier, open a new browser tab and check the address by going to -
Then, click on the Create records button below.
Result: You can configure your NAS devices in the VPC to access the local TACACS+ server using its FQDN (in our example, tacacs.vorlon.local) in the VPC instead of its IP address (in our example, 10.1.136.187). You also need to configure the resolver in the NAS device to use one of the AWS DNS servers listed in the NS record, in the Value field.

If you need to restart the container and the IP address of the local TACACS+ server changes, change the IP address in the record that you created for your hosted zone.