Deploy the local TACACS+ server container using Docker Desktop on Windows
In this topic, you will learn how to deploy the Portnox™ Cloud local TACACS+ server container using Docker Desktop on a local Windows machine (physical or virtual).
Read the following important information before you begin:
-
We assume that the Windows machine is already installed, configured, updated, and connected to the local network. This guide includes only the installation and configuration of Docker Desktop and the Portnox Cloud local TACACS+ server container.
-
We recommend running Portnox Docker containers using Linux for performance reasons. Portnox Docker images are built for Linux so in Windows, they have to be run using virtualization. If you run Docker Windows in a virtual machine, you will need nested virtualization, which can affect performance.
Install Docker Desktop
In this section, you will learn how to follow Docker documentation to install Docker Desktop on the Windows machine.
Skip this section if Docker Desktop is already installed.
-
Enable the Windows Subsystem for Linux (WSL) and install Ubuntu:
Note:For detailed instructions on how to enable WSL and install Ubuntu, see official Microsoft documentation.Note:You can run Docker Desktop with WSL or Hyper-V. WSL is recommended for performance reasons. If you need to run Docker Desktop with Hyper-V instead, refer to the official Docker and Microsoft documentation.
Result: WSL with Ubuntu is ready and you can proceed with Docker installation.
-
Install Docker Desktop:
Note:For detailed instructions on how to install Docker Desktop, see official Docker Desktop documentation.
-
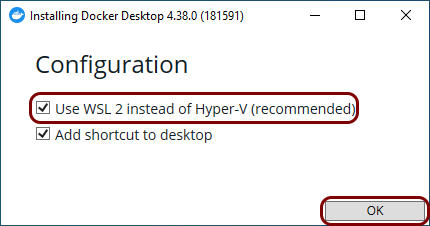
Run the downloaded installer file and in the installer window, when prompted, activate the Use
WSL 2 instead of Hyper-V checkbox.
-
Run the downloaded installer file and in the installer window, when prompted, activate the Use
WSL 2 instead of Hyper-V checkbox.
-
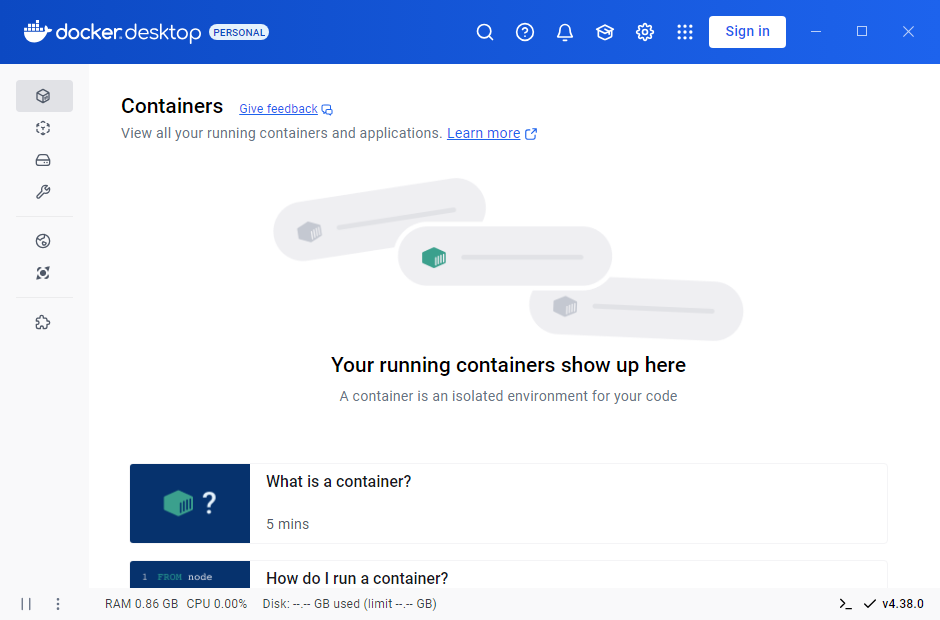
Run Docker Desktop from the Start menu or the desktop icon.
- Optional:
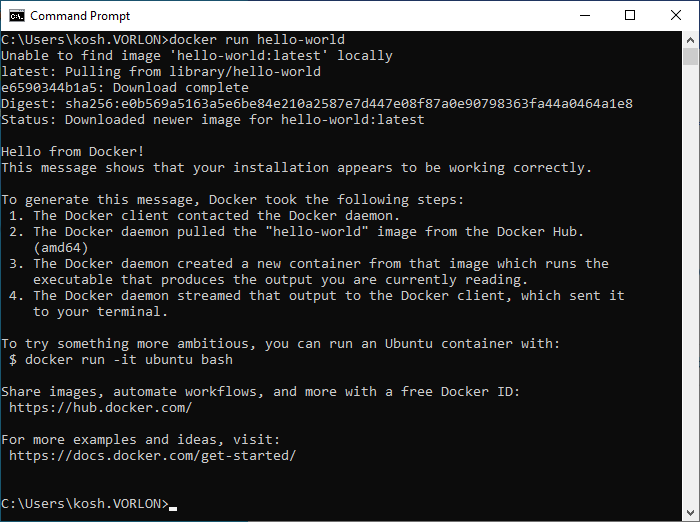
Test Docker in the Windows command line:
-
Run the following command:
docker run hello-worldResult: If you see the following output, it means your installation was successful and Docker is ready:
-
Run the following command:
Run the Portnox Cloud local TACACS+ server container
In this section, you will learn how to deploy the local TACACS+ server Docker container locally to the Windows machine.
To run the local TACACS+ container, you can copy the command directly from Portnox Cloud or create it manually using the instructions below. Note that the command copied from Portnox Cloud does not include certain options, such as a Docker volume to save local server data,. To proceed with the standard configuration, click on the ⧉ Copy command link. Otherwise, follow the steps below to customize the command. If the command is not there, make sure that you Generate a Portnox Cloud TACACS+ Gateway Token first.
Result: Your local TACACS+ server is active.
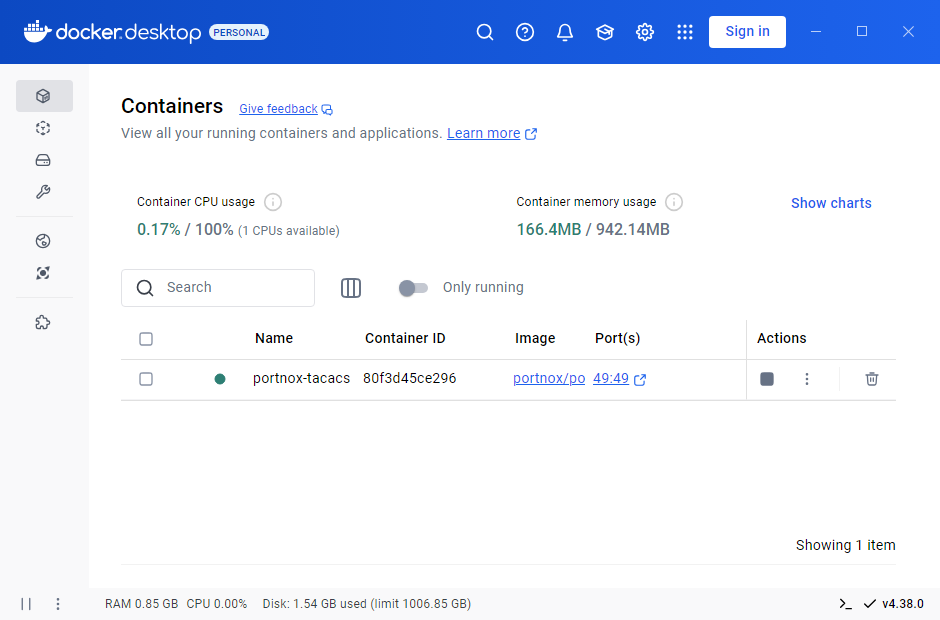
You can check its status in Portnox Cloud, in the section.

Automatically update the existing local container
In this section, you will learn how to automatically update your Docker container to the latest version by deploying another Docker container: portnox-autoupdate.
-
Get an API token from Portnox Cloud:
-
Click on the ⧉ button to copy the code and store it in a safe
place.
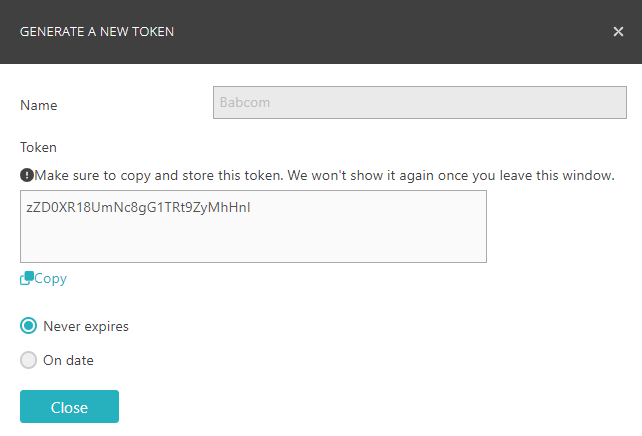 Important:You will not be able to access this code again after closing this window.
-
Click on the ⧉ button to copy the code and store it in a safe
place.
Remove an existing local TACACS+ container
In this section, you will learn how to manually remove an existing local TACACS+ container.