Deploy the local TACACS+ server container in Google Cloud Platform (GCP)
In this topic, you will learn how to deploy the Portnox™ Cloud local TACACS+ server container in Google Cloud Platform (GCP) using the Google Compute Engine (GCE).
Read the following important information before you begin:
-
You can deploy containers in Google Cloud Platform using either the Compute Engine (GCE), Cloud Run, or the Kubernetes Engine (GKE). We are only describing the process for GCE due to its simplicity and applicability.
The weak spot of GCE is the inability to directly store Docker tokens as secrets. The major disadvantage of Cloud Run is the inability to reserve a fixed IP address (requires the use of Google Load Balancer). The downside of using GKE is its complexity and the necessity to use the console.
For Google documentation on deploying containers with Google Cloud Run, see the following Google documentation topic: Deploying container images to Cloud Run.
For Google documentation on deploying containers with GKE, see the following Google documentation topic: Deploying a containerized web application.
-
You cannot place NAS devices behind a NAT because the local TACACS+ server uses the source IP address of the connection, and with a NAT in place, that address would be the same for several NAS devices.
Create a new VM instance in GCE
In this section, you will create a new virtual machine instance in GCE, deploy the Portnox Docker container, and assign a static, external IP address to the instance.
-
In the Google Cloud Console’s left-hand side menu, select the option.

-
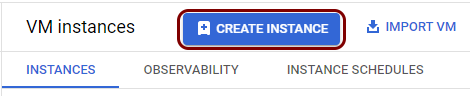
In the VM instances pane, in the top menu, click on the CREATE
INSTANCE button.
-
In the Create an instance pane, in the
Name field, enter a name for this VM instance.
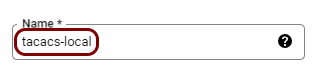
In this example, we used the name tacacs-local but you can use any name you like.
-
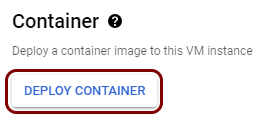
In the Container section, click on the DEPLOY CONTAINER button.
-
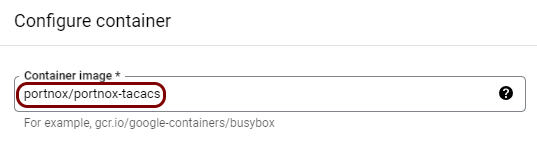
In the Configure container pane:
-
In the Container image field, enter
portnox/portnox-tacacs.
-
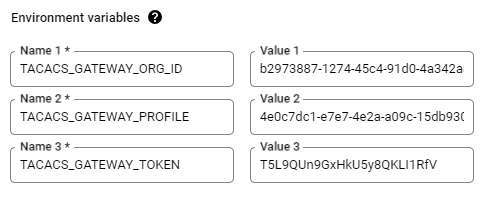
In the Environment variables section, click on the ADD
VARIABLE button.

-
In the Name 3 field, enter TACACS_GATEWAY_TOKEN and in the
Value 3 field, paste the value of the TACACS_GATEWAY_TOKEN
variable copied earlier from Portnox Cloud.
Important:Google Cloud VM instances do not provide a way to reference Google Secrets. If you need enhanced security and you must store the gateway token in a secret, you have to create a startup script that imports the value from the secret and adjust the Principal roles to be able to access Google Secrets.
-
In remaining fields, select values suitable for your requirements and you environment. Then, click on the
SELECT button.

-
In the Container image field, enter
portnox/portnox-tacacs.
-
Click on the Advanced options heading to expand the section.

-
Click on the Networking heading to expand the section.

-
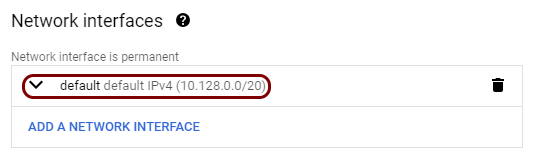
In the Network interfaces section, click on the default network
interface to edit it.
-
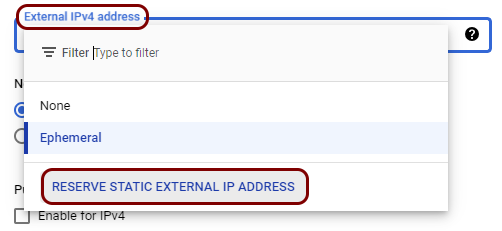
Click on the External IPv4 address field and then click on the RESERVE STATIC
EXTERNAL IP ADDRESS button.
-
In the Reserve a static external IP address window, enter
the name for this reservation and then click on the RESERVE button.
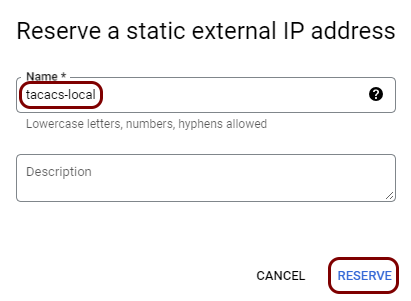
In this example, we used the name tacacs-local but you can use any name you like.
-
Click on the CREATE button to create the VM instance.

Result: The local TACACS+ container is working correctly and communicating with Portnox Cloud.

Create firewall rules to allow traffic to the local TACACS+ server
In this section, you will create firewall rules to open the port required by the local TACACS+ server to be reachable for clients.
While the container is running and communicating with the cloud, Google Cloud VM instances by default block access on all ports, so clients cannot use this TACACS+ server yet. You need to configure the Google Cloud firewall to allow TACACS+ traffic to reach the local TACACS+ instance.
-
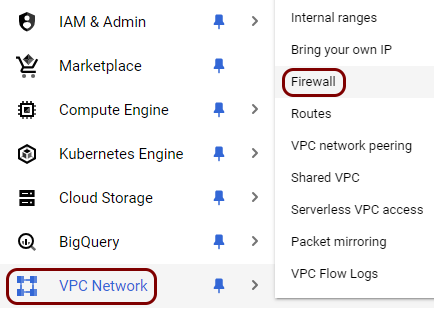
In the Google Cloud Console’s left-hand side menu, select the option.
-
In the Firewall policies pane, in the top menu, click on the CREATE FIREWALL
RULE button.

-
In the Create a firewall rule pane:
-
In the Name field, enter a name for this rule.
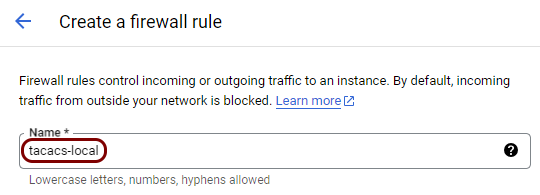
In this example, we used the name tacacs-local but you can use any name you like.
-
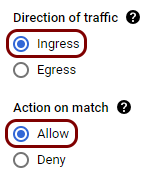
In the Direction of traffic section, make sure that the
Ingress option is selected and in the Action on match
section, make sure that the Allow option is selected.
-
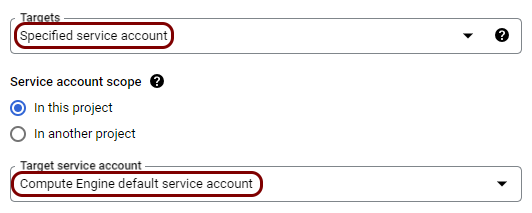
In the Targets section, select the Specified service account
option and then in the Target service account field, select the service account that
runs the VM instance you created earlier.
Note:If you did not specify a service account, the VM instance will be running using the Computer Engine default service account.
-
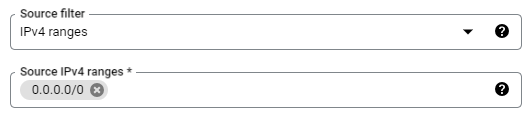
In the Source IPv4 ranges field, type the IP addresses that you want to allow to
connect to this local TACACS+ instance (in CIDR notation).
Note:If you don’t want to limit the source IP addresses, type 0.0.0.0/0.
-
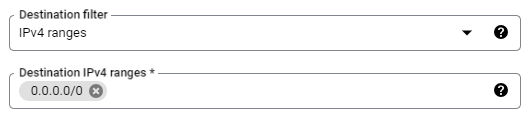
In the Destination IPv4 ranges field, you can either type the fixed IP address of
the local TACACS+ instance or simply type 0.0.0.0/0.
-
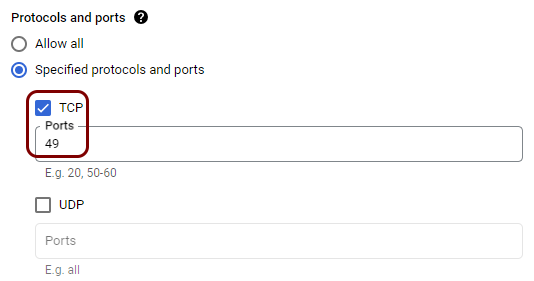
In the Protocols and ports section, activate only the TCP
checkbox, and in the Ports field, type: 49.
Note:This is the standard TACACS+ port.
-
Click on the CREATE button to create the rule.

-
In the Name field, enter a name for this rule.
Result: The local TACACS+ instance is now able to serve clients.