Add Zero Trust Network Access to the Okta Platform as an authentication factor
In this topic, you will find instructions on how to add Portnox™ Zero Trust Network Access to the Okta Platform as an authentication factor.
Prerequisites:
-
You must first integrate your Portnox Cloud instance with your Okta Workforce Identity repository as an authentication provider. For more information, see the following topic: Integrate with Okta Wokforce Identity.
When Portnox ZTNA is added as an authentication factor to Okta, every time you access a web application using Okta single sign-on (SSO), you are verified by Portnox ZTNA instead of only receiving Okta Verify prompts. This adds all the benefits of ZTNA, such as device compliance checks.
This setup lets you configure the integration once and then use it with any app that supports Okta SSO. You do not need to configure Okta as an identity provider for each app individually. However, this also gives you less control over specific apps, since you cannot apply different configurations in Portnox Cloud (for example, policies).
Create a new resource configuration in Portnox Cloud
In this section, you will create a new resource configuration in Portnox Cloud, which will let you add Portnox ZTNA as a factor to the Okta Platform.
-
In the Cloud portal top menu, click on the Zero Trust Resources option.

-
On the Resources screen, click on the Create resource button.

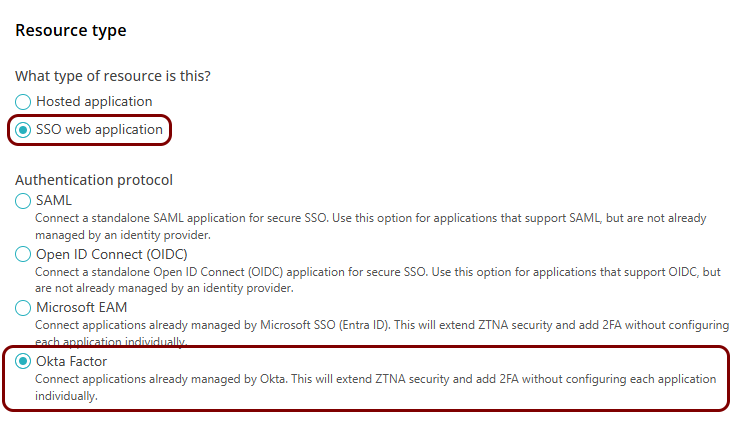
- In the What type of resource is this? section, select the Okta Factor option.
- Click on the Next button.
-
In the Resource details section, enter a Resource name and
optionally a Description.
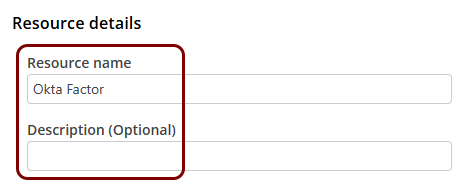
In this example, we used the name Okta Factor but you can use any name you like.
Create an Identity Provider configuration in Okta
In this section, you will create an identity provider configuration in the Okta Platform.
-
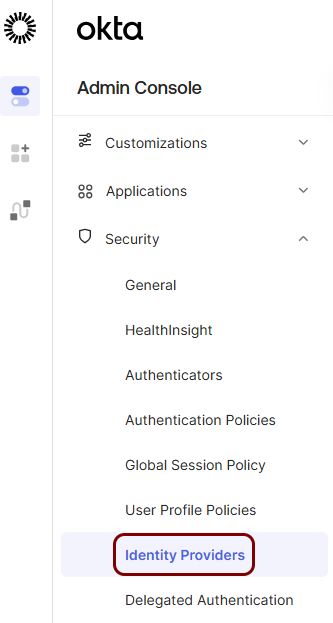
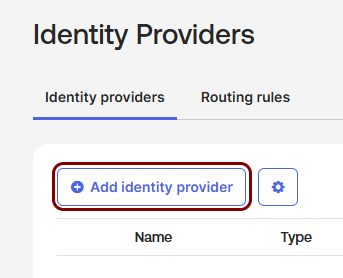
In the left-hand side menu, select: .
-
In the right-hand side pane, click on the Add identity provider button.
-
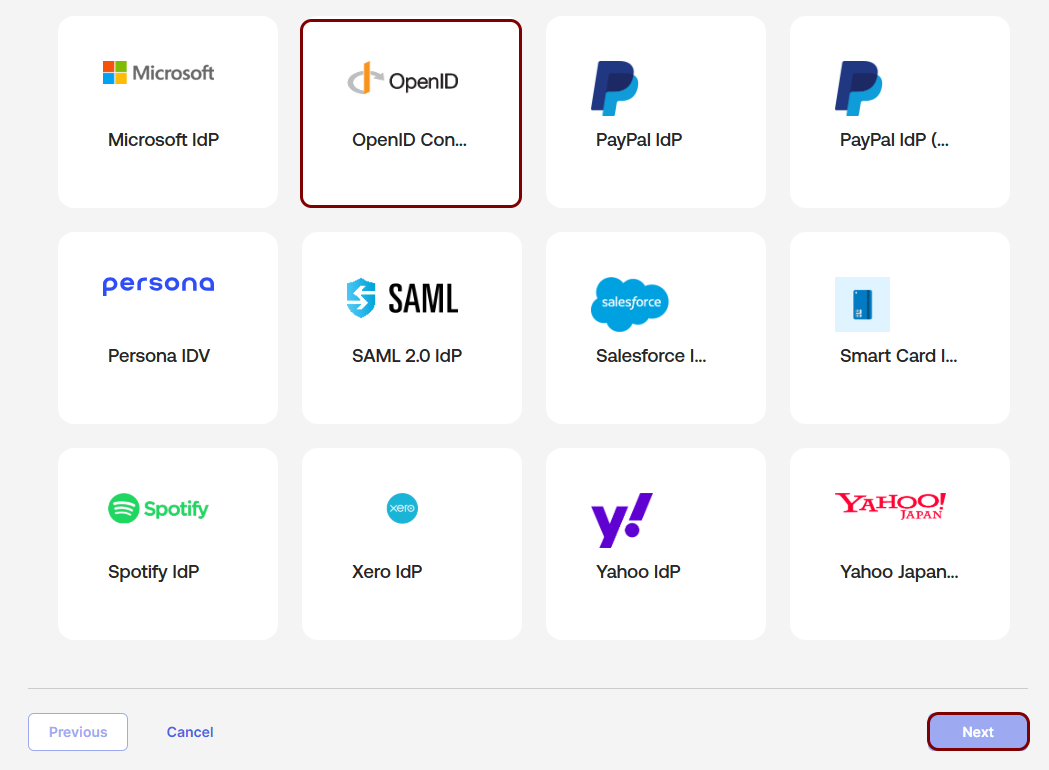
In the right-hand side pane, in the list of tiles representing identity provider types, click on the
OpenID Connect tile, and then click on the Next button.
-
In the Configure OpenID Connect IdP pane, in the General settings
section, in the Name field, enter a name for this integration.

In this example, we used the name Portnox ZTNA, but you can use any name you like.
-
In the IdP Usage field, select the Factor only option.

Copy values between the Portnox tab and the Okta tab
In this section, you will keep switching between the Portnox tab and the Okta tab, and copy values required for the integration.
-
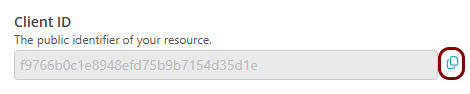
In the Portnox tab, click on the ⧉ icon next to the Client
ID field to copy the value to the clipboard.
-
In the Okta tab, in the Client details section, click on the empty Client
ID field, and paste the value that you copied from Portnox Cloud.

-
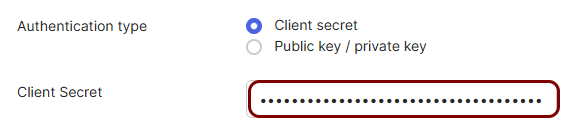
In the Portnox tab, click on the ⧉ icon next to the Client
Secret field to copy the value to the clipboard.

-
In the Okta tab, click on the empty Client Secret field, and paste the value that you copied
from Portnox Cloud.
-
In the Portnox tab, click on the ⧉ icon next to the
Issuer field to copy the value to the clipboard.

-
In the Okta tab, in the Endpoints section, click on the empty Issuer
field, and paste the value that you copied from Portnox Cloud.

-
In the Portnox tab, click on the ⧉ icon next to the
Authorization Endpoint field to copy the value to the clipboard.

-
In the Okta tab, click on the empty Authorization endpoint field, and paste the value that
you copied from Portnox Cloud.

-
In the Portnox tab, click on the ⧉ icon next to the Token
endpoint field to copy the value to the clipboard.

-
In the Okta tab, click on the empty Token endpoint field, and paste the value that you
copied from Portnox Cloud.

-
In the Portnox tab, click on the ⧉ icon next to the JWKS
endpoint field to copy the value to the clipboard.

-
In the Okta tab, click on the empty JWKS endpoint field, and paste the value that you copied
from Portnox Cloud.

-
In the Portnox tab, click on the ⧉ icon next to the UserInfo
endpoint field to copy the value to the clipboard.

-
In the Okta tab, click on the empty Userinfo endpoint field, and paste the value that you
copied from Portnox Cloud.

-
In the Okta tab, click on the Finish button.

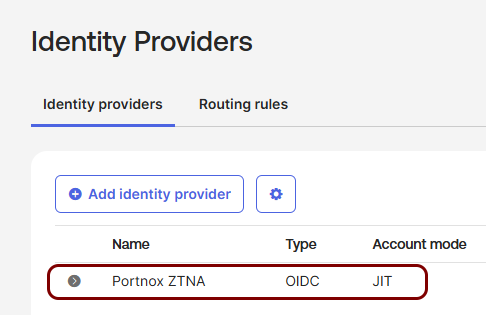
-
In the Okta tab, in the Identity Providers pane, click on row representing the identity
provider that you just created.
-
Click on the Copy button under the Redirect URI field to copy the
value to the clipboard.
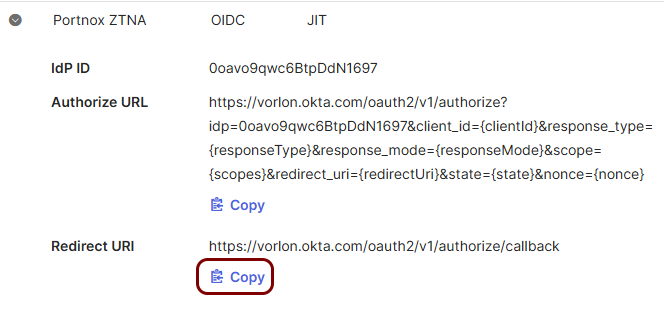
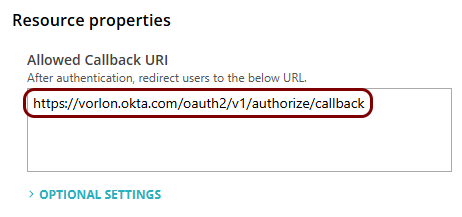
-
In the Portnox tab, click on the empty Allowed Callback URI field, and paste the value
copied from the Okta Platform.
Finalize the configuration in Portnox Cloud
In this section, you will finalize the configuration in Portnox Cloud.
-
Scroll all the way down to the end of the page, and then click on the Add resource
button.

Add ZTNA as an authenticator in the Okta Platform
In this section, you will add Portnox ZTNA as an Authenticator in the Okta Platform.
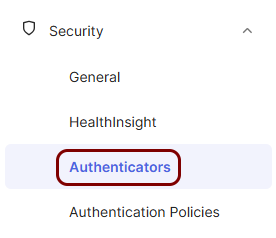
-
In the Okta tab, in the left-hand side menu, select: .
-
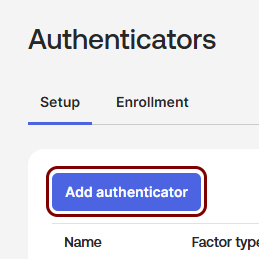
In the Authenticators pane, click on the Add authenticator
button.
-
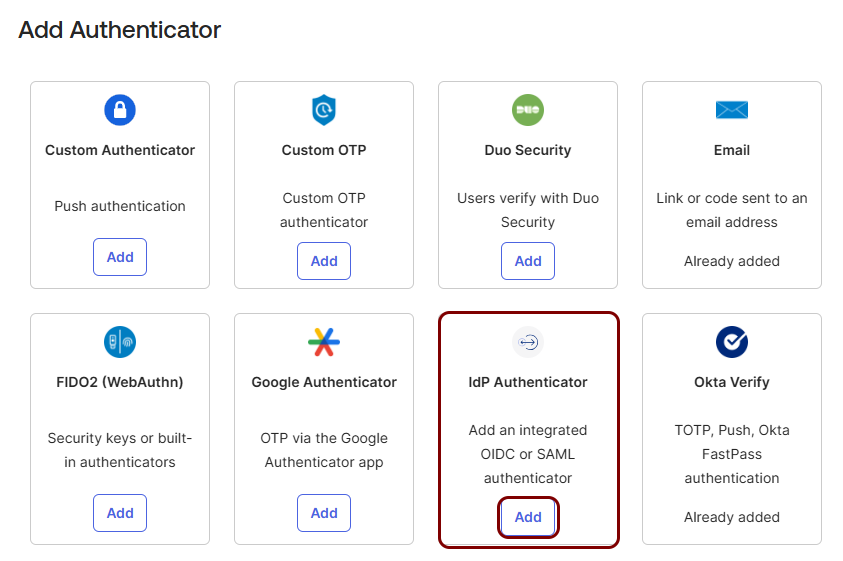
In the right-hand side pane, in the list of tiles representing authenticator types, click on the
Add button in the IdP Authenticator tile.
-
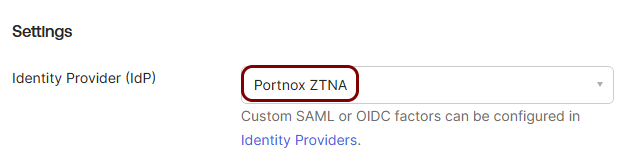
In the Add IdP Authenticator window, in the Settings section, in the
Identity Provider (IdP) field, select the identity provider that you added earlier.
-
If required, change the name and/or add a logo for this identity provider, and then click on the
Add button to add the authenticator.

Modify Okta app sign-in policies
In this section, you will modify Okta authentication policies as needed by your organization.
-
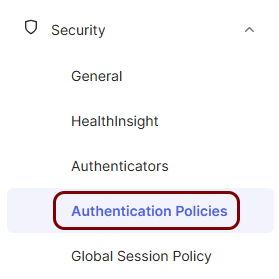
In the Okta tab, in the left-hand side menu, select: .
-
In the Authentication policies pane, click on the App sign-in
tile.