Onboard an Android phone to a Wi-Fi network with AgentP
In this topic, you will learn how to onboard using Portnox™ AgentP, an Android phone, and a Wi-Fi network managed by Portnox™ Cloud.
Download and install AgentP
In this section, you will download and install Portnox AgentP on your device.
-
Press the Android tile to open the Google Play page for Portnox AgentP. Then, press
Install to install AgentP.
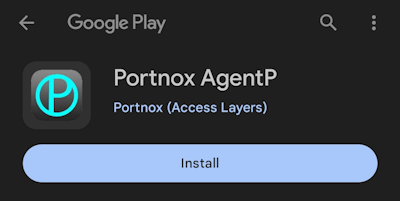
Result: AgentP is installed.

Register your device using AgentP
In this section, you will use Portnox™ AgentP to register your device with Portnox™ Cloud.
-
If AgentP is not running, start it from the launcher or Google Play.
-
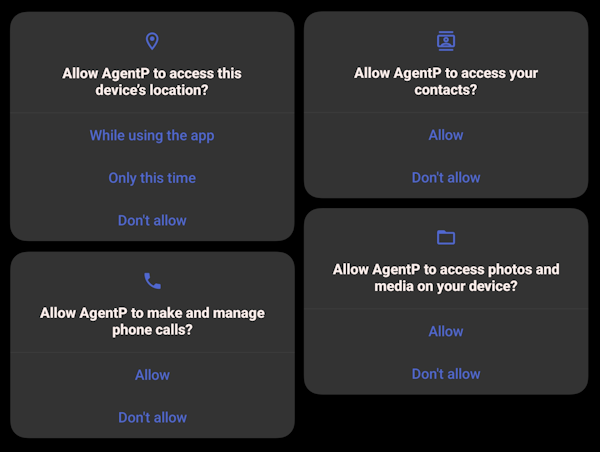
AgentP will request several permissions, which are necessary for it to run. Grant these permissions.
-
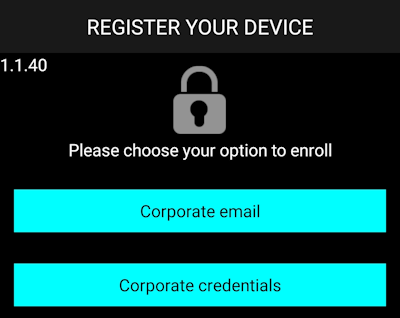
Press Corporate email or Corporate credentials. Select
Corporate email if Portnox Cloud manages your user repository. Select
Corporate credentials if you have integrated Cloud with an external repository. Proceed
with the following steps depending on your choice.
-
If you have chosen Corporate email:
Important:Only choose the Corporate email option if Portnox Cloud manages your user repository. Cloud manages the user repository if it’s not integrated with any external repositories such as Microsoft Entra ID, Google Workspace, or Okta Workforce Identity.
-
In the Email address field, enter your corporate email address and press
Submit.
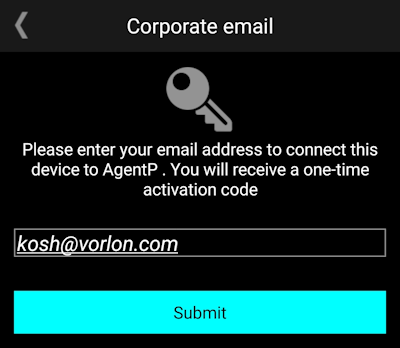
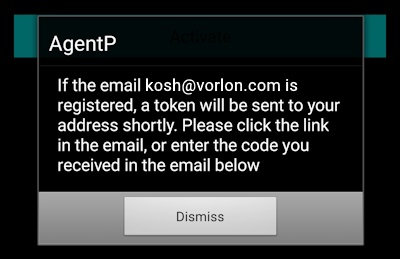
You will see a confirmation that an email with an activation code has been sent.
-
Open your email client and find the email received from Portnox Cloud containing an activation link and a
one-time activation code. Press the link or copy the code to the clipboard.

-
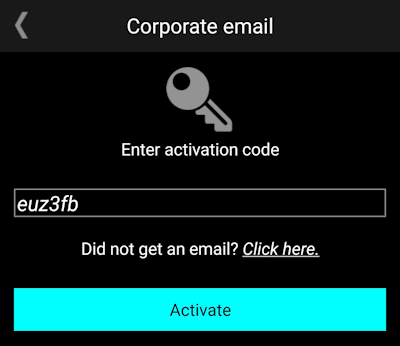
In AgentP, paste the code in the Activation code field and press
Activate.
-
In the Email address field, enter your corporate email address and press
Submit.
-
If you have chosen Corporate credentials:
-
Press the button that represents the authentication repository you want to use to sign in. If you want to
enter credentials directly, enter them in the Login (domain\user) or UPN (email) and
Password fields and press Register.
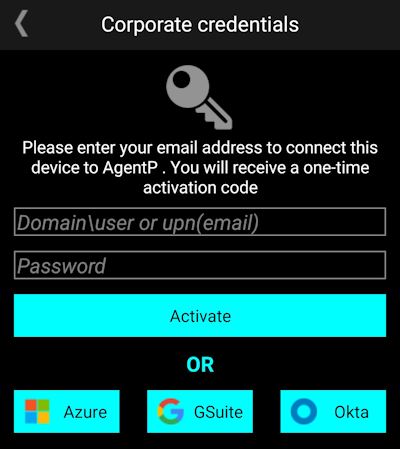 Note:Options depend on the repositories integrated with Portnox Cloud: Microsoft Entra ID, Google Workspace, and/or Okta Workforce Identity.
-
Press the button that represents the authentication repository you want to use to sign in. If you want to
enter credentials directly, enter them in the Login (domain\user) or UPN (email) and
Password fields and press Register.
-
In the Allow suggested Wi-Fi networks? pop-up, press ALLOW.

Result: Your device is registered and AgentP is running.

Connect to the Wi-Fi network using AgentP
In this section, you will use Portnox AgentP to connect to the Wi-Fi network.
-
If AgentP is not running, start it from the launcher or Google Play.
-
Press ≡ and then press Network.

-
Press the name of the network to install certificates for this network (if needed) and connect to it.

Result: Your device is connected to the network managed by Portnox Cloud.

