Deploy the local TACACS+ server container using Docker Desktop on Windows

In this topic, you will learn how to deploy the Portnox™ Cloud local TACACS+ server container using Docker Desktop on a local Windows machine (physical or virtual).

Read the following important information before you begin:

  • We assume that the Windows machine is already installed, configured, updated, and connected to the local network. This guide includes only the installation and configuration of Docker Desktop and the Portnox Cloud local TACACS+ server container.

  • We recommend running Portnox Docker containers using Linux for performance reasons. Portnox Docker images are built for Linux so in Windows, they have to be run using virtualization. If you run Docker Windows in a virtual machine, you will need nested virtualization, which can affect performance.

Note: This procedure has been tested on Windows 10 Enterprise running in a Hyper-V virtual machine. It applies either unmodified or with little modifications to all other Windows versions that are still supported by Microsoft and Docker, as long as they support Hyper-V or WSL, which is required by Docker Desktop.

Install Docker Desktop

In this section, you will follow Docker documentation to install Docker Desktop on the Windows machine.

Skip this section if Docker Desktop is already installed.

  1. Optional: If you want to run Docker Desktop in a virtual machine, enable nested virtualization in your hypervisor on the host machine.

    This step depends on the hypervisor that you are using. Below are some examples for popular hypervisors. Consult the documentation of your hypervisor for more information.

    • Hyper-V: Execute the following command in PowerShell with administrative privileges:

      Set-VMProcessor -VMName "vm_name" -ExposeVirtualizationExtensions $true

      where vm_name is the name of your virtual machine.

    • VirtualBox: Go to your virtual machine > Settings > System > Processor and turn on the Enable Nested VT-x/AMD-V option.

    • VMware Workstation: Go to your virtual machine > Edit virtual machine settings > Processors and turn on the Virtualize Intel VT-x/EPT or AMD-V/RVI option.

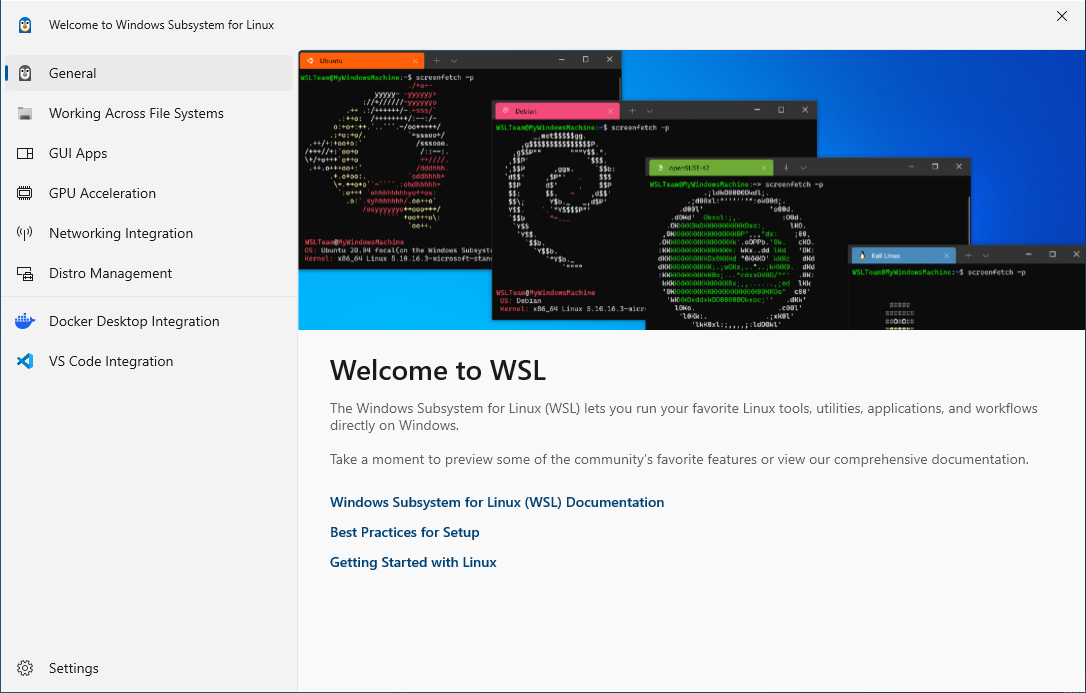
  2. Enable the Windows Subsystem for Linux (WSL) and install Ubuntu:
    Note: For detailed instructions on how to enable WSL and install Ubuntu, see official Microsoft documentation.
    Note: You can run Docker Desktop with WSL or Hyper-V. WSL is recommended for performance reasons. If you need to run Docker Desktop with Hyper-V instead, refer to the official Docker and Microsoft documentation.
    1. Open Windows PowerShell with administrative privileges.
    2. Run the following command to enable WSL and install Ubuntu:
      wsl --install

    Result: WSL with Ubuntu is ready and you can proceed with Docker installation.

  3. Install Docker Desktop:
    Note: For detailed instructions on how to install Docker Desktop, see official Docker Desktop documentation.
    1. Download the Docker Desktop installer from the official website.

      The links to download the latest versions of Docker Desktop for Windows are available in the official Docker Desktop documentation.

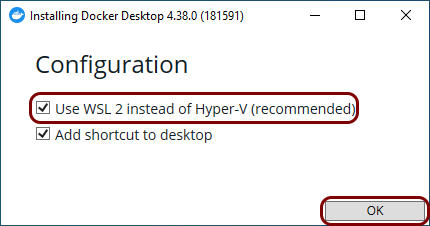
    2. Run the downloaded installer file and in the installer window, when prompted, activate the Use WSL 2 instead of Hyper-V checkbox.

    3. Restart Windows when prompted.
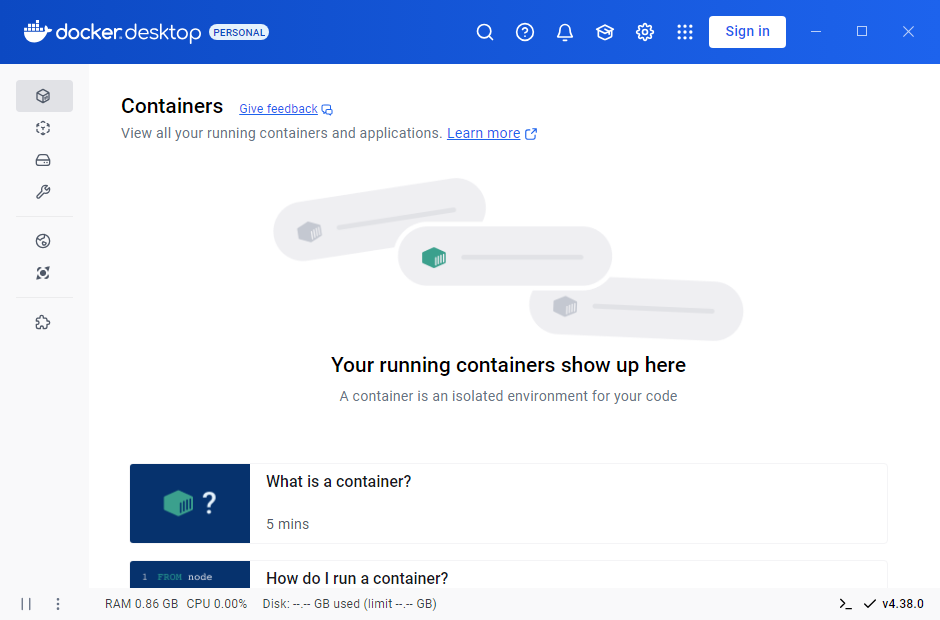
  4. Run Docker Desktop from the Start menu or the desktop icon.

  5. Optional: Test Docker in the Windows command line:
    1. Open the Windows command line (cmd).
    2. Run the following command:
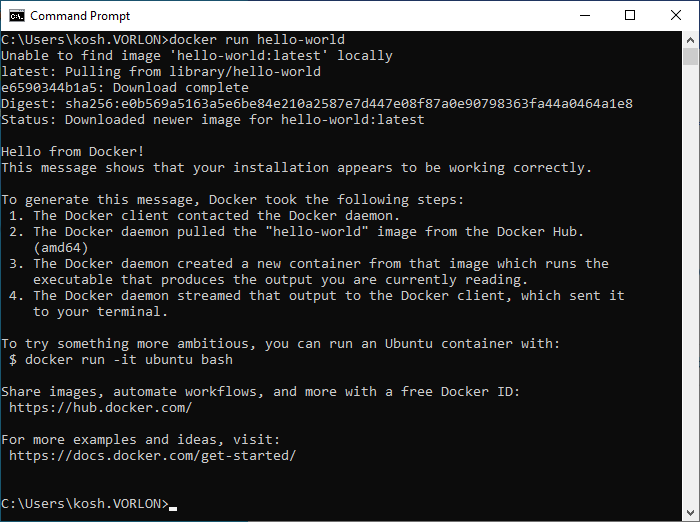
      docker run hello-world

      Result: If you see the following output, it means your installation was successful and Docker is ready:

Run the Portnox Cloud local TACACS+ container

In this section, you will deploy the local TACACS+ server Docker container locally to the Windows machine.

  1. Open a command prompt with administrative privileges and run the portnox/portnox-tacacs Docker container.
    docker run -d -p 49:49/tcp ^
      --name portnox-tacacs --restart=always ^
      -v portnox-tacacs-data:/data ^
      -e TACACS_GATEWAY_PROFILE=copied_TACACS_GATEWAY_PROFILE ^
      -e TACACS_GATEWAY_ORG_ID=copied_TACACS_GATEWAY_ORG_ID ^
      -e TACACS_GATEWAY_TOKEN=copied_TACACS_GATEWAY_TOKEN ^
      portnox/portnox-tacacs:latest

    where copied_TACACS_GATEWAY_PROFILE, copied_TACACS_GATEWAY_ORG_ID, and copied_TACACS_GATEWAY_TOKEN are the values of the three environment variables that you saved earlier. You can also copy them now directly from Portnox Cloud: Settings > Services > LOCAL TACACS+ SERVICE > Local TACACS+ images > your TACACS+ instance.

    Note: The -v option creates and mounts a Docker volume that preserves the local TACACS+ server data in case the container stops running, for example, if the machine is restarted or crashes. Without this option, local TACACS+ cached data would be lost if the container stops running. To learn more about Docker volumes and an alternative, bind mounts, see Docker documentation.
  2. Optional: View the logs for the portnox/portnox-tacacs Docker container.
    docker logs portnox-tacacs -f

Result: Your local TACACS+ server is active.
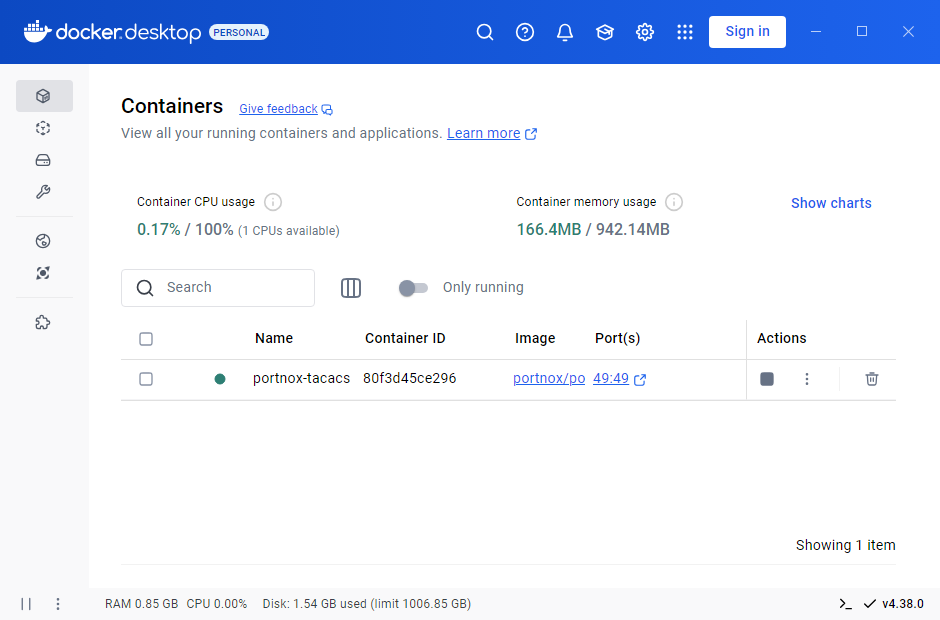
You can check its status in Portnox Cloud, in the Settings > Services > LOCAL TACACS+ SERVICE > Local TACACS+ images section.