
Integrate Extreme Cloud IQ with Zero Trust Network Access
In this topic, you will find general instructions on how to integrate Extreme Cloud IQ with Portnox™ Zero Trust Network Access.
Create a Portnox Cloud application configuration
In this step, you will create a configuration in Portnox Cloud that will contain all the information necessary to integrate with Extreme.
-
In the Cloud portal top menu, click on the Zero Trust Resources option.

-
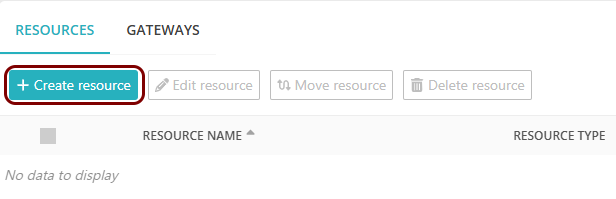
On the Resources screen, click on the Create resource button.
-
In the Authentication protocol section, select the SAML
option.
-
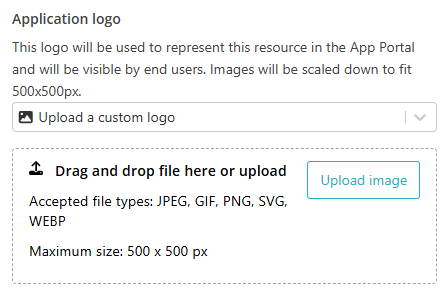
In the Application logo section, select one of the logos from the list, or select
the Upload a custom logo option and then click on the Upload
image button to upload a logo for the application.
The logo is used in the Secure Access Portal.
-
In the Authentication protocol section, select the SAML
option.
-
In the Resource details section, enter a Resource
name and optionally a Description.
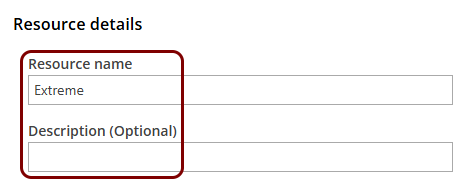
In this example, we used the name Extreme for the new application configuration but you can use any name you like.
Create an SSO IdP profile in ExtremeCloud IQ
In this section, you will access your ExtremeCloud IQ configuration, find the single sign-on (SSO) settings, and start creating a new IdP profile.
-
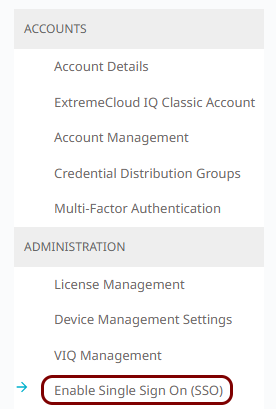
Open your Account
Details pane, and in the left-hand side menu, select the option.
-
In the Single Sign-On Identity Provider (IdP) Profiles pane, click on the Add IdP
Profile button.

-
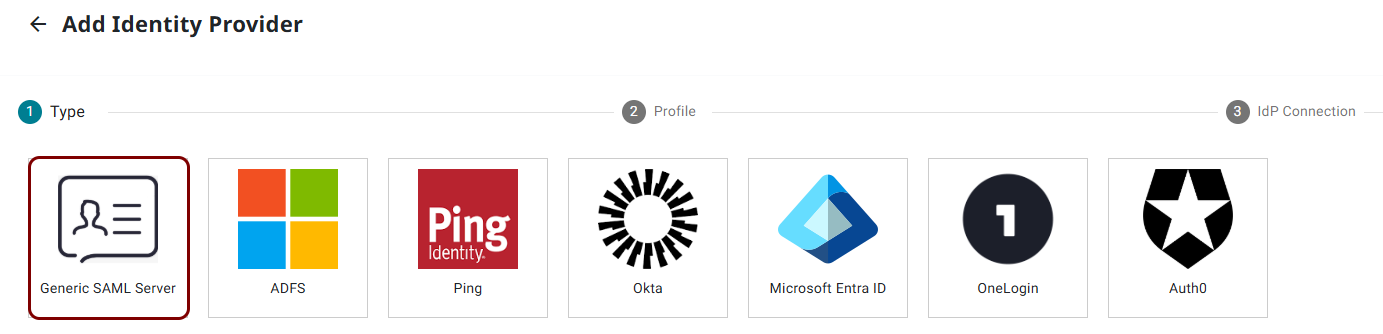
In the Add Identity Provider pane, in the Type step, click on the
Generic SAML Server icon.
-
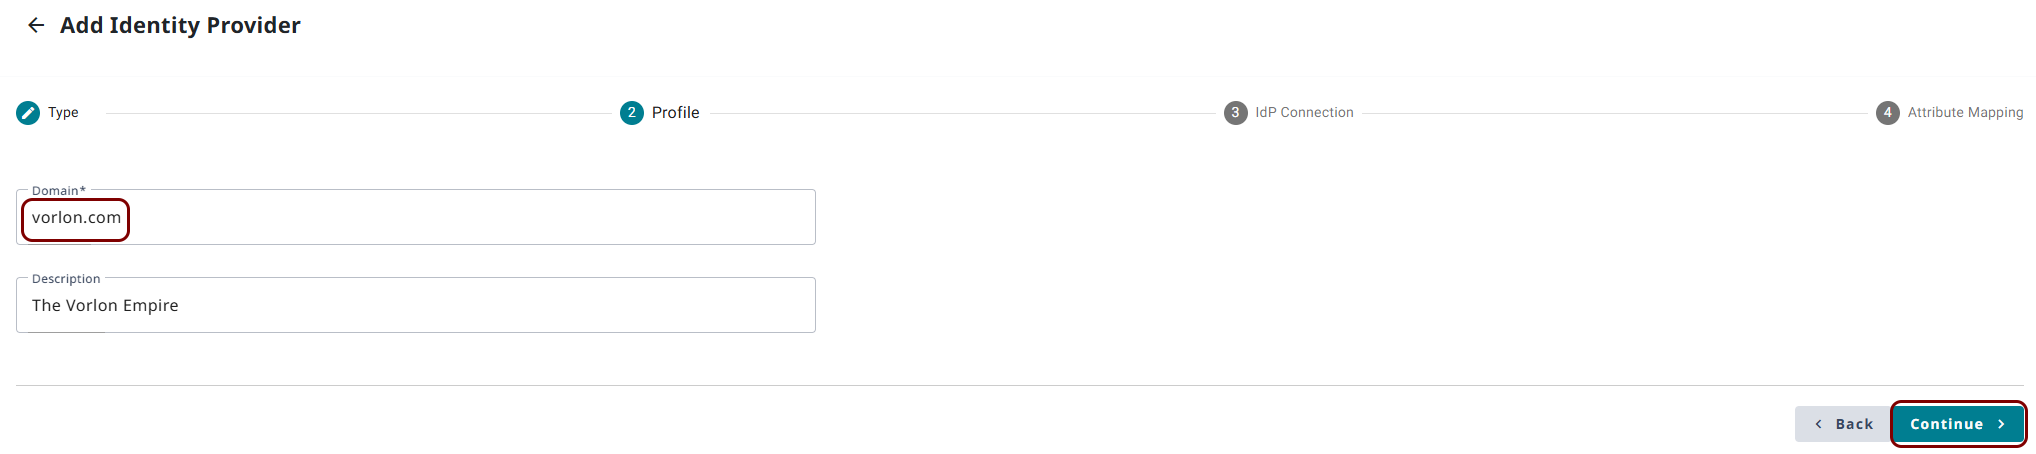
In the Domain field, enter the fully qualified domain name and optionally a
Description. Then, click on the Continue button.
Users logging in to ExtremeCloud IQ with their email addresses in this domain will be automatically processed with SAML.
-
In the Portnox tab, in the SAML metadata section, click on the Download metadata
XML file link to download the XML file and save it to your local drive.

-
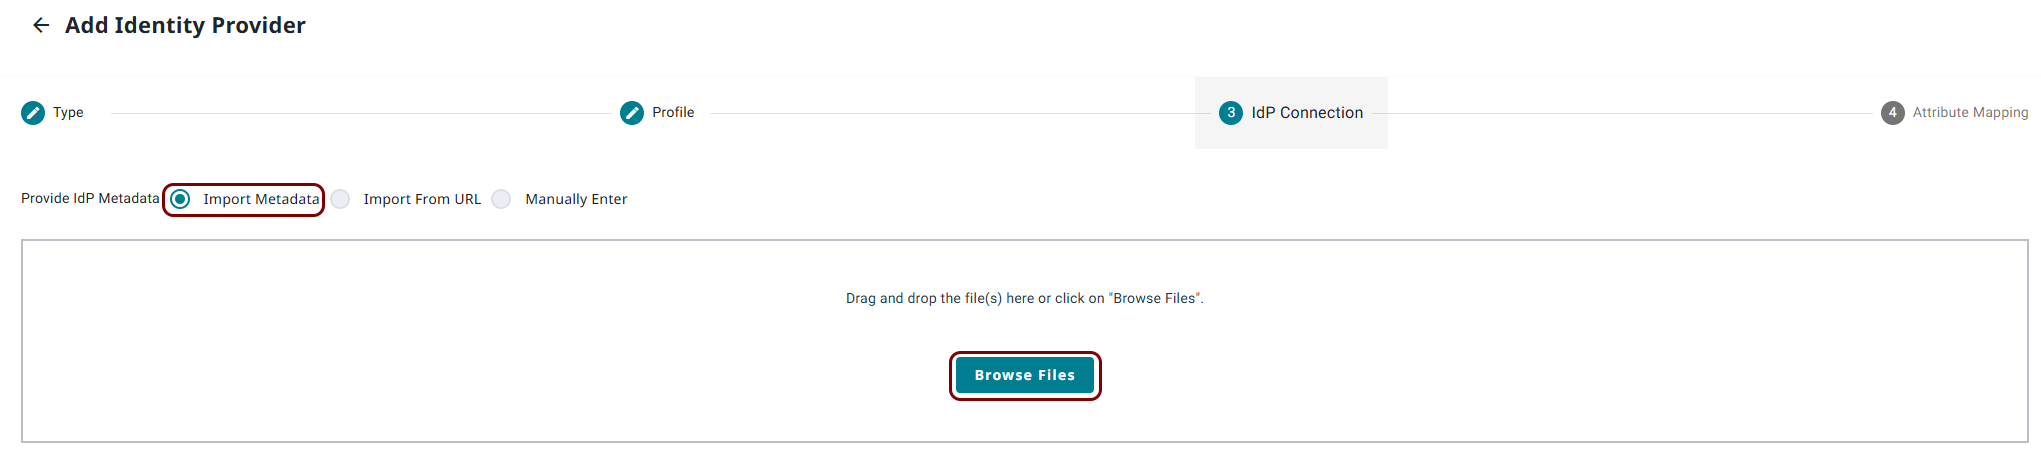
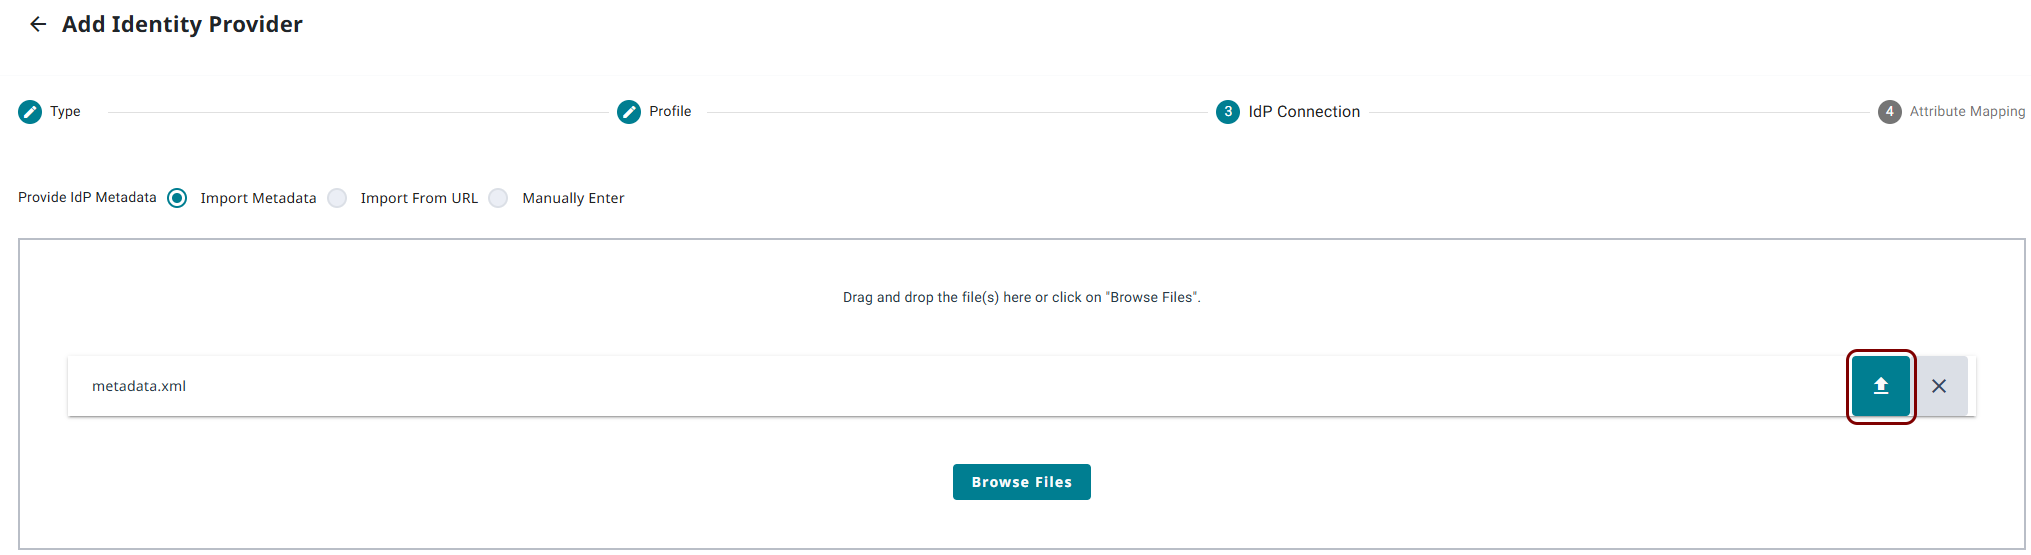
In the Profile step, select the Import Metadata radio button, and
then click on the Browse Files button. Then, select the XML file downloaded from Portnox
Cloud.
-
Click on the ↥ button to upload the file to ExtremeCloud IQ.
-
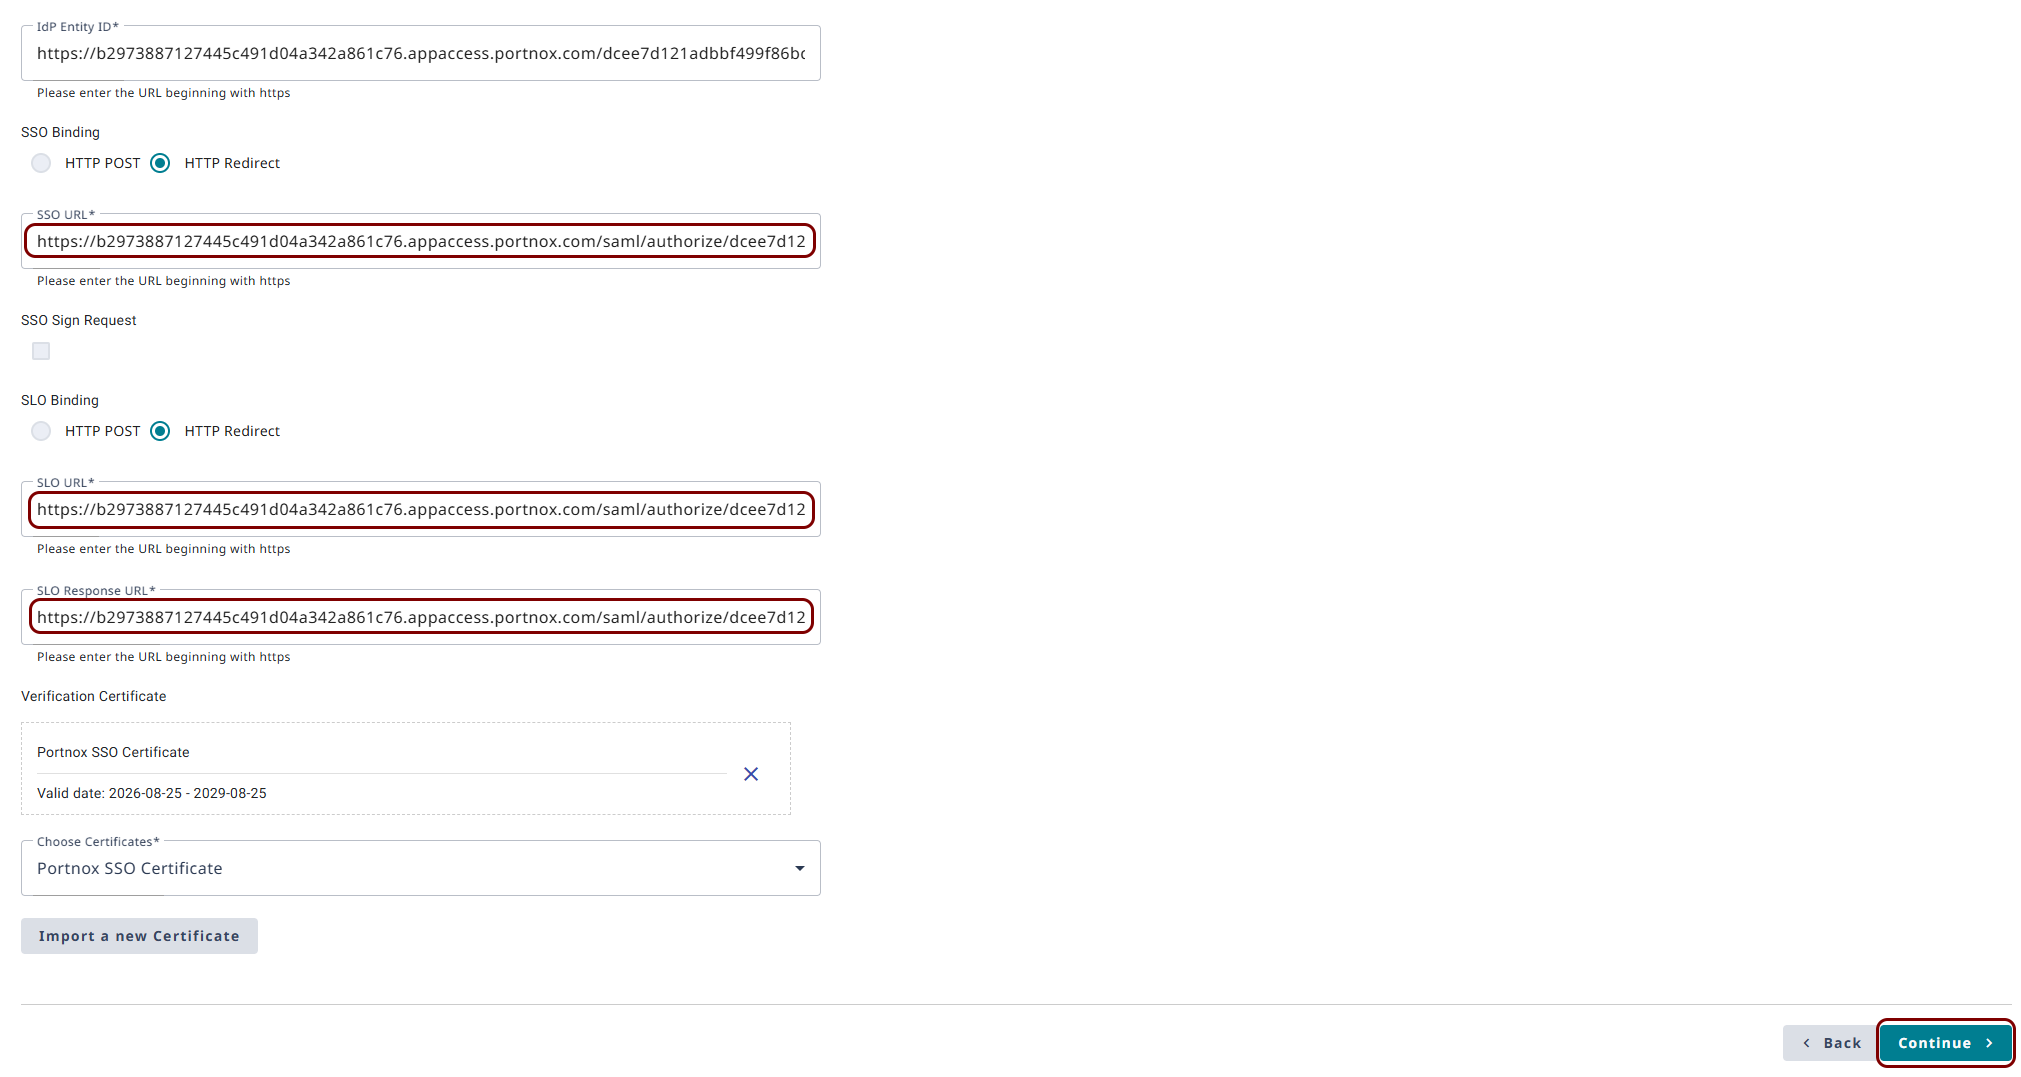
Scroll down to see the imported values, then copy the value of the SSO URL field and paste
the same value in the SLO URL and SLO Response URL fields. Then, click
on the Continue button.
Copy the SAML attributes/claims from your identity provider configuration
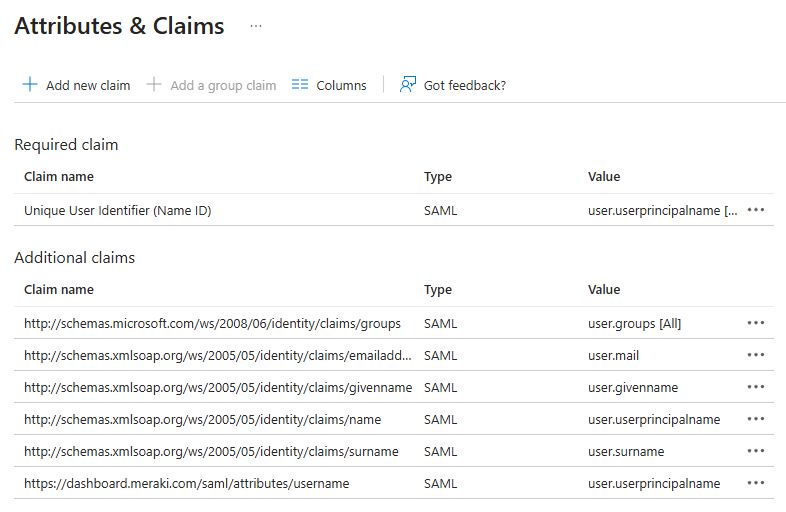
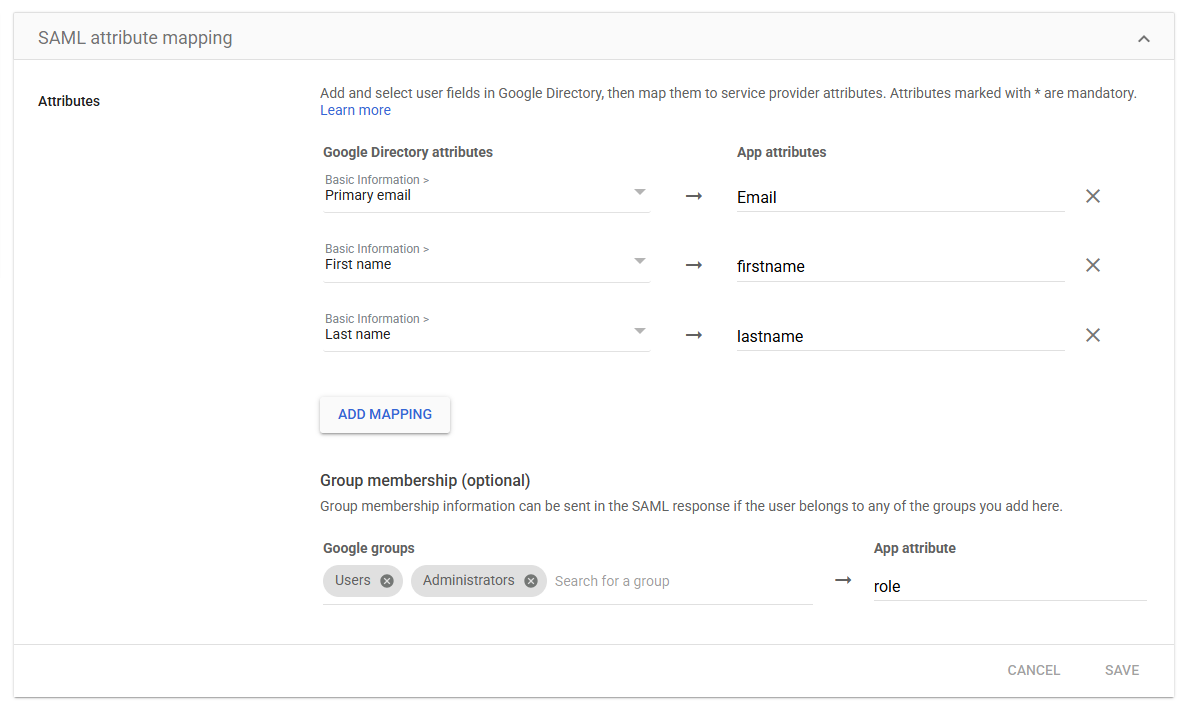
The ExtremeCloud IQ IdP configuration requires you to enter the values of essential SAML attributes (also known as claims). You need to find these attributes in your identity provider configuration, not your Portnox ZTNA configuration, and then copy them to a temporary text file.
-
If you use an Entra ID IdP configuration, in another browser tab,
open the Entra ID SAML application that you created earlier and do the following steps.
-
Open the Attributes & Claims pane ().
-
Open the Attributes & Claims pane ().
-
If you use Google Workplace, open your admin console and do the following steps.
-
Open the SAML attribute mapping pane ().
-
Open the SAML attribute mapping pane ().
Add the SAML Attributes in ExtremeCloud IQ
The ExtremeCloud IQ IdP configuration requires you to enter the values of essential SAML attributes (also known as claims). You need to paste these attributes exactly as you copied them from your identity provider configuration.
-
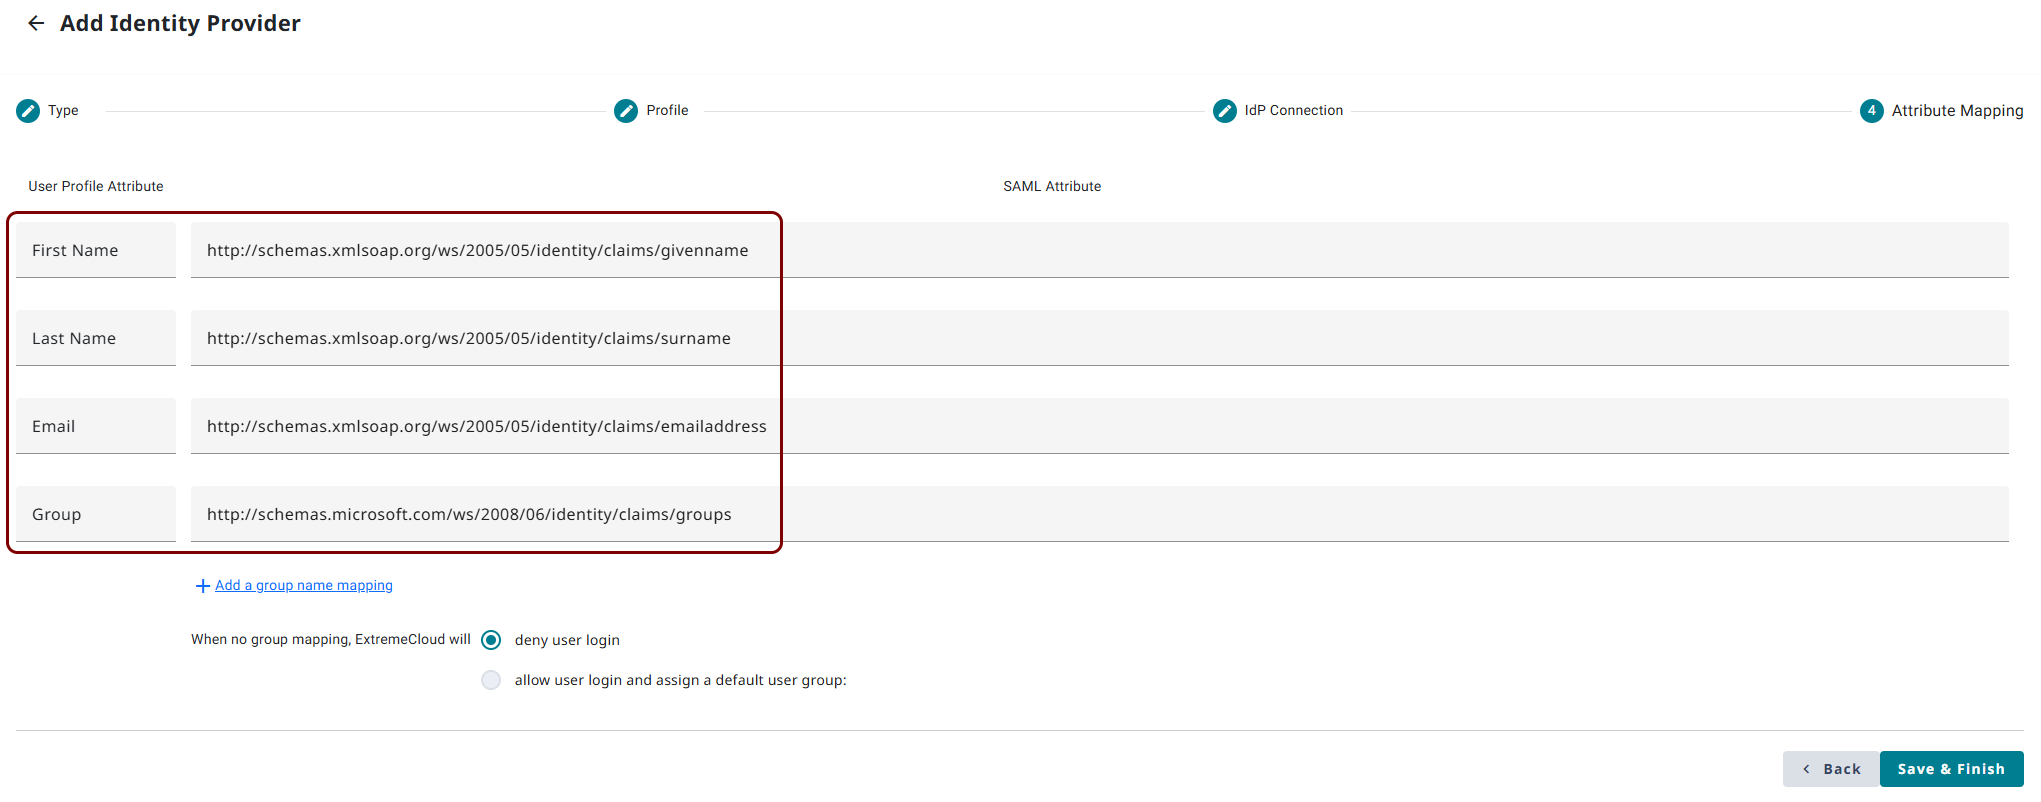
In the Extreme tab, continue your IdP profile creation in the IdP Connection step and in the
First Name, Last Name, Email, and
Group fields, enter the values copied from your IdP configuration in the previous
section.
-
Click on the Add a group name mapping link. In the IdP group field,
enter the identifier of your identity provider group, and in the Select an ExtremeCloudIQ
group field, select the appropriate ExtremeCloud IQ access level.
Note:You must add group mappings to manage the ExtremeCloud IQ access level for different users. In the When no group mapping section, you can select the allow user login and assign a default user group option and assign the Observer (read-only) group. In that way, all users allowed to access ExtremeCloud IQ through ZTNA will have at least read-only access, and only selected users will have more access rights.
-
If you use Entra ID, the IdP group field must contain the Object Id of your Entra ID group ().

-
If you use Google Workspace, the IdP group field must contain the name of your Google Workspace group.

-
Copy configuration values from the Extreme tab to the Portnox tab
In this section, you will copy the values displayed in your ExtremeCloud IQ IdP configuration, and paste them in the relevant fields in Portnox Cloud.
-
In the Extreme tab, in the Single Sign-On Identity Provider (IdP) Profiles pane, select the
IdP profile that you just added, click on the ⋮ icon, and select the
Edit option.

-
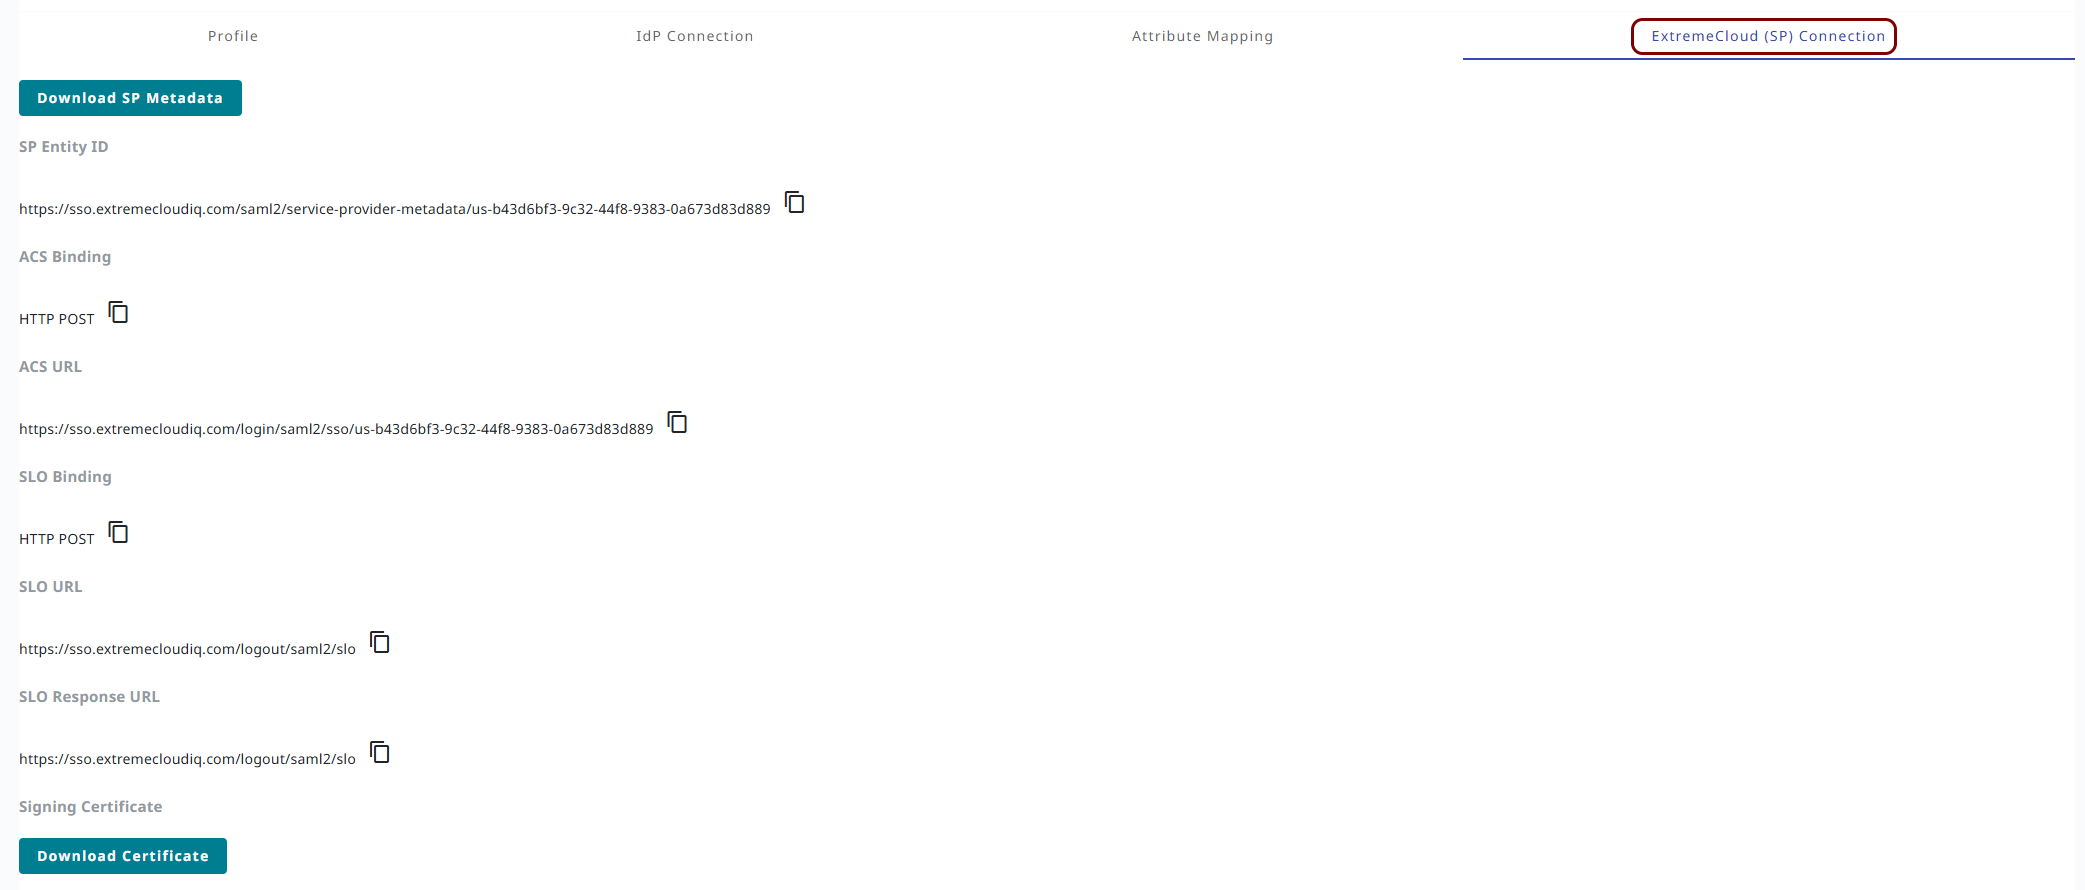
Click on the ExtremeCloud (SP) Connection tab.
-
Click on the ⧉ icon next to the SP Entity ID
field.

-
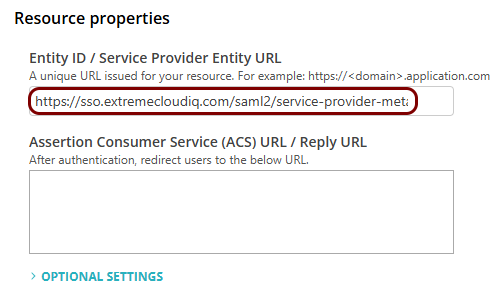
In the Portnox tab, in the Resource properties section, click on the empty field under the
Entity ID / Service Provider Entity URL heading and paste the value copied from
Extreme.
-
In the Extreme tab, click on the ⧉ icon next to the ACS
URL field.

-
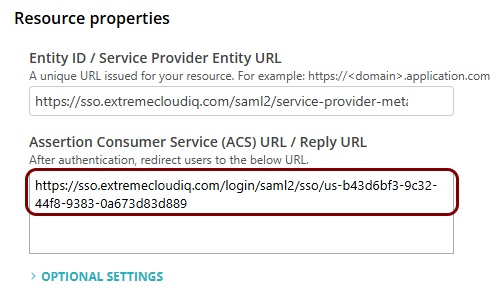
In the Portnox tab, in the Resource properties section, click on the empty field under the
Assertion Consumer Service (ACS) URL / Reply URL heading and paste the value copied from
Extreme.
Finalize the configuration
In this section, you will finalize the configuration in Portnox Cloud and ExtremeCloud IQ.
-
Finalize the configuration in the Portnox tab.
-
Click on the OPTIONAL SETTINGS link to show
additional fields, and then in the Application Login URI field, enter the
following value:
https://sso.extremecloudiq.com.Note:This step is required if you want to show this application in the ZTNA Secure Access Portal.
-
Scroll all the way down to the end of the page, and then click on the Add resource
button.
-
Click on the OPTIONAL SETTINGS link to show
additional fields, and then in the Application Login URI field, enter the
following value:
-
Test the configuration in the Extreme tab.
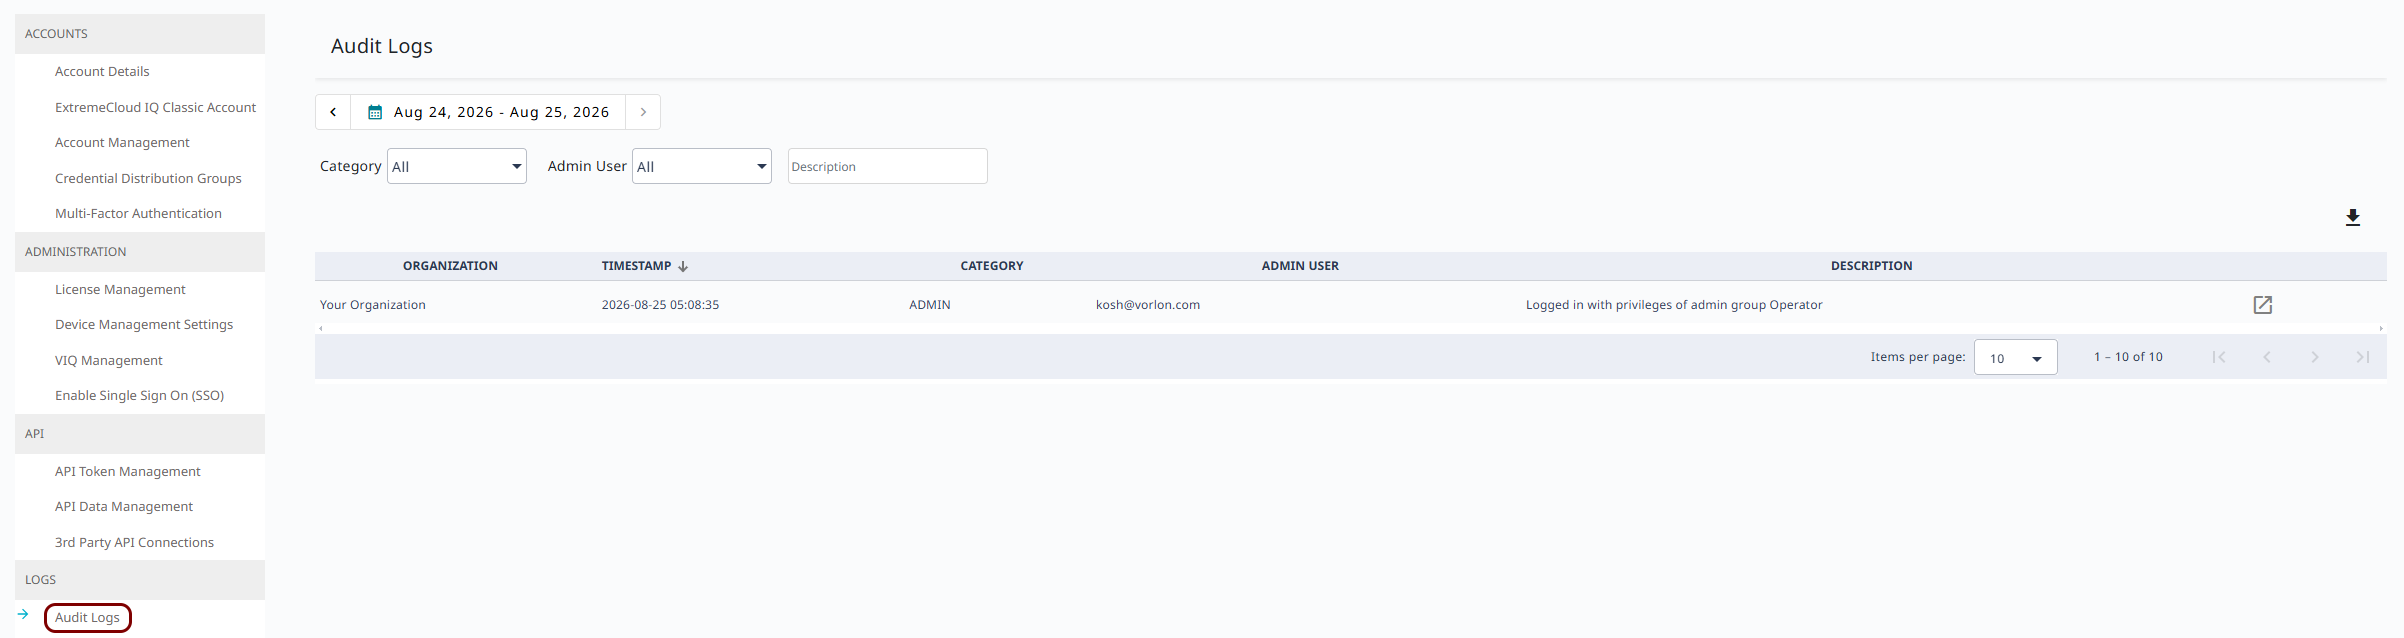
You can see the list of successful logins and the access level by accessing the Audit Logs pane ().
Result: You have configured ExtremeCloud IQ to be accessible using Portnox Zero Trust Network Access.