
Integrate Grafana with Zero Trust Network Access
In this topic, you will find general instructions on how to integrate Grafana with Portnox™ Zero Trust Network Access.
Create a Portnox Cloud application configuration
In this step, you will create a configuration in Portnox Cloud that will contain all the information necessary to integrate with Grafana.
-
In the Cloud portal top menu, click on the Zero Trust Resources option.

-
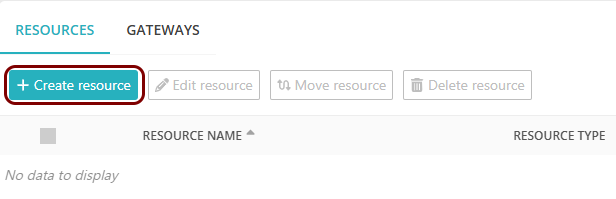
On the Resources screen, click on the Create resource button.
-
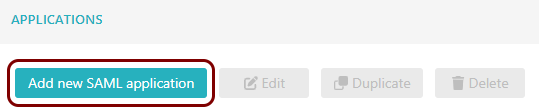
In the Authentication protocol section, select the SAML
option.
-
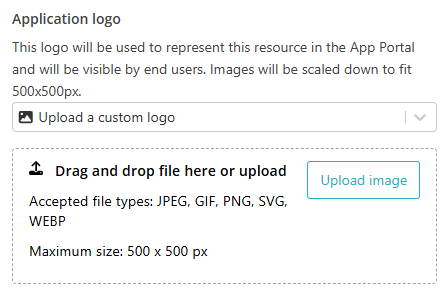
In the Application logo section, select one of the logos from the list, or select
the Upload a custom logo option and then click on the Upload
image button to upload a logo for the application.
The logo is used in the Secure Access Portal.
-
In the Authentication protocol section, select the SAML
option.
-
In the Resource details section, enter a Resource
name and optionally a Description.
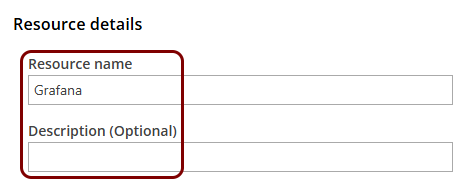
In this example, we used the name Grafana for the new application configuration but you can use any name you like.
Open your Grafana SAML configuration page
In this section, you will access your Grafana SAML configuration page and set up SAML SSO.
-
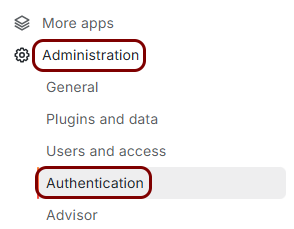
In the left-hand side menu, click on the Administration option, and then click on the
Authentication option.
-
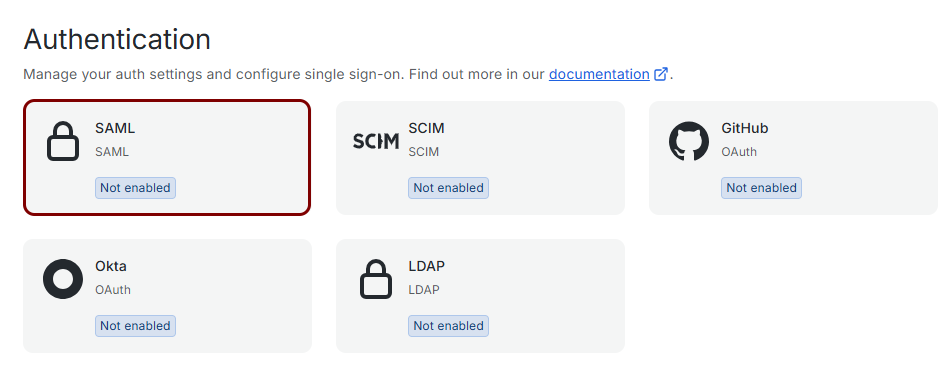
On the Authentication screen, click on the SAML tile.
Copy configuration values from the Portnox tab to the Grafana tab
In this section, you will copy the identity provider metadata URL displayed by Portnox Cloud and paste it in the relevant field in the Grafana SAML configuration page.
-
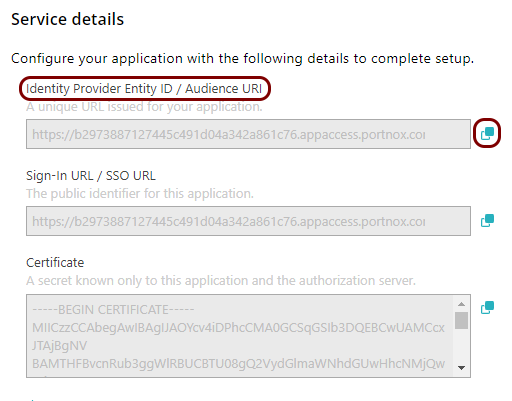
In the Portnox tab, in the Service details section, click on the ⧉ icon next to the Identity Provider Entity ID / Audience
URI field to copy the value.
-
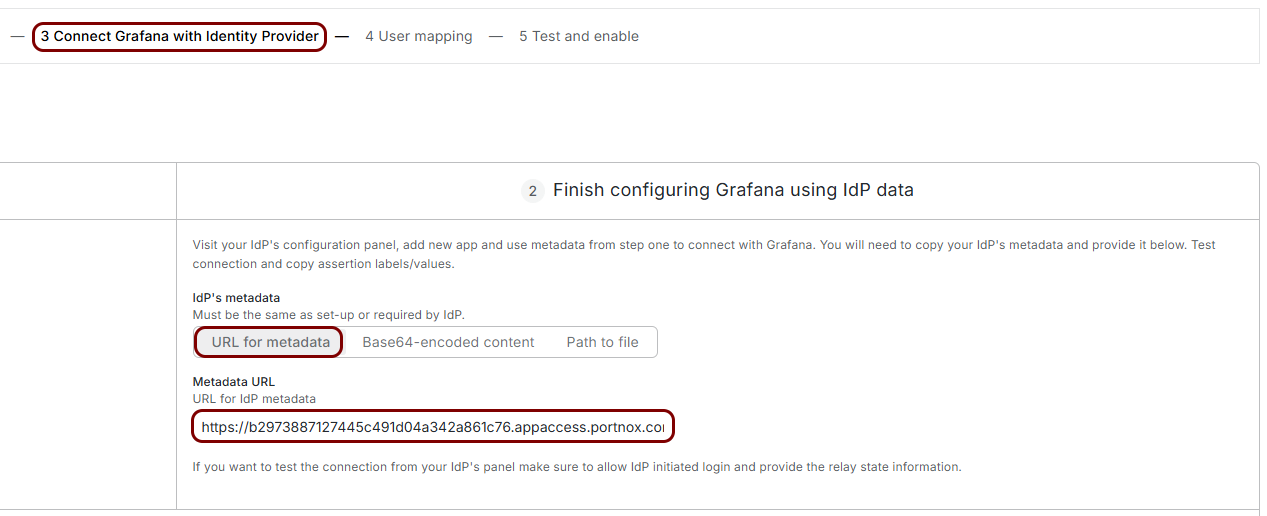
In the Grafana tab, on the Setup SAML single sign on page, click on the 3 Connect
Grafana with Identity Provider step of the creator, in the IdP’s metadata
field, select the URL for metadata option, then click on the empty field below the
Metadata URL label and paste the value copied from Portnox Cloud.
Enter configuration values in the Portnox tab
In this section, you will enter configuration values in the relevant fields in Portnox Cloud.
-
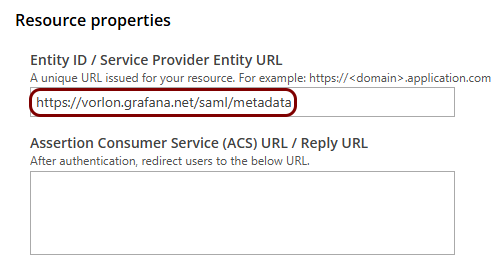
In the Portnox tab, in the Resource properties section, click on the empty field under the
Entity ID / Service Provider Entity URL heading and enter the following value:
https://your_stack.grafana.net/saml/metadata, where your_stack is
your Grafana Cloud stack name.
-
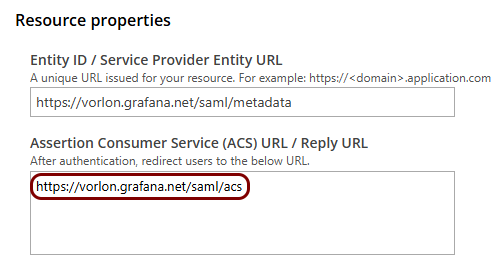
In the Portnox tab, in the Resource properties section, click on the empty field under the
Assertion Consumer Service (ACS) URL / Reply URL heading and enter the following value:
https://your_stack.grafana.net/saml/acs, where your_stack is your
Grafana Cloud stack name.
Finalize the configuration
In this section, you will finalize the configuration in Portnox Cloud and Grafana.
-
Finalize the configuration in the Portnox tab.
-
Click on the OPTIONAL SETTINGS link to show
additional fields, and then in the Application Login URI field, enter the
following value: https://your_stack.grafana.net, where your_stack is your
Grafana Cloud stack name.
Note:This step is required if you want to show this application in the ZTNA Secure Access Portal.

-
Scroll all the way down to the end of the page, and then click on the Add resource
button.
-
Click on the OPTIONAL SETTINGS link to show
additional fields, and then in the Application Login URI field, enter the
following value: https://your_stack.grafana.net, where your_stack is your
Grafana Cloud stack name.
-
Finalize the configuration in the Grafana tab.
-
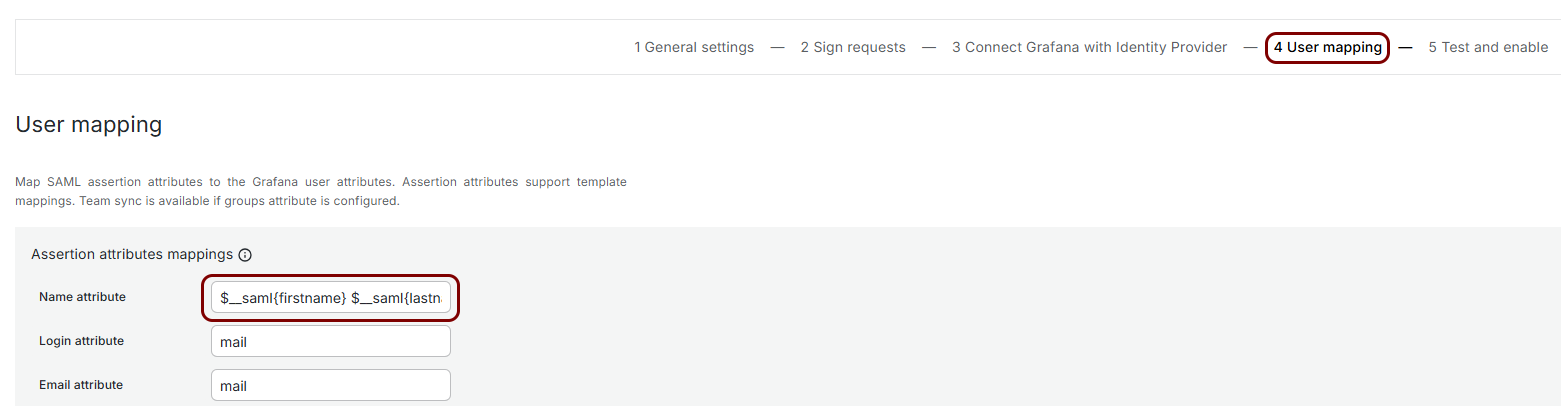
Click on the 4 User mapping step of the creator, and then in the
Assertion attributes mappings section, replace the value in the Name
attribute field with $__saml{firstname} $__saml{lastname}.
 Important:
You may need to configure your identity provider and Grafana to match the claims/attributes. A mismatch is likely to cause a Login provider denied login request error. You can configure the relevant fields in Grafana to match your existing claims/attributes or add new claims/attributes to your identity provider configuration. For an example of how to check and configure claims/attributes in your identity provider, see this guide for another application.
-
Click on the 5 Test and enable step of the creator and then click on the
Save and enable button.

Grafana validates the configuration. If it finds an issue, it shows an error message. Correct the issue and click on the Save and enable button again.
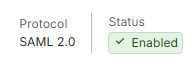
Once the configuration passes validation, the SAML integration status changes to Enabled.
-
Click on the 4 User mapping step of the creator, and then in the
Assertion attributes mappings section, replace the value in the Name
attribute field with $__saml{firstname} $__saml{lastname}.
Result: You have configured Grafana to be accessible using Portnox Zero Trust Network Access.