
Integrate SentinelOne with Zero Trust Network Access
In this topic, you will find general instructions on how to integrate the SentinelOne console with Portnox™ Zero Trust Network Access.
Modify your identity provider configuration to support SentinelOne
SentinelOne SAML integration requires your identity provider to send claims that identify the user and the SentinelOne role to assign to the user. In this task, you will create a new identity provider configuration especially for SentinelOne and add these claims to it.
-
We strongly recommend that you create a separate identity provider configuration just for SentinelOne, rather than reusing an existing one. However, if only a few users need SentinelOne access, you may not need to do this. Instead, add those users manually in SentinelOne before they sign in with SSO. Manually added users don’t need a role ID in the claims (see below), so in that case reusing an existing configuration may be less work.
-
If you want SentinelOne to create new users automatically (auto-provision), it needs your identity provider to send a role identifier so that it knows which SentinelOne role to assign the user. The simplest approach is to send the same role for every user you want to automatically create in SentinelOne, and then move users into the appropriate SentinelOne role using the SentinelOne console. This guide shows that simple approach as a starting point.
If you want roles to be assigned automatically based on group/role membership in your identity provider, you can send a different role identifier for each group/role in your identity provider. However, that setup depends on your own environment, so we can’t provide exact steps for it.
-
SentinelOne accepts either a role claim (matches a role by exact, case-sensitive name) or a role_id claim (matches a role by its numeric ID), but never both at the same time. Sending both, or sending a claim with more than one value, causes SentinelOne to reject the login even if the role_id value is correct.
If you use an existing configuration that already sends a role claim for another application, adding role_id to it breaks SentinelOne login, and reusing that existing role claim instead would require your SentinelOne role names to exactly match the role names expected by the other application. A separate configuration avoids both problems.
-
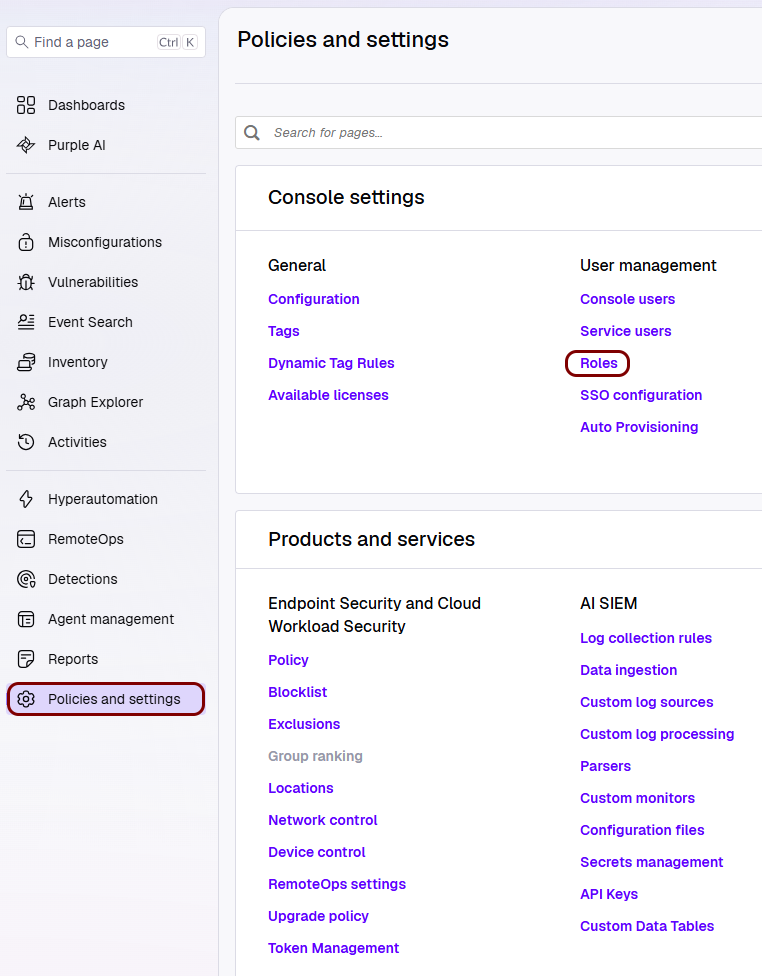
In the SentinelOne tab, in the left-hand side menu, click on the Policies and settings
option, and then in the right-hand side pane, click on the option.
-
Find the numeric role ID of the SentinelOne role that you want to assign to auto-provisioned users.
Note down the value in the Role Id column for the role you want to use.

-
If you use Entra ID, in another browser tab, open Entra ID, and create a new Zero Trust Network Access enterprise
application dedicated to SentinelOne, as described in Entra ID IdP
configuration. Then, in this new application, do the following steps.
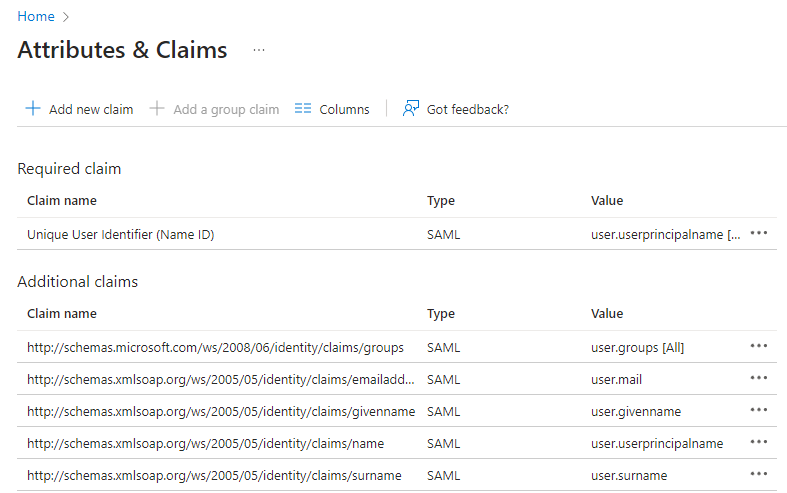
Note:A new application already includes default claims for the user’s email, given name, user principal name, and surname. Leave these as they are; SentinelOne does not use them, and they cause no issues.
-
Open the Attributes & Claims pane ().
-
Click on the Add new claim button again. In the Name field,
type role_id. In the Source attribute field, enter the numeric
role ID that you noted down earlier as a constant value. Then, click on the Save
button.
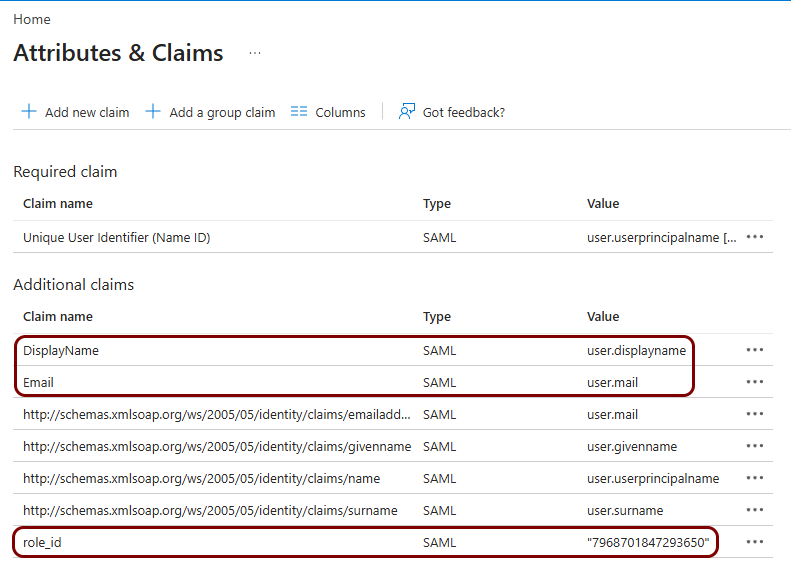
Important:If you are adding these claims to an existing identity provider application instead of creating a new one dedicated to SentinelOne, check if a claim named role exists. If it does, remove it. However, this may break an integration with other applications. -
Open the Attributes & Claims pane ().
-
If you use Google Workspace, in another browser tab, open your Google Admin Console, and create a new custom SAML
app dedicated to SentinelOne. Then, in this new app, do the following steps.
Note:Google Workspace does not support static attributes. To send the same role ID for every user, add a custom field to your user directory and set the same value for every user you want to auto-provision.
-
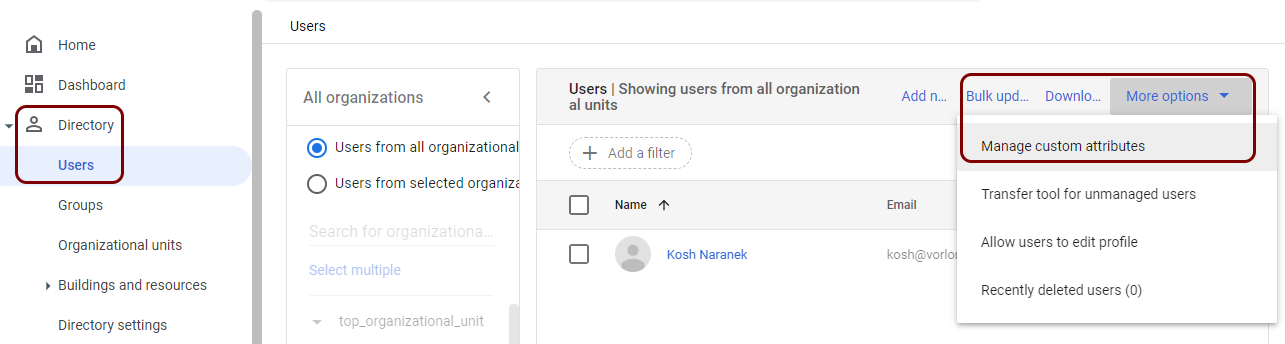
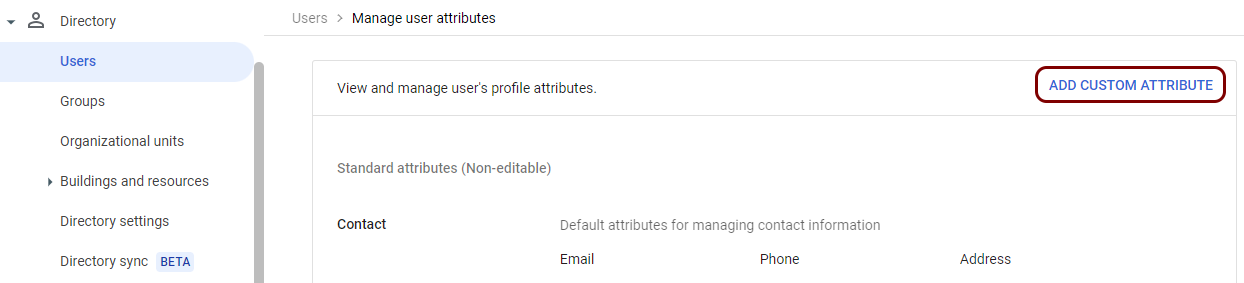
In Google Admin Console, go to . Then, click on the More options button, and select the
Manage custom attributes option.
-
Click on the ADD CUSTOM ATTRIBUTE link.
-
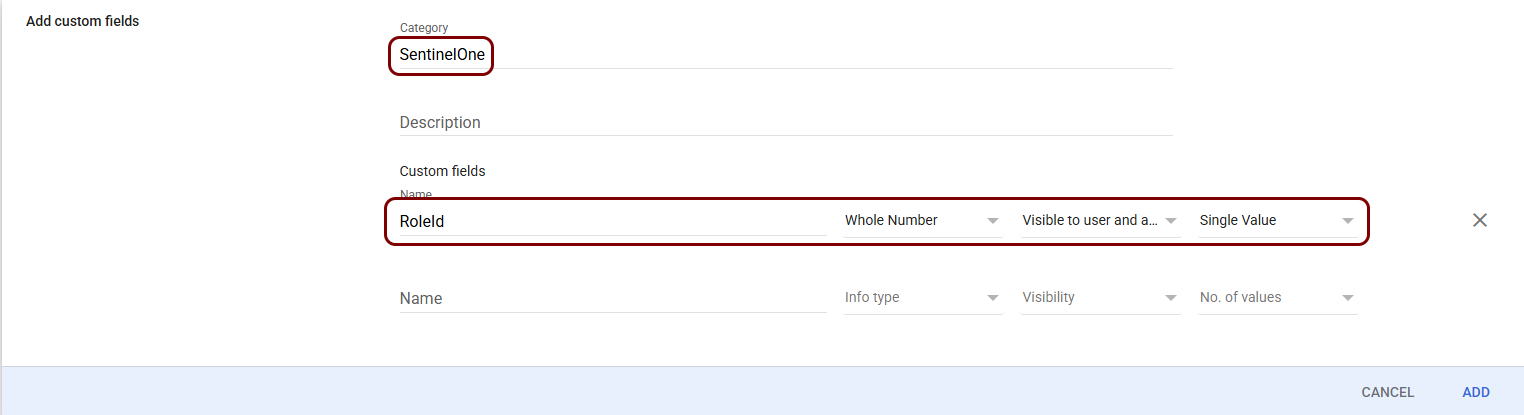
In the Add custom fields pane, enter a Category (for example,
SentinelOne) and add one attribute: RoleId. Set
Info type to Whole Number,
Visibility to Visible to user and admin, and
No. of values to Single Value. Then, click on the
ADD button.
-
Go back to the list of users. Then, open each user that needs to be auto-provisioned in SentinelOne, click
on the ADD ALTERNATE EMAILS option, scroll down to the category you added, and click
on the ✎ icon to enter the numeric role ID that you noted down
earlier.
 Note:You can also use different role IDs for different users to assign them different privileges in SentinelOne.
 -
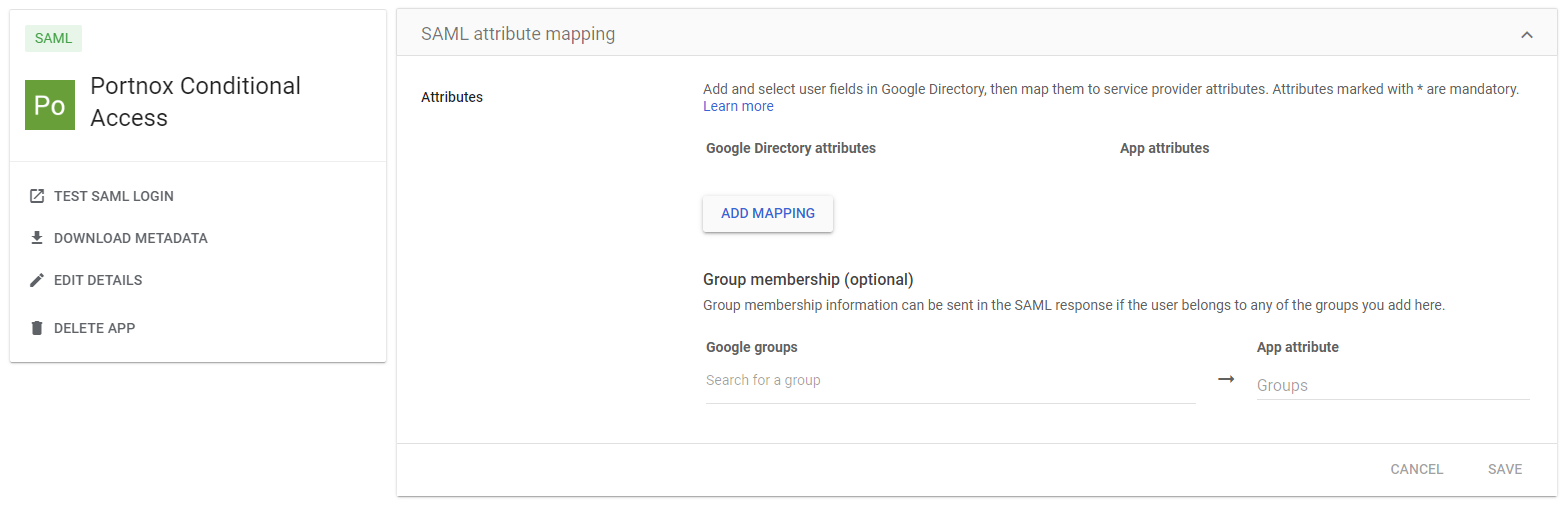
Open the SAML attribute mapping pane (.
-
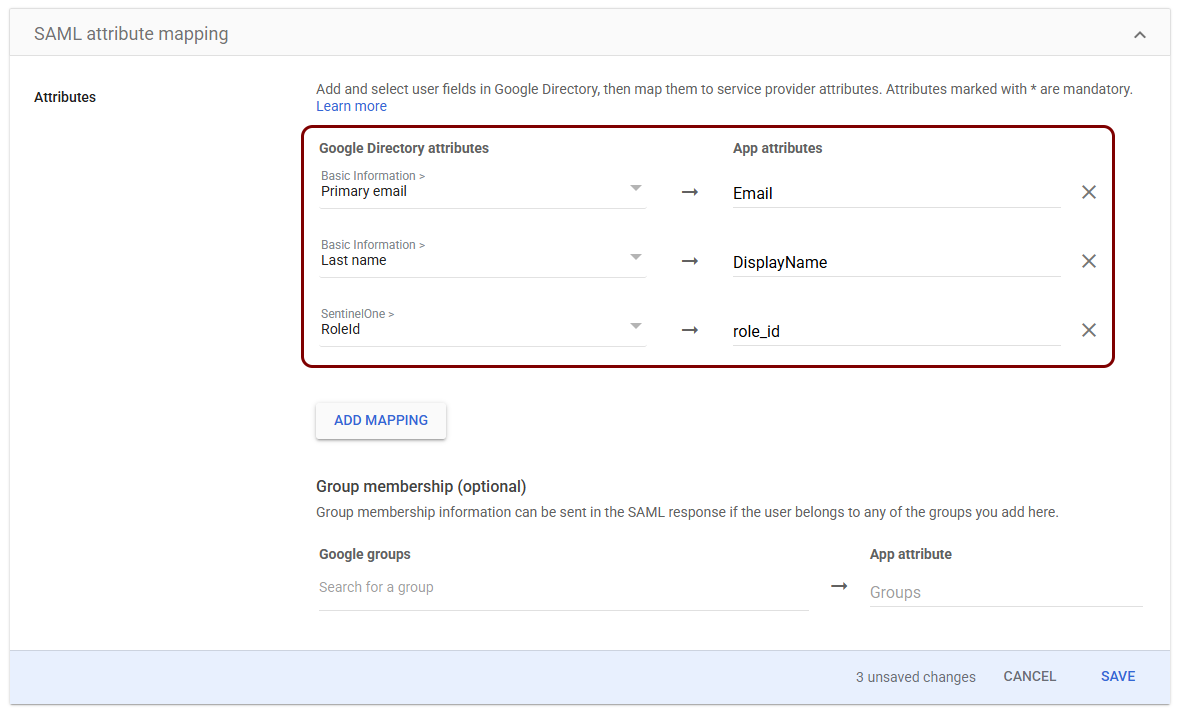
Click on the ADD MAPPING button again and add a mapping for
SentinelOne > RoleId to role_id.
Important:If you are adding these claims to an existing identity provider application instead of creating a new one dedicated to SentinelOne, check if a claim named role exists. If it does, remove it. However, this may break an integration with other applications. -
In Google Admin Console, go to . Then, click on the More options button, and select the
Manage custom attributes option.
Create a Portnox Cloud application configuration
In this step, you will create a configuration in Portnox Cloud that will contain all the information necessary to integrate with SentinelOne.
-
In the Cloud portal top menu, click on the Zero Trust Resources option.

-
On the Resources screen, click on the Create resource button.
-
In the Authentication protocol section, select the SAML
option.
-
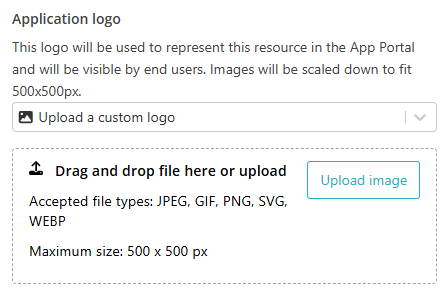
In the Application logo section, select one of the logos from the list, or select
the Upload a custom logo option and then click on the Upload
image button to upload a logo for the application.
The logo is used in the Secure Access Portal.
-
In the Authentication protocol section, select the SAML
option.
-
In the Resource details section, enter a Resource
name and optionally a Description.
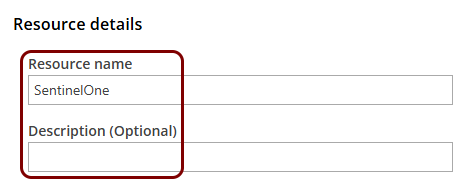
In this example, we used the name SentinelOne for the new application configuration but you can use any name you like.
Enable SSO access to SentinelOne and set up the domain
In this section, you will access the SentinelOne SSO configuration page and set up the allowed SSO domain.
-
In the SentinelOne tab, in the User management pane, click on the SSO
configuration tab.

-
Set the SSO switch to Enabled.

- Optional:
In the SSO Domains section, below the Allowed SSO Domains field,
click on the Add Domain button and enter the domain that you want to use for SSO.
Note:Instead, you can activate the Inherit Allowed Domains from Global checkbox, if it’s appropriate for your configuration.
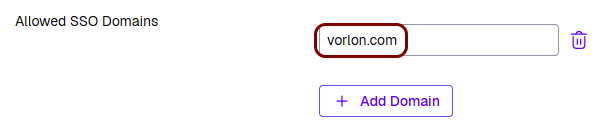 Important:This page can be opened at different scopes: at the account level, or at a specific site level. Check the breadcrumb at the top of the page to confirm which scope you are editing. At the site level, the domain inheritance options differ from the account level, and the Allowed SSO Domains field can show additional domains inherited from the account or global level. Make sure you are configuring the correct scope for your organization before you continue.
 -
In the Identity Provider Settings section, in the Default role field,
select the role to assign to a user when no matching role_id is received. We recommend a role
with minimal privileges, such as Viewer.
 Warning:When we tested the SAML integration and no matching role_id was received, despite a default role being selected in this field, SentinelOne reported an error. Since there is no detailed SAML integration documentation from SentinelOne, based on our tests, we simply recommend that you always provide a correct role ID and disregard this field.
Copy configuration values from the Portnox tab to the SentinelOne tab
In this section, you will copy the values displayed by Portnox Cloud and paste them in the relevant fields in the SentinelOne SSO configuration page.
-
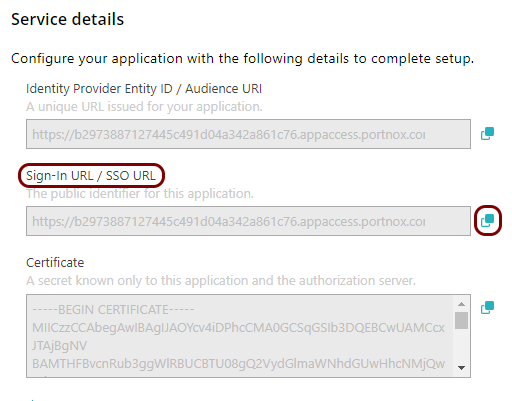
In the Portnox tab, in the Service details section, click on the ⧉ icon next to the Sign-In URL / SSO URL field to copy the
value.
-
In the SentinelOne tab, click on the empty field next to the IDP redirect URL label and
paste the value copied from Portnox Cloud.

-
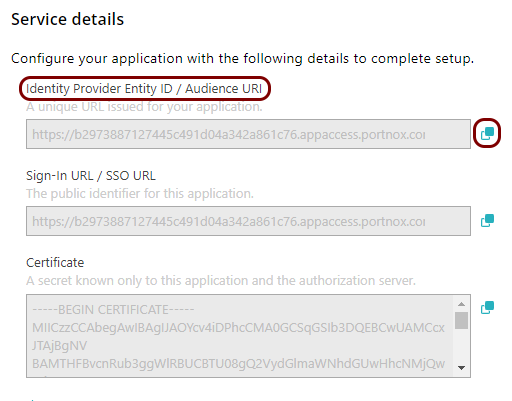
In the Portnox tab, in the Service details section, click on the ⧉ icon next to the Identity Provider Entity ID / Audience
URI field to copy the value.
-
In the SentinelOne tab, click on the empty field next to the IDP issuerID label and paste
the value copied from Portnox Cloud.

-
In the Portnox tab, in the SAML metadata section, click on the Download metadata
XML file link to download the XML file and save it to your local drive.

-
In the SentinelOne tab, next to the IDP public certificate label, click on the
Click to upload or drag & drop button and upload the certificate file downloaded from
Portnox Cloud.

Copy configuration values from the SentinelOne tab to the Portnox tab
In this section, you will copy the values displayed in the SentinelOne SSO configuration page, and paste them in the relevant fields in Portnox Cloud.
-
In the SentinelOne tab, click on the ⧉ icon next to the SP
Entity ID field to copy the value.

-
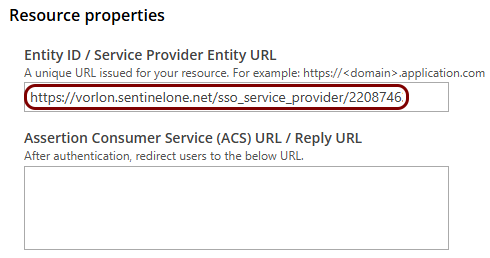
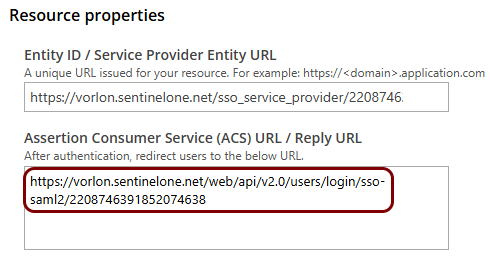
In the Portnox tab, in the Resource properties section, click on the empty field under the
Entity ID / Service Provider Entity URL heading and paste the value copied from
SentinelOne.
-
In the SentinelOne tab, in the Service Provider Settings section, click on the ⧉ icon next to the Assertion Consumer Service Url field to
copy the value.

-
In the Portnox tab, in the Resource properties section, click on the empty field under the
Assertion Consumer Service (ACS) URL / Reply URL heading and paste the value copied from
SentinelOne.
Finalize the configuration
In this section, you will finalize the configuration in Portnox Cloud and SentinelOne.
-
Finalize the configuration in the Portnox tab.
-
Click on the OPTIONAL SETTINGS link to show
additional fields, and then in the Application Login URI field, enter the
following value: https://your_tenant.sentinelone.net, where your_tenant
is your SentinelOne tenant name.
Note:This step is required if you want to show this application in the ZTNA Secure Access Portal.

-
Scroll all the way down to the end of the page, and then click on the Add resource
button.
-
Click on the OPTIONAL SETTINGS link to show
additional fields, and then in the Application Login URI field, enter the
following value: https://your_tenant.sentinelone.net, where your_tenant
is your SentinelOne tenant name.
-
Finalize the configuration in the SentinelOne tab.
Result: You have configured SentinelOne to be accessible using Portnox Zero Trust Network Access.