Integrate with Datadog
In this topic, you will learn how to send Portnox™ Cloud alerts to the Datadog SIEM solution.
Create an API key in Datadog
In this section, you will create an API key in Datadog and save it so that you can later use to configure Portnox Cloud.
-
Access your Datadog API keys page by going to the following URL:
https://app.datadog-domain/organization-settings/api-keys, where datadog-domain is the domain of your Datadog site.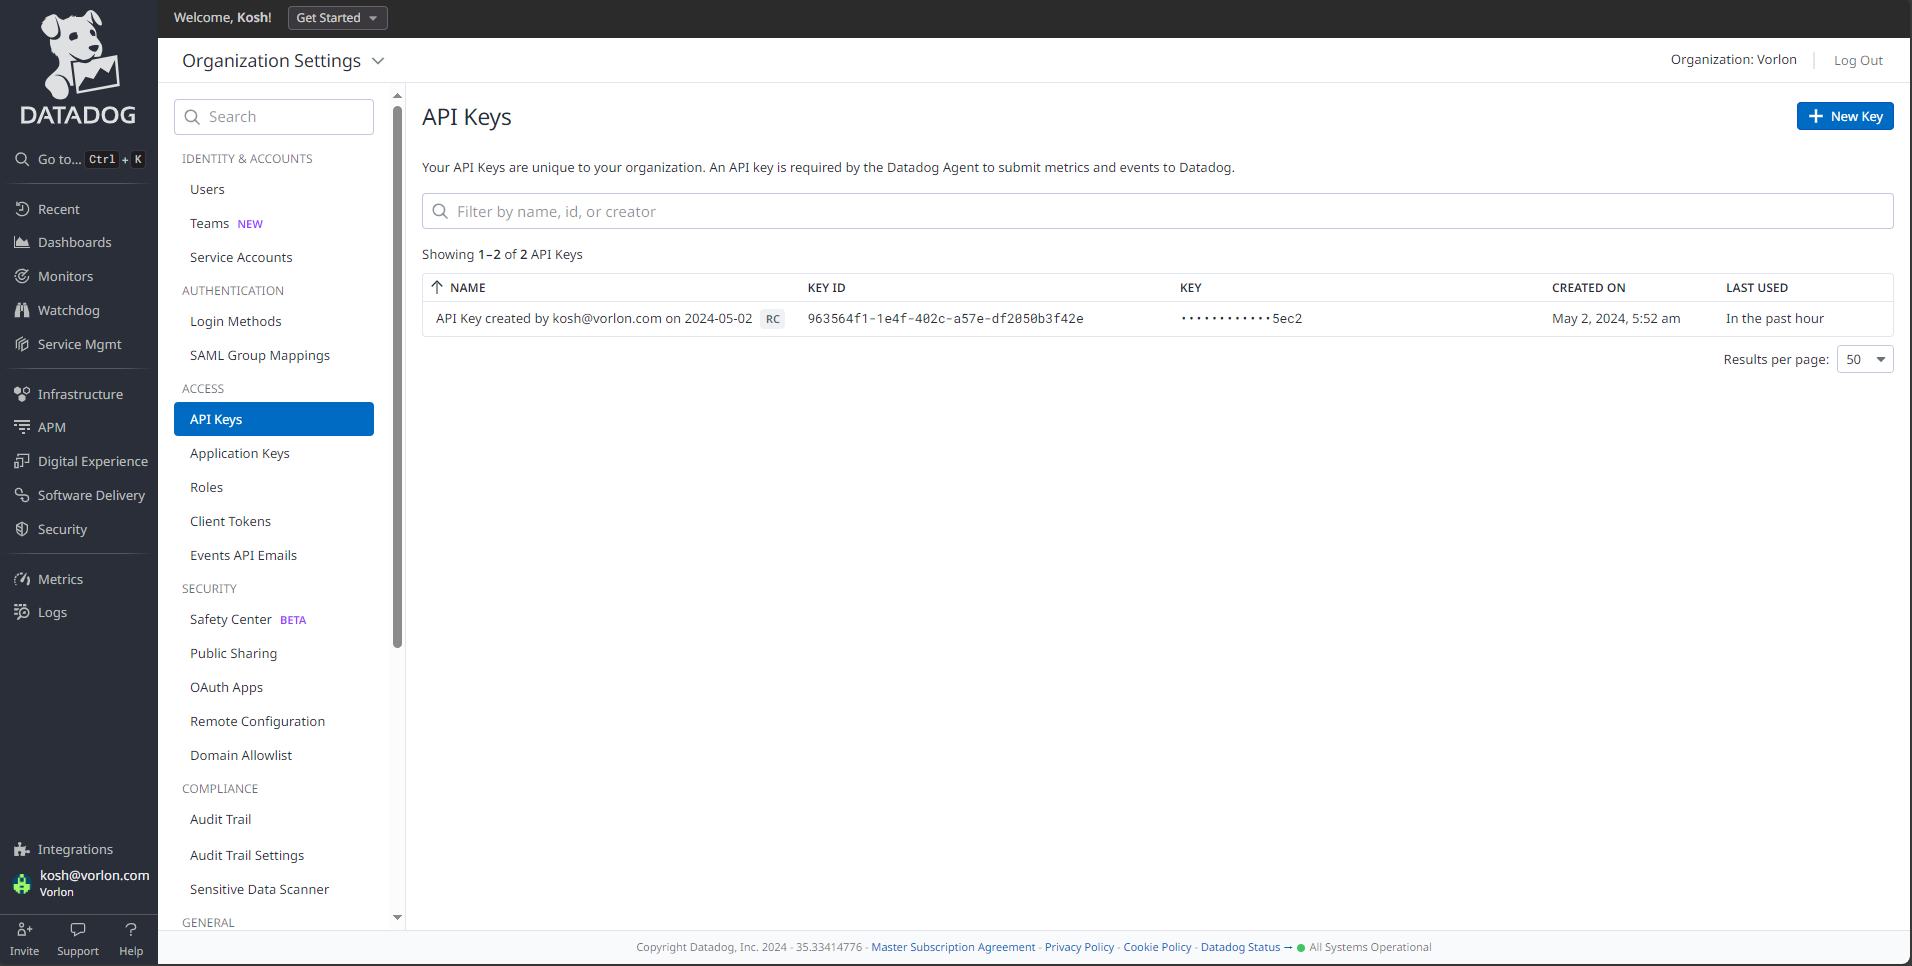
For example:
- US1 site (most common): https://app.datadoghq.com/organization-settings/api-keys
- EU site: https://app.datadoghq.eu/organization-settings/api-keys
-
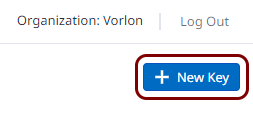
Click on the New Key button in the top-right corner.
-
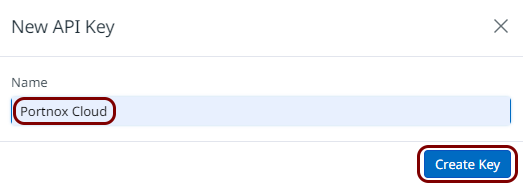
In the New API Key window, in the Name field, enter the name for your
API key, and then click on the Create Key button.
 Note:It is best practice to create dedicated API keys for each application and usage scenario. It is not recommended, but you can reuse an existing API key or you can reuse this API key in the future with other applications.
In this example, we used the name Portnox Cloud but you can use any name you like.
-
In the New API Key window, click on the Copy button to copy your API
key to the clipboard. Then, click on the Finish button.
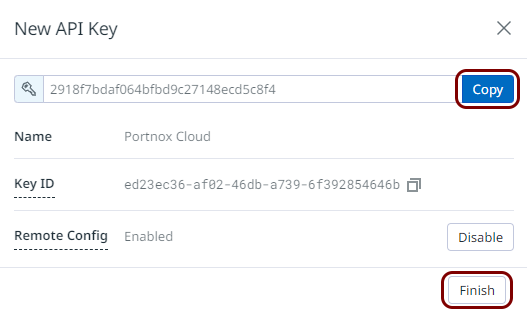 Note:We recommend that you save the key from the clipboard into a temporary notepad window or a text file. However, if you lose your key, you can always come back to this window and copy the value again.
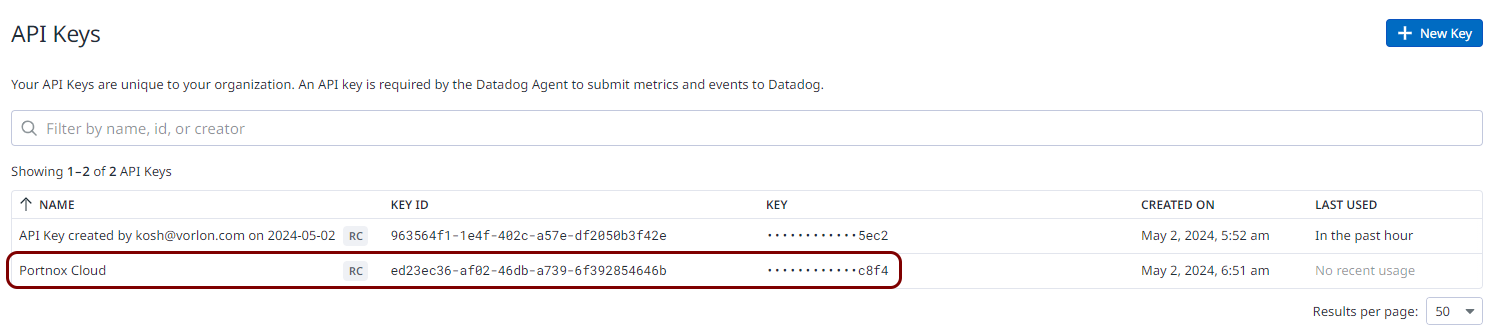
Result: You created an API key in Datadog for Portnox Cloud integration.
Configure Portnox Cloud
In this section, you will learn how to configure Portnox™ Cloud to send alert data to Datadog using the API key you created earlier.
-
In the Cloud portal top menu, click on the Settings option.

-
In the Cloud portal left-hand menu, click on the option.
-
Create a new SIEM integration with Datadog via the collector virtual machine.
-
In the SIEM integration service section, click on the Add a new SIEM
integration link.

The New SIEM integration section opens.
-
In the Type field, select the Datadog option.

-
In the Name field, enter the name for the new integration.

In this example, we used the name Datadog but you can use any name you like.
-
In the Status field, select the Enabled option.

-
In the HTTPS endpoint field, enter the endpoint address for your site:
https://http-intake.logs.site-domain/api/v2/logs, where site-domain is the domain name for your Datadog site. Note:The domain must match your site or the integration won’t work.
For example:
- US1 site (most common): https://http-intake.logs.datadoghq.com/api/v2/logs
- EU site: https://http-intake.logs.datadoghq.eu/api/v2/logs
-
In the API Key field, enter your Datadog API key.

This is the key you created and saved in the previous section.
-
Click on the Save button to add the integration.

- Optional:
Test the configuration by clicking on the Test button.

-
In the SIEM integration service section, click on the Add a new SIEM
integration link.
- Optional:
To configure the types of alerts sent to your SIEM solution, see the following topic: Portnox Cloud alerts.
Note:To learn more about the content and format of alert messages sent to SIEM solutions, see the following topic: Format and content of alert information for SIEM.
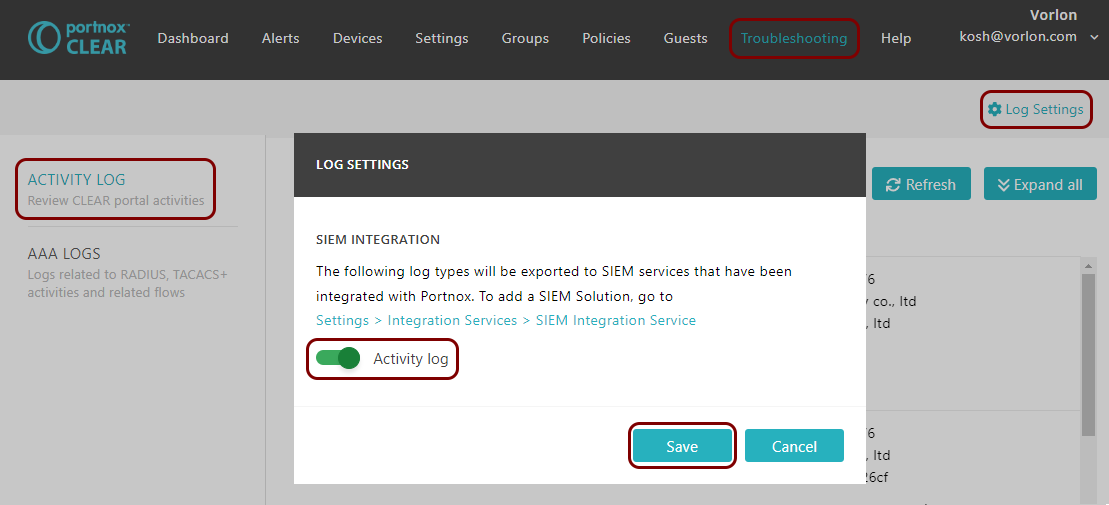
You can also send all of the Portnox Cloud activity log (activities performed by administrators in Portnox Cloud) to your SIEM solution. To do this, go to , activate the Activity log switch, and click on the Save button.
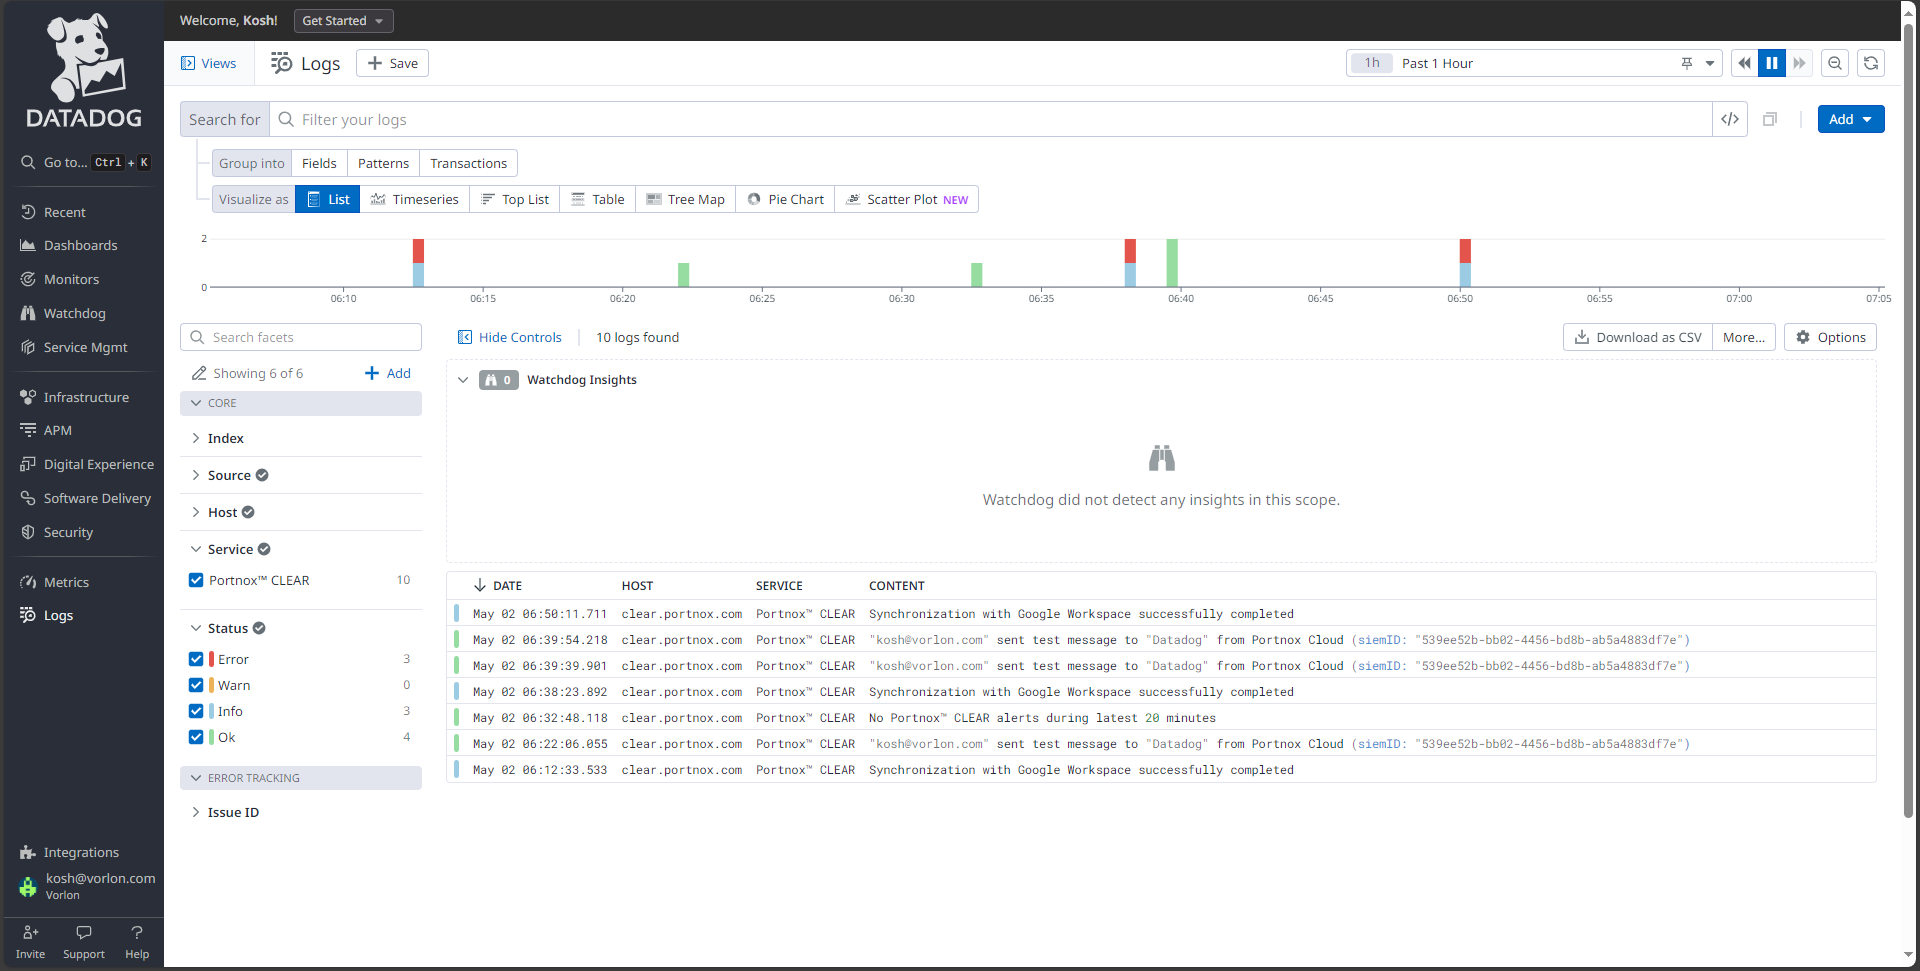
Result: Datadog is receiving alerts from Portnox Cloud.
You can confirm that, for example, by accessing the Log Explorer.