Integrate with Rapid7 insightIDR
In this topic, you will learn how to send Portnox™ Cloud alerts to the Rapid7 insightIDR SIEM solution.
Create a Linux proxy virtual machine
The insightIDR architecture requires you to run the Collector component on a physical or virtual machine with the Linux or Windows operating system, so that it can collect alert data from Portnox™ Cloud and send that data to insightIDR. In this section, you will learn how to create and configure such a virtual machine in Microsoft Azure based on the Linux operating system.
-
In the Azure services menu on your dashboard, click on the Create a
Resource option.

-
In the Marketplace pane, in the Search the Marketplace field, type
virtual machine and press the ↩ key. In the
Virtual machine tile below, click on the Create button and select
the Virtual machine option from the context menu.

-
In the virtual machine pane, note down the public IP assigned to this machine.
You will need this public IP to configure Portnox Cloud to send alerts to the virtual machine.

-
Create a port rule to open port 10000.
This will be the port used by Collector to collect alerts from Portnox Cloud. The virtual machine must be able to accept information from Portnox Cloud on this port. The Linux version of the Collector requires you to use a port number higher than 1024. You can use a different port number than 10000, if needed, but then you have to modify the configuration of the insightIDR Event Source and Portnox Cloud.
-
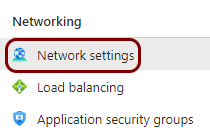
In the virtual machine pane, in the left-hand side menu, click on the Network
settings option.
-
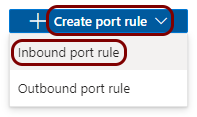
On the right-hand side, click on the Create port rule button, and then select the
Inbound port rule option from the context menu.
-
In the Add inbound security rule pane, fill in the following fields and then click on
the Add button:
- In the Source field, select IP Addresses
- In the Source IP addresses/CIDR ranges, type:
(these are the Portnox Cloud IP addresses from which information is sent to SIEM software)23.97.155.157, 52.168.164.222, 20.85.190.232/29, 20.67.6.144/29 - In the Destination field, select Any
- In the Destination port ranges field, type 10000
- In the Protocol field, select TCP
- In the Action field, select Allow

-
In the virtual machine pane, in the left-hand side menu, click on the Network
settings option.
Install and activate the Collector component
In this section, you will install the Collector component on the Linux virtual machine that you just created, and activate the Collector in insightIDR.
-
In the virtual machine pane, in the left-hand side menu, click on the Connect option.

-
In the Connect pane, select the preferred SSH connection method to connect to the virtual
machine.
Note:Since the connection method depends on your specific environment, needs, and software, the guidance on the specific method is beyond the scope of this guide. For example, you can use native SSH connection using PuTTY software on Windows and the local key downloaded while creating the virtual machine.

-
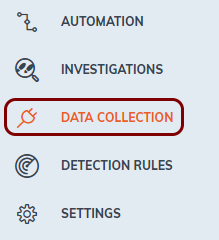
Log in to your insightIDR instance
and in the left-hand side menu, click on the DATA COLLECTION option.
-
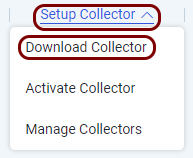
In the top menu of the Data Collection Management pane, click on the Setup
Collector option and from the context menu, select the Download Collector
option.
-
Find out the URL to download the Linux Collector to the virtual machine.
The URL is not directly presented by insightIDR. Here are suggestions of how to download the Collector to the virtual machine:
Sniff the URL using the Inspect mode.
Turn on the Inspect mode in your browser. For example, in Chrome, right click on the browser window and choose the Inspect option.
In the inspect window, go to the Network tab. Then, click on the Download Linux Collector button.
The Network tab will have a new entry of the Document type called InsightSetup-Linux64.sh. Right-click on this entry and from the context menu select the option.
Then, in your SSH window, paste the copied link into the wget command (
wget copied
                                                link
) to download the installation script.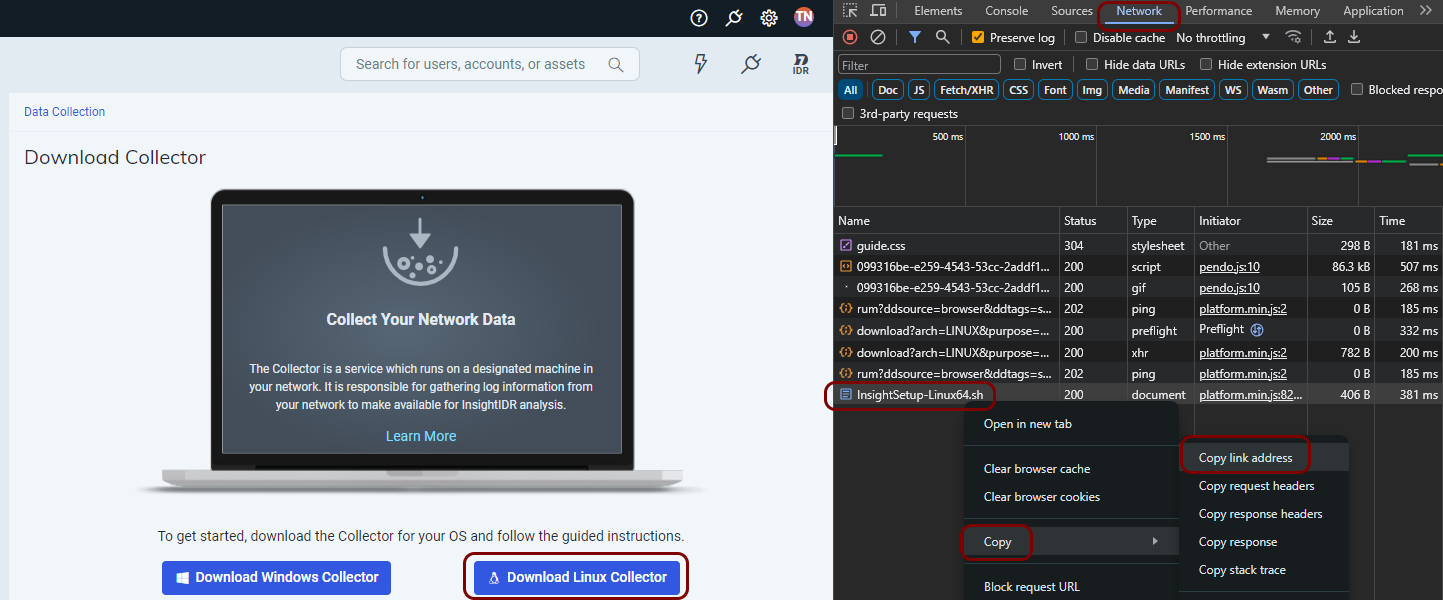
-
Otherwise, click on the Download Linux Collector button and then use third-party software to send the file to your virtual machine.
-
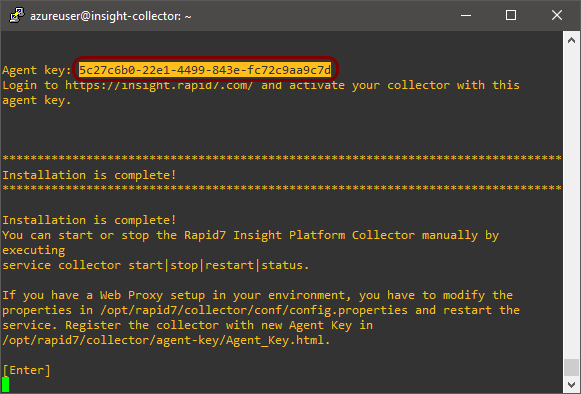
Follow the steps of the installer carefully. In the last step, copy the value presented as Agent
key and leave your SSH window open.
-
In your browser, go back to the Data Collection Management pane, then click on the
Setup Collector option and from the context menu, select the Activate
Collector option.
 Note:If the Activate Collector option is greyed out, it means that the Collector on the virtual machine did not establish a connection with insightIDR yet. Such connection may take a minute or so.
 -
In the Activate collector pane, in the Collector Name field, enter a
name for this collector, and in the Activation Token field, paste the Agent
key value copied earlier.
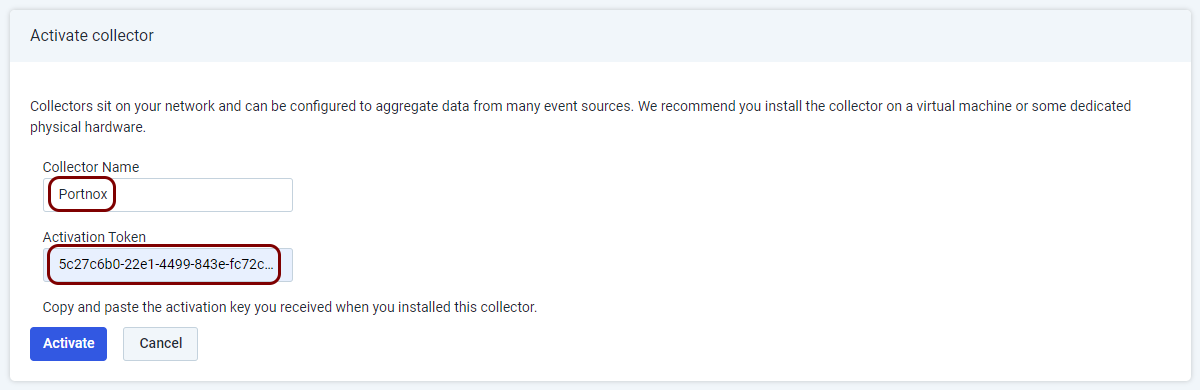
In this example, we used the name Portnox, but you can use any name you like.
-
Wait until the Collector is registered. This may take a few minutes.
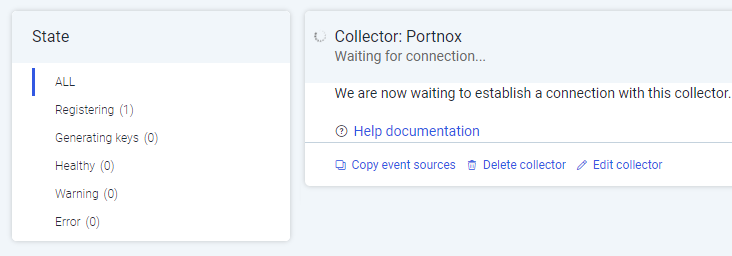
Result: The Collector is registered.

Configure an insightIDR event source for Cloud alerts
In this section, you will learn how to configure an Event Source in insightIDR, which will be used by the Collector to receive and parse alert information from Portnox Cloud.
-
Log in to your insightIDR instance
and in the left-hand side menu, click on the DATA COLLECTION option.
-
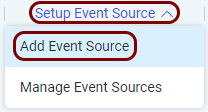
In the top menu of the Data Collection Management pane, click on the Setup Event
Source option and from the context menu, select the Add Event Source
option.
-
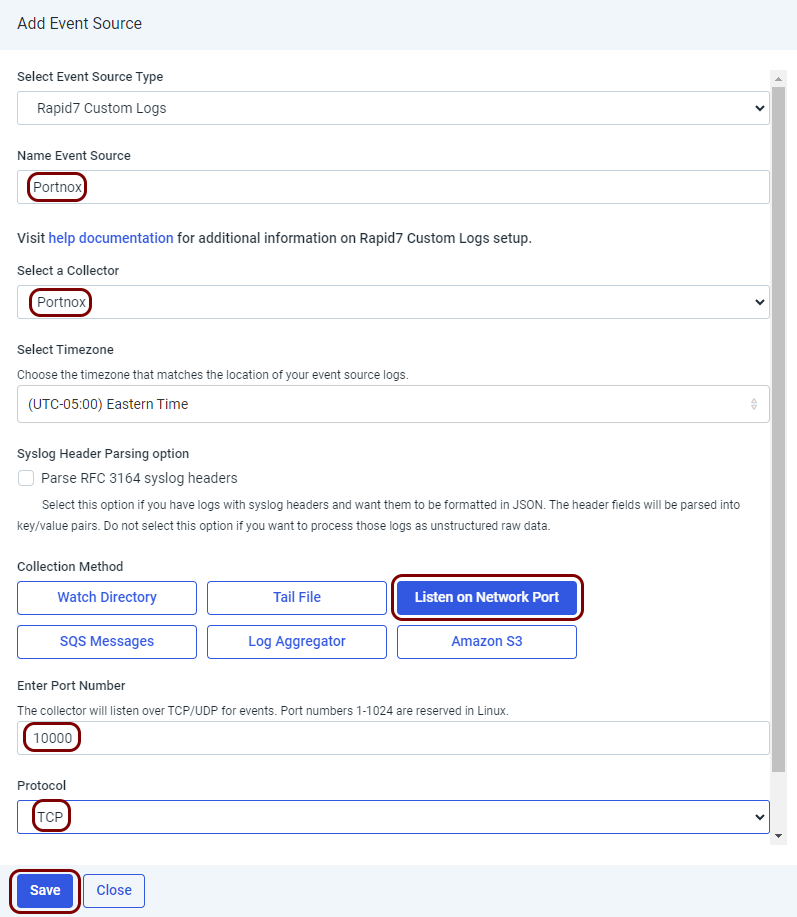
In the top menu of the Add Event Source pane, click on the Add Raw Data
button and from the context menu, select the Custom Logs option.

-
In the Add Event Source pane, set up the new event source:
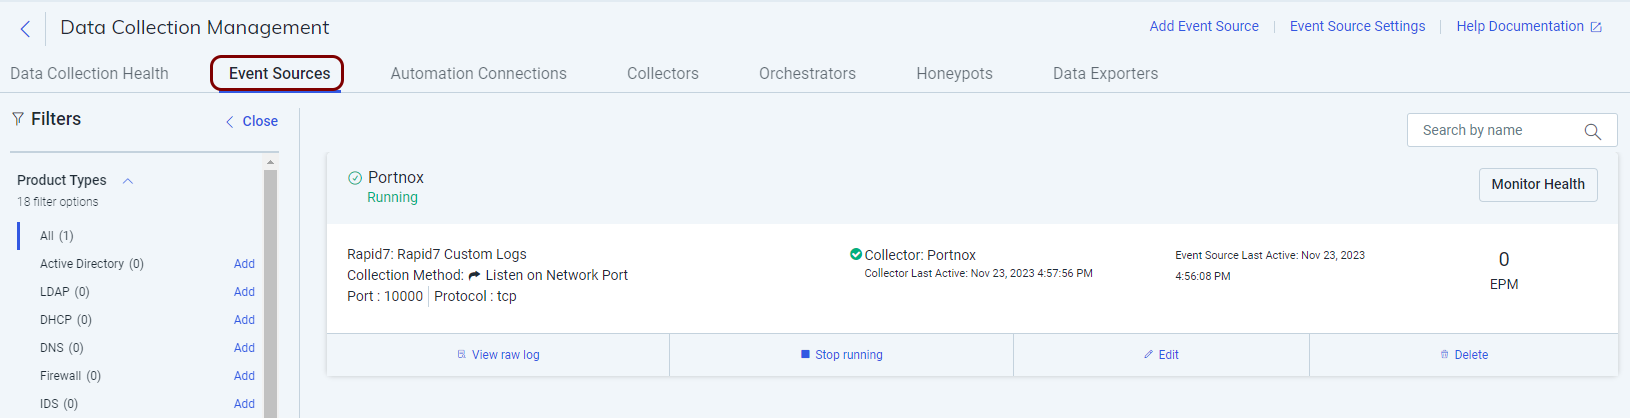
Result: Your Event Source is active. You can see it by clicking on the DATA COLLECTION option in the left-hand side menu, and then in the top menu of the Data Collection Management pane, clicking on the Event Sources tab.
Configure Portnox Cloud
In this section, you will learn how to configure Portnox™ Cloud to send alert data to the Collector so that the data can be collected by Rapid7 insightIDR.
-
In the Cloud portal top menu, click on the Settings option.

-
In the Cloud portal left-hand menu, click on the option.
-
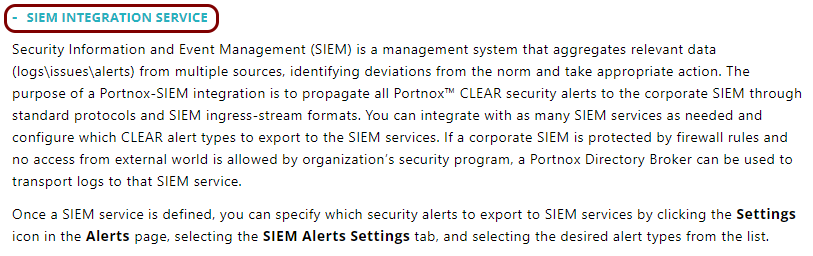
Create a new SIEM integration with insightIDR via the Collector.
-
In the SIEM integration service section, click on the Add a new SIEM
integration link.

The New SIEM integration section opens.
-
In the Integration type field, select the Custom
option.

-
In the Name field, enter the name for the new integration.

In this example, we used the name InsightIDR but you can use any name you like.
-
In the Status field, select the Enabled option.

-
In the Protocol type field, select the Syslog over TCP
option.

-
In the IP field, enter the public address of your Linux virtual machine.

If you followed this guide from the beginning and created the virtual machine in Azure, this is the IP address that you copied earlier.
-
In the Port field, type 10000.

This is the port number that you opened on the virtual machine, which is the standard port number of the Sentinel connector.
-
In the Communication method field, select the Direct
option.

-
In the Data format field, select the CEF option.

-
Click on the Save button to add the integration.

- Optional:
Test the configuration by clicking on the Test button.

-
In the SIEM integration service section, click on the Add a new SIEM
integration link.
- Optional:
To configure the types of alerts sent to your SIEM solution, see the following topic: Portnox Cloud alerts.
Note:To learn more about the content and format of alert messages sent to SIEM solutions, see the following topic: Format and content of alert information for SIEM.
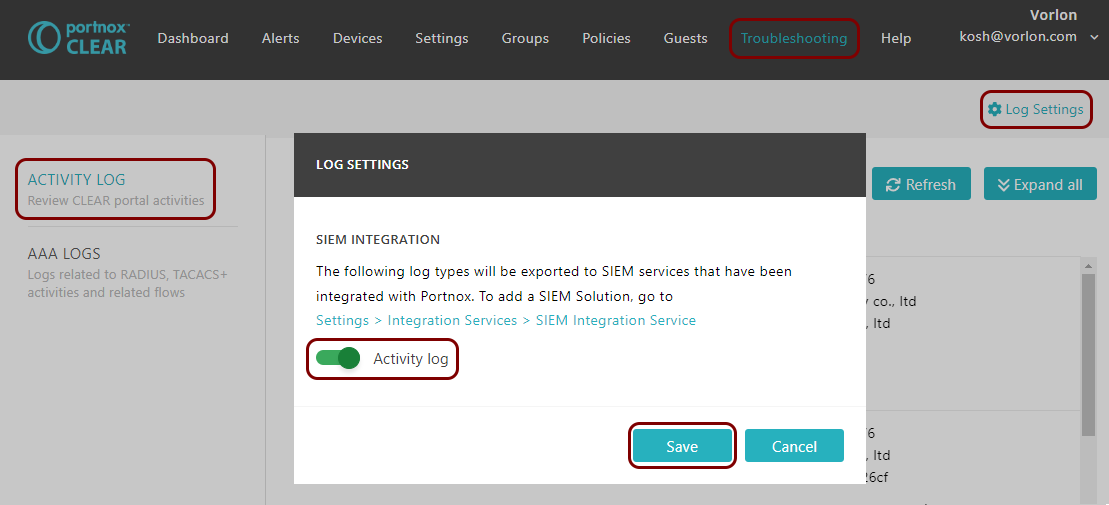
You can also send all of the Portnox Cloud activity log (activities performed by administrators in Portnox Cloud) to your SIEM solution. To do this, go to , activate the Activity log switch, and click on the Save button.
Result: Rapid7 insightIDR is receiving alerts from Portnox Cloud.
You can confirm that, for example, by running an insightIDR query.
