In this section, you will learn how to configure Portnox™ Cloud to send alert data to the on-premises portnox-siem Docker
container and then forward them to the on-premises Kiwi Syslog Server.
Note: Complete this section only if you want to forward alert data via the portnox-siem Docker container. Skip this section
if you want to forward alert data via LDAP Broker.
Note: Before you start, install Docker on a local machine (physical or virtual) in the same subnet as your on-premises Kiwi
installation. For more information about installing Docker, see our guides for using Docker with Portnox local RADIUS
servers:
Install Docker for Linux or
Install Docker Desktop for
Windows.
-
In the Cloud portal top menu, click on the Settings option.
-
In the Cloud portal left-hand menu, click on the option.
-
Create a new SIEM integration.
-
In the SIEM integration service section, click on the Add new
SIEM link.
The NEW SIEM INTEGRATION section opens.
-
In the Type field, select the Custom option.
-
In the Name field, enter the name for the new integration.
In this example, we used the name Kiwi but you can use any name you
like.
-
In the Status field, select the Enabled option.
-
In the Protocol type field, select the Syslog over TCP
option.
-
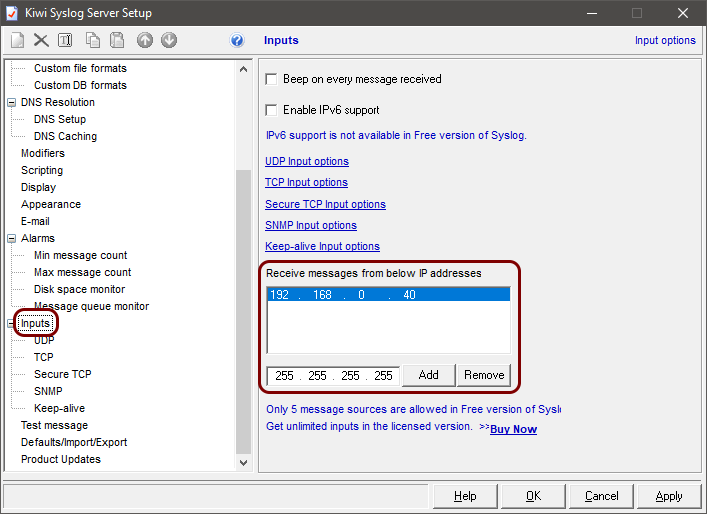
In the IP field, enter the private IP address of the machine where Kiwi Syslog
Server is installed.
-
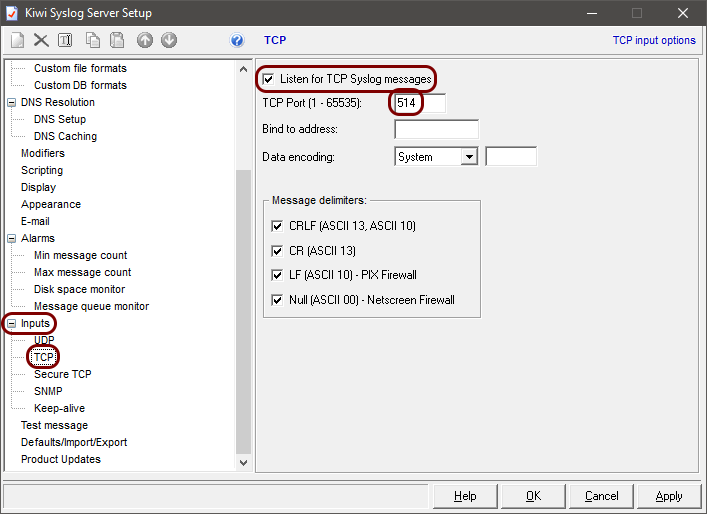
In the Port field, type 514.
-
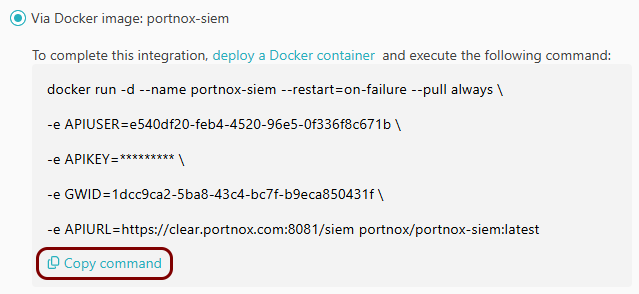
In the Communication method field, select the Via Docker image:
portnox-siem option.
-
In the Data format field, select the CEF option.
-
Click on the Save button to add the integration.
-
In your list of SIEM integrations, click on the Edit button in the row
representing the configuration that you just created.
-
Click on the Copy command link under the Via Docker image:
portnox-siem option.
-
Paste the command in your shell or command line window on the machine where you installed Docker.
Note: If you’re using Docker with Windows, replace the \ characters at the end of
each line with ^ characters or remove the \ characters and
paste the entire command as a single line.
- Optional:
Click on the Test button in the row representing the configuration
that you just created.
Result: You will see the following information in this row:
Docker image: Active.
- Optional:
To configure the types of alerts sent to your SIEM solution, see the following topic: Portnox Cloud alerts.
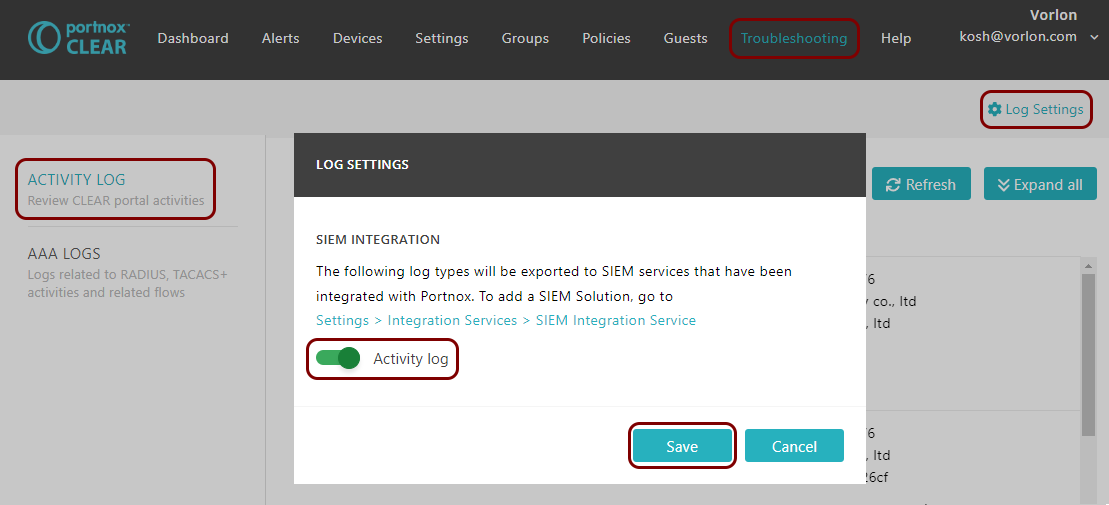
You can also send all of the Portnox Cloud activity log (activities performed by administrators in Portnox Cloud) to
your SIEM solution. To do this, go to , activate the Activity log switch, and click on the
Save button.
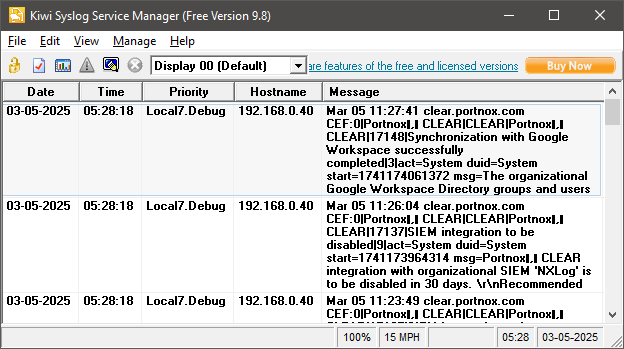
Result: Kiwi Syslog Server is receiving alerts from Portnox Cloud via the portnox-siem Docker container.
