Onboard a Windows device to a Wi-Fi network with credentials
In this topic, you will learn how to onboard using credentials, a Windows 10 computer, and a Wi-Fi network managed by Portnox™ Cloud.
Note:
The user interface and the names of options may differ slightly for other Windows versions.
Note:
If your instance is integrated with Microsoft Entra ID
and your Entra ID access policy enforces multi-factor authentication (MFA), to log in using credentials you need to set up a
MFA bypass by following the steps in this topic: Bypass multi-factor authentication in Entra ID.
-
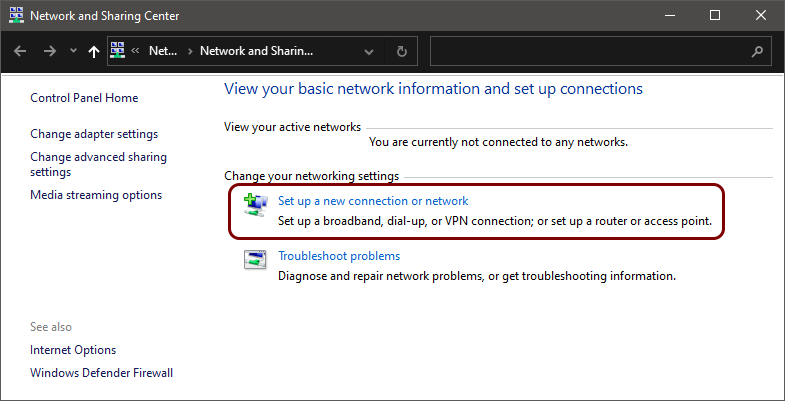
Click on the Set up a new connection or network link.
-
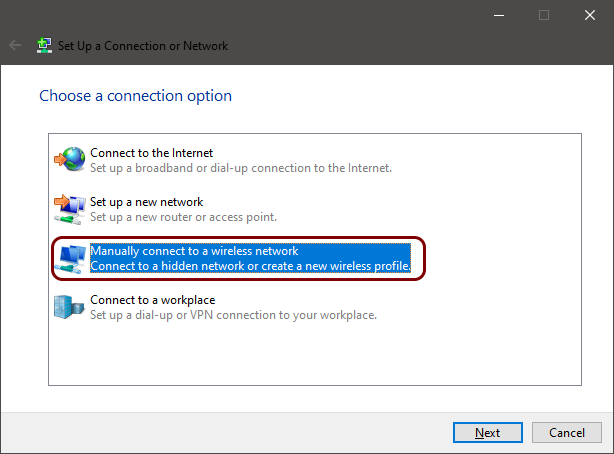
In the Set Up a Connection or Network window, select the Manually connect to a wireless
network option and click on the Next button.
-
In the Manually connect to a wireless network window, enter the name (SSID) of the network managed
by Portnox Cloud in the Network name field and select the WPA2-Enterprise
option in the Security type field. Then, click on the Next button.

-
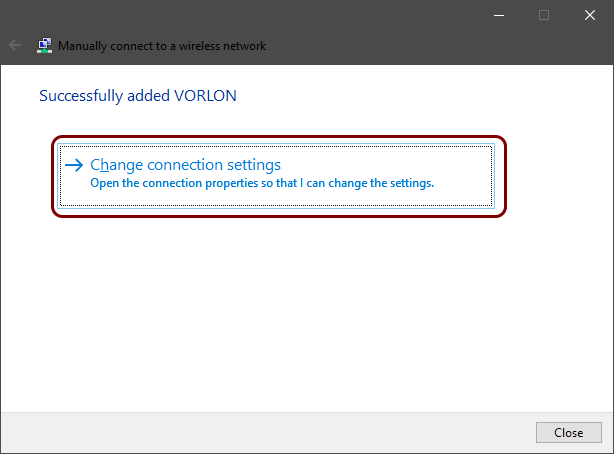
Click on the Change connection settings link.
-
Click on the Change connection settings link.
-
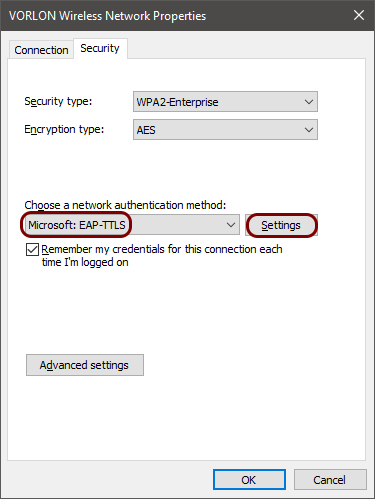
In the Wireless Network Properties window, click on the Security tab, in
the Choose a network authentication method field, select Microsoft:
EAP-TTLS, and click on the Settings button.
-
In the TTLS Properties window, select the certificate to validate the authenticity of the RADIUS
server, and in the Client authentication section, select the supported authentication
method.
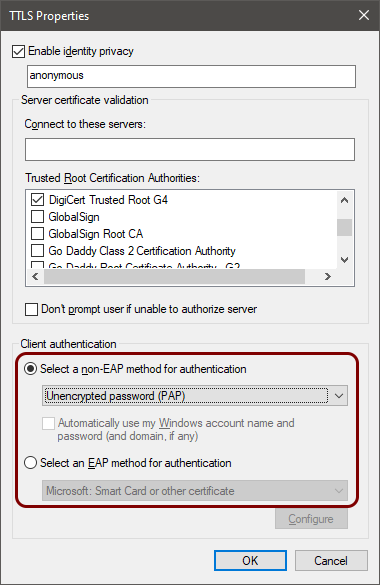 Note:For extra security, we recommend that in addition to activating the DigiCert Trusted Root G4 certificate (the root CA certificate) on the Trusted Root Certification Authorities list, you also enter clear-rad.portnox.com in the Connect to these servers field. If so, only certificates that have this domain name in Subject or SAN will be trusted. Do not activate this checkbox leaving the field empty, because this will cause connectivity problems. To learn more about this option, read the following topic: Trusted certificate server names.Note:The authentication method is the method used to communicate with internal or external authentication repositories. Different repositories may support different methods. For example, cloud-based repositories like Microsoft Entra ID, Google Workspace, and Okta supports PAP only, but AD supports MSCHAP. If you don’t know the correct method for your user repository, try different ones to see which one works. We also recommend that you read the following topic about the security of different authentication methods: EAP methods and their security.
 -
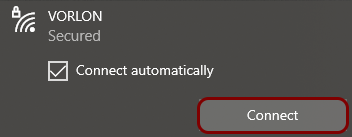
In the Windows Notification Area (System Tray), click on the network icon to open the list of available Wi-Fi networks,
and select the network configured in previous steps.

-
Click on the Connect button.
- Optional:
If your group is configured for credential-based
authentication, Windows shows the Sign in window. Enter your credentials, and click on
the OK button.
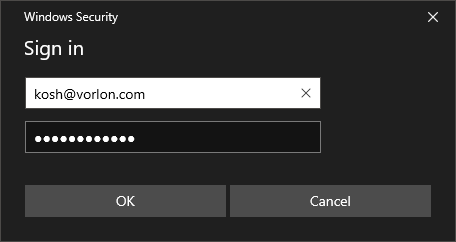
You can also enter your identity in the down-level logon name format: domain\user, for example, vorlon.com\kosh.
If your group is configured for certificate-based authentication, the Sign in window is not displayed because it is not necessary.
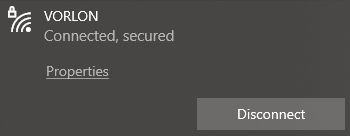
Result: Your Windows 10 computer is connected to a Wi-Fi network managed by Portnox Cloud.
Troubleshooting information: See the following topic: How to troubleshoot typical device onboarding issues.