Onboard a Windows device to a wired network with credentials through self-onboarding
In this topic, you will learn how to onboard using credentials, the self-onboarding portal, a Windows 10 computer, and a wired network managed by Portnox™ Cloud.
-
Enter the URL of the self-onboarding portal in your browser.
To learn how to set up the self-onboarding portal and obtain the URL, see the following topic: Set up the self-onboarding portal.
-
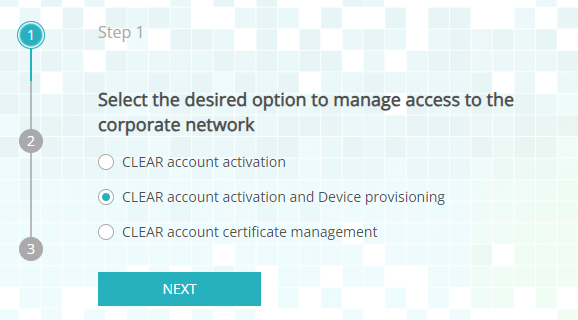
In Step 1, select the second option: Portnox account activation and Device
provisioning and click on the Next button.
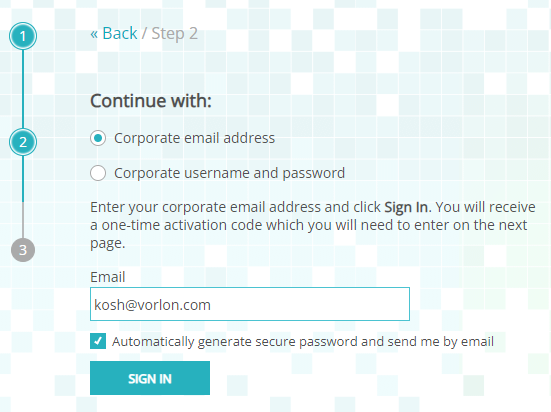
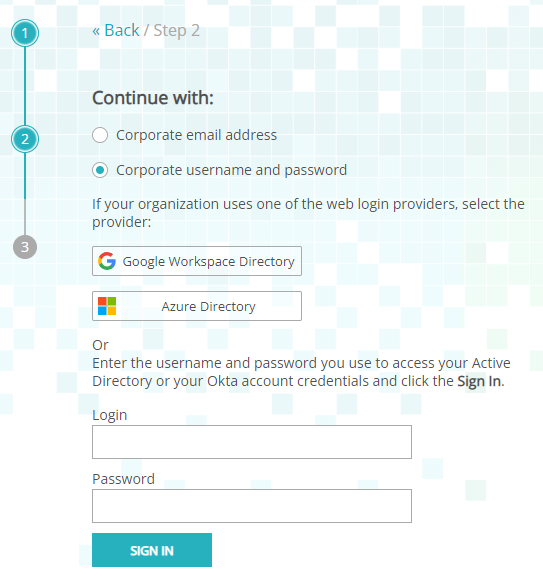
- In Step 2, you can select the Corporate email address option or the Corporate username and password option. Select the Corporate email address option if Portnox Cloud manages your user repository. Select the Corporate username and password option if you have integrated Cloud with an external repository. Proceed with the following steps depending on your choice.
-
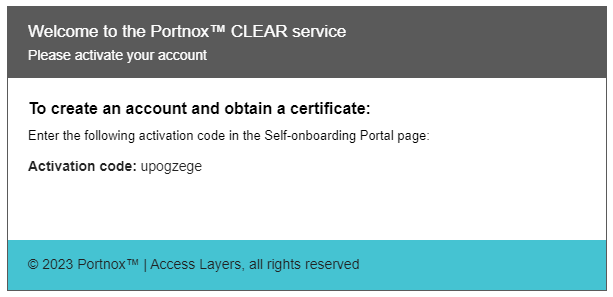
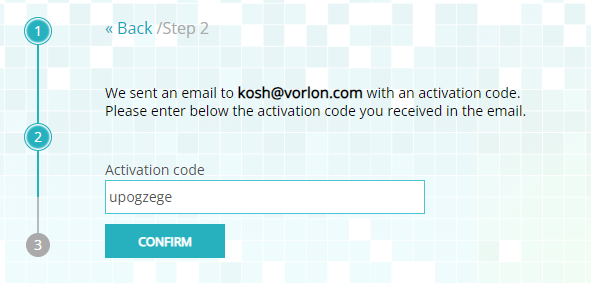
If you have chosen Corporate email address:
Important: Only choose the Corporate email address option if Portnox Cloud manages your user repository. Cloud manages the user repository if it’s not integrated with any external repositories such as Microsoft Entra ID, Google Workspace, or Okta Workforce Identity.
-
If you have chosen Corporate username and password:
-
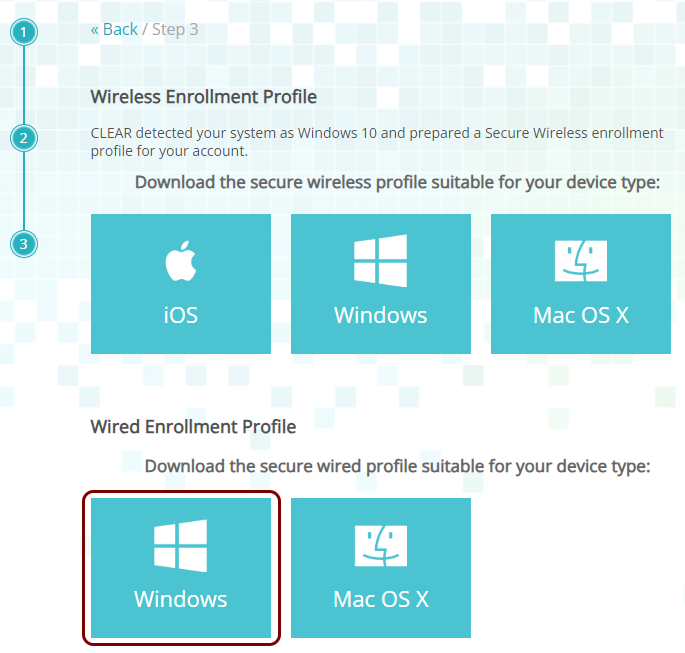
Click on the tile in the Wired Enrollment Profile section that represents the Windows operating
system to download the configuration file ProfileInstaller.exe.
-
Run the downloaded ProfileInstaller.exe file.
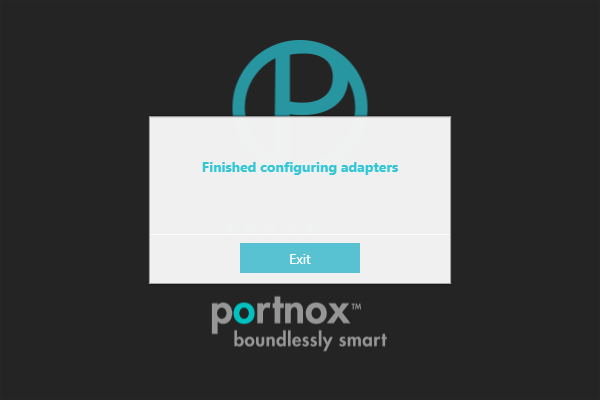
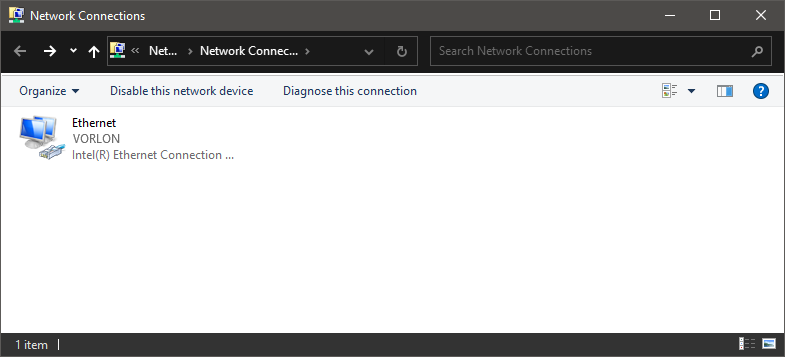
Windows configures your Ethernet adapter.
- Optional:
If your group is configured for credential-based
authentication, when you connect the adapter to the network, Windows shows the Sign in
window. In the Sign in window, enter your credentials, and click on the OK
button.
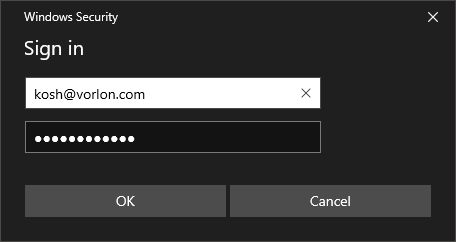
You can also enter your identity in the down-level logon name format: domain\user, for example, vorlon.com\kosh.
If your group is configured for certificate-based authentication, the Sign in window is not displayed because it is not necessary.
Result: Your Windows 10 computer is connected to a wired network managed by Portnox Cloud.
Troubleshooting information: See the following topic: How to troubleshoot typical device onboarding issues.

