Onboard macOS devices with AgentP using Intune and SCEP

In this topic, you will learn how to deploy Portnox™ AgentP on managed macOS devices by using Intune and certificates managed by SCEP.

There are two options to deploy AgentP on managed macOS devices using Intune:

  1. Onboard devices using SCEP certificates and use AgentP for risk assessment only (recommended)
  2. Deploy AgentP and have the users onboard manually

This topic describes the first option. Begin by completing the steps in the following topic: Onboard macOS devices with certificates using Microsoft Intune and SCEP. Then, continue with steps in the current topic.

Note: Do not install AgentP on managed devices before you complete the certificate-based onboarding. If you already installed AgentP, make sure to uninstall it and delete all related configuration and profiles.

Add the AgentP installation package to Intune

In this task, you will download the Portnox™ AgentP installation package for macOS and upload it to Intune to be later distributed to managed macOS devices.

  1. Open the Download Portnox AgentP page in your browser.
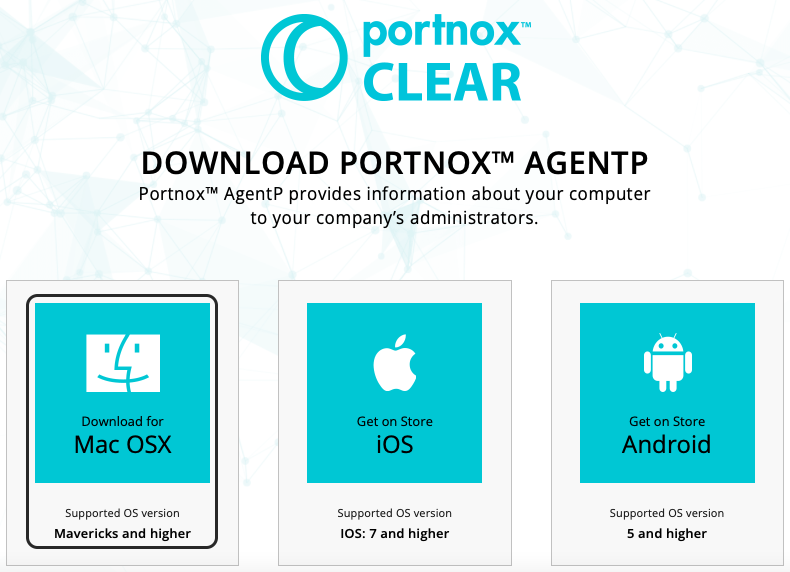
  2. Scroll down to the Mac OSX tile and click on it to download the AgentP macOS package and save it on your disk.

    You will upload this package to Intune later.

  3. Open the Microsoft Intune portal in your browser: intune.microsoft.com.
  4. In the left-hand menu, select the Apps option.

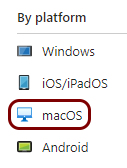
  5. In the left-hand menu of the Apps pane, select the macOS option in the By platform section.

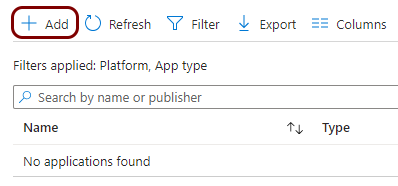
  6. In the macOS | macOS apps pane, click on the Add button.

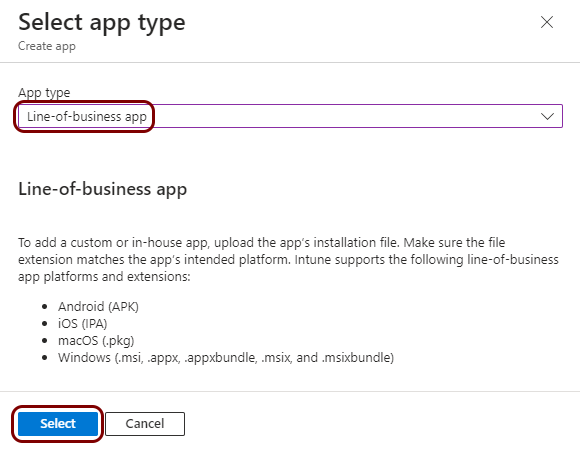
  7. In the Select app type pane, in the App type field, select the Line-of-business app option, and click on the Select button below.

  8. In the Add App pane, click on the Select app package file link.

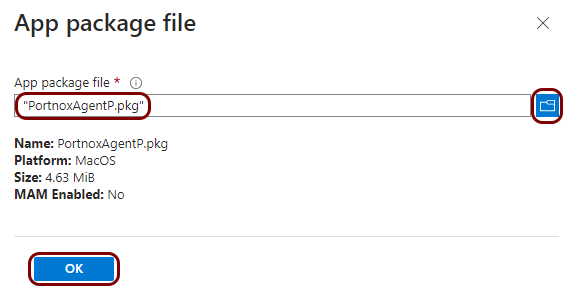
  9. In the Add package file pane, click on the  🗀  icon to open a file dialog, select the package file that you downloaded earlier, and click on the OK button.

  10. In the Add App pane, in the App information step of the wizard:
    1. In the Publisher field, type the name that you want to appear in the Company Portal as the name of the publisher, for example, Portnox.

    2. Fill in or change the values of other fields, if necessary, to customize the way that the AgentP app information is displayed in the Company Portal, and then click on the Next button.
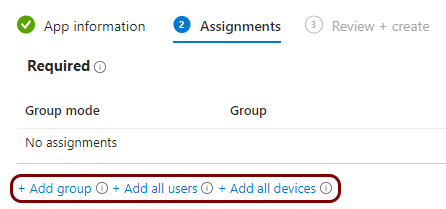
  11. In the Assignments step of the wizard, use relevant options to assign this profile to specific groups or all users/devices, and then click on the Next button.

  12. In the Review + create step of the wizard, review all the information, and then click on the Create button.

Get issuer information from Portnox Cloud

In this task, you will copy the issuer name from the Portnox™ Cloud portal, so you can use it later when creating a configuration script for AgentP.

  1. In the Cloud portal top menu, click on the Settings option.

  2. In the right-hand side pane, find and click on the CLEAR GENERAL SETTINGS heading.

    More options appear under the CLEAR GENERAL SETTINGS heading and description.

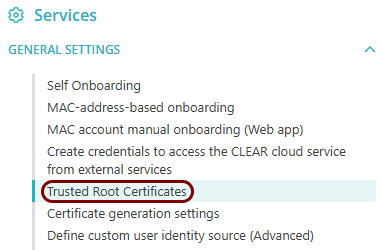
  3. Scroll down to the TRUSTED ROOT CERTIFICATES section and copy the value of the Issued to field in this section to a text file.

Create an AgentP configuration script in Intune

In this task, you will prepare a script that creates an AgentP configuration file on the managed device.

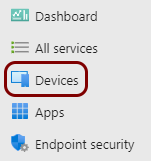
  1. In the left-hand menu, select the Devices option.

  2. In the left-hand menu of the Devices pane, select the macOS option in the By platform section.

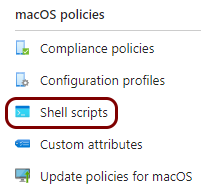
  3. In the left-hand menu of the macOS | macOS devices pane, select the Shell scripts option in the macOS policies section.

  4. In the macOS | Shell scripts pane, click on the Add button.

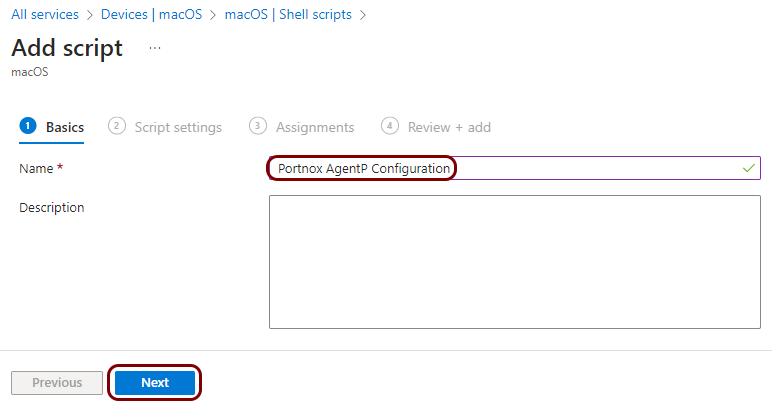
  5. In the Basics step of the Add script wizard, in the Name field, type a name for this profile, optionally fill in the Description field, and click on the Next button.

    In this example, we used the name Portnox AgentP Configuration, but you can use any name you like.

  6. In a text editor, prepare a script according to the instructions below.

    When finished, save your script on the local disk with a .sh extension, for example, agentp_config.sh.

    Adjust your script to your environment and requirements.

    #!/bin/sh
    mkdir -p /var/agentp
    json='{"HideUI":true}'
    echo $json > /var/agentp/uipreferences.cfg
    json='{"Mode":"certificate","Certificate":"issuer:issued_to","User":"[current]","AutoSwitch":true,"UseCertificateSerialNumberAsDeviceId":true,"Domain":"your_domain","profileInstallationNeeded":false}'
    echo $json > /var/agentp/unattended.cfg
    chmod a+rw /var/agentp
    chmod a+rw /var/agentp/uipreferences.cfg
    chmod a+rw /var/agentp/unattended.cfg
    1. As issued_to, paste the value that you copied earlier from the Portnox Cloud portal.
      For example:
      json='{"Mode":"certificate","Certificate":"issuer:Vorlon - Portnox CLEAR","User":"[current]","AutoSwitch":true,"UseCertificateSerialNumberAsDeviceId":true,"Domain":"your_domain","profileInstallationNeeded":false}'
    2. As your_domain, use the domain serviced by Portnox Cloud (the domain configured in your authentication repository integration).
      For example:
      json='{"Mode":"certificate","Certificate":"issuer:Vorlon - Portnox CLEAR","User":"[current]","AutoSwitch":true,"UseCertificateSerialNumberAsDeviceId":true,"Domain":"vorlon.com","profileInstallationNeeded":false}'
    3. Optional: If you are using user-based certificates, not device-based certificates, you can remove the User value from the configuration string or assign the value null to the user. Then, AgentP will use the certificate UPN or Subject as the user name.
      For example:
      json='{"Mode":"certificate","Certificate":"issuer:Vorlon - Portnox CLEAR","AutoSwitch":true,"UseCertificateSerialNumberAsDeviceId":true,"Domain":"vorlon.com","profileInstallationNeeded":false}'
  7. In the Script settings step of the Add script wizard:

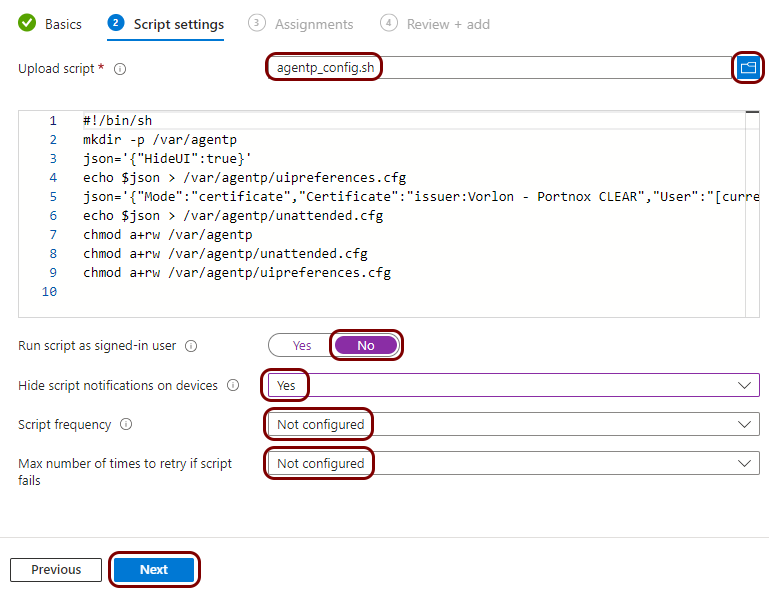
    1. Click on the  🗀  icon to open the script that you saved in the previous step.
      Note: The script will be visible in the text box below, but it is not editable in the box. If you need to make changes, you must make the changes in the text file and load the script in Intune again.
    2. In the Run script as signed-in user field, select the No option to run the script as the root user.
    3. In the Hide script notifications on devices field, select the Yes option to make the configuration silent for users.
    4. In the Script frequency field, keep the default Not configured value to run the script only once.
    5. In the Max number of times to retry if script fails field, keep the default Not configured value.
    6. Click on the Next button.
  8. In the Assignments step of the wizard, use relevant options to assign this profile to specific groups or all users/devices, and then click on the Next button.

  9. In the Review + create step of the wizard, review all the information, and then click on the Add button.

Result: When onboarding a macOS device, Intune will obtain a SCEP certificate and install AgentP with the configuration delivered by the script, which disables AgentP certificate management and leaves only the risk assessment functionality running.