Onboard macOS devices with certificates using Jamf and SCEP
In this topic, you will learn how to deploy Portnox™ Cloud certificates via Jamf and SCEP to manage macOS devices.
Turn on the Portnox Cloud SCEP services
In this section, you will configure Portnox™ Cloud to provide SCEP services to your devices.
If you have previously turned on the Portnox Cloud SCEP services, skip to the later step in which you get the Cloud SCEP URL and password.
Portnox Cloud SCEP services let devices contact the Cloud SCEP server and get a unique certificate for the device or for the specific user of the device.
-
In the Cloud portal top menu, click on the Settings option.
-
In the Cloud portal left-hand side menu, click on the
option.
-
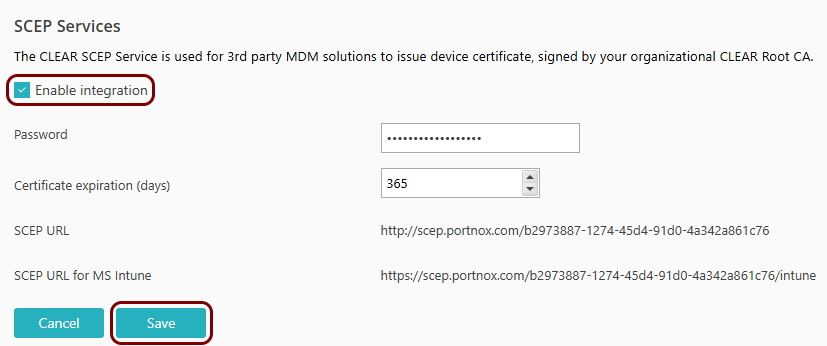
Enable integration with SCEP services.
- Click on the Edit link.
- Activate the Enable integration checkbox.
- Click on the Save button.
- Click on the ⧉ icon next to the SCEP URL field to copy the SCEP URL, and paste it in a text file for later use.
-
Click on the ⧉ icon next to the Password field to
copy the SCEP password, and paste it in a text file for later use.
Download the root CA certificate
In this section, you will download the root CA certificate from Portnox™ Cloud, which is needed to create a profile.
-
In the Cloud portal top menu, click on the Settings option.
-
In the Cloud portal left-hand side menu, click on the
option.
-
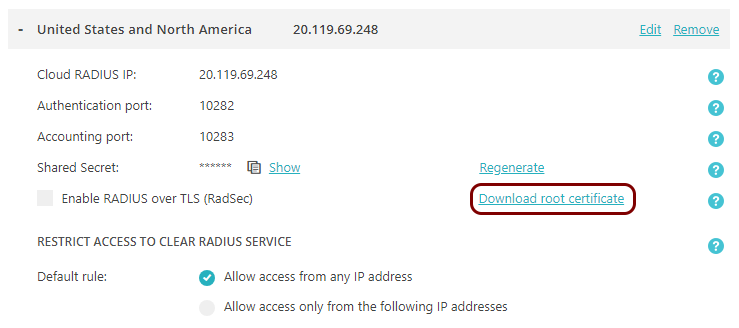
Click on any of the RADIUS servers listed in the right-hand pane to show its configuration.
-
Click on the Download root certificate link.
Result: The root CA certificate file is in the Downloads folder on the local disk.
Download the tenant CA certificate
In this section, you will download the Portnox™ Cloud tenant CA certificate from the Cloud portal.
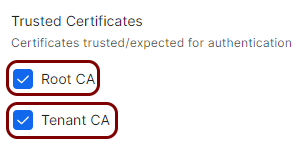
You need the tenant CA certificate from Portnox Cloud so that your managed devices can verify the validity of individual SCEP certificates, which are signed using the tenant CA certificate.
-
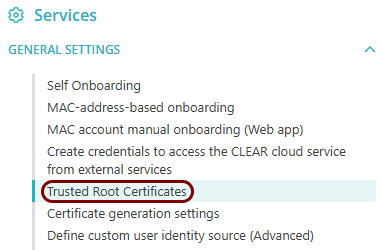
In the Cloud portal top menu, click on the Settings option.
-
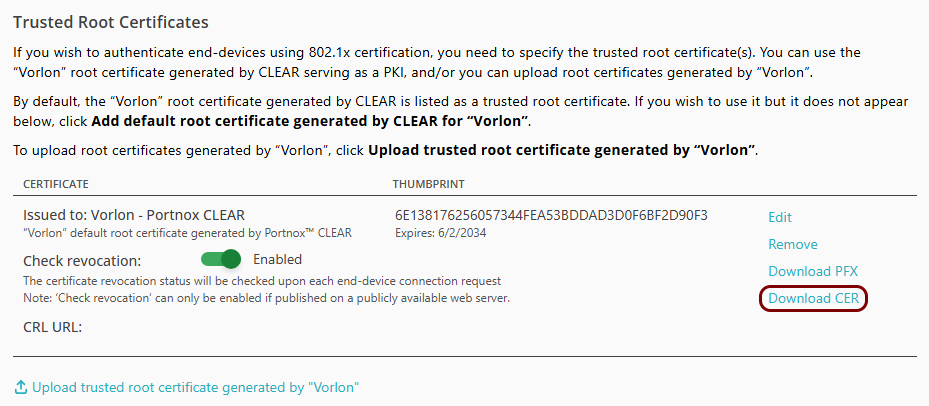
In the Trusted Root Certificates section, click on the Download CER
link, then save the downloaded file.
The default name of the file is Your_tenant_name - Portnox CLEAR.cer, for example, Vorlon - Portnox CLEAR.cer.
- Optional: Rename the downloaded file to tenantCertificate.cer. This is the name used in the next part of this guide.
Optional: Hand over information from the Portnox Cloud team to the Jamf team
In this section, you will learn what information was collected in previous steps from Portnox Cloud, which is needed to configure Jamf to work with Portnox Cloud.
If different people are responsible for managing Portnox Cloud and Jamf, here is the information you need to hand over:
-
The URL of the Portnox Cloud SCEP server. For example, https://scep.portnox.com/b2973887-1274-45d4-91d0-4a342a861c76.
-
The password for the SCEP server.
-
The root CA certificate file in the X.509 format. For example, rootCertificate.cer.
-
The tenant CA certificate file in the X.509 format. For example, tenantCertificate.cer.
Create a Jamf configuration profile
In this section, you will create a configuration profile in Jamf that lets managed devices get certificates from the Portnox™ Cloud SCEP server.
-
Open your Jamf instance in the browser and log in.
For example, vorlon.jamfcloud.com
-
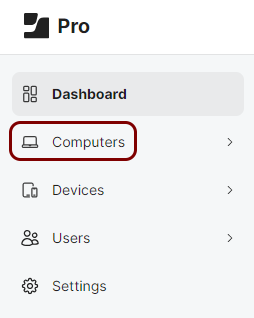
In the top-left corner, click on the Computers icon.
-
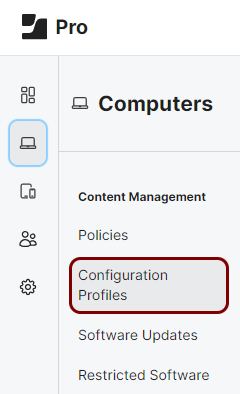
In the left-hand menu, click on the Configuration Profiles option.
Jamf shows the Configuration Profiles pane on the right-hand side.
-
In the top-right corner of the Configuration Profiles pane, click on the
New button.
Jamf shows the New macOS Configuration Profile pane on the right-hand side.
-
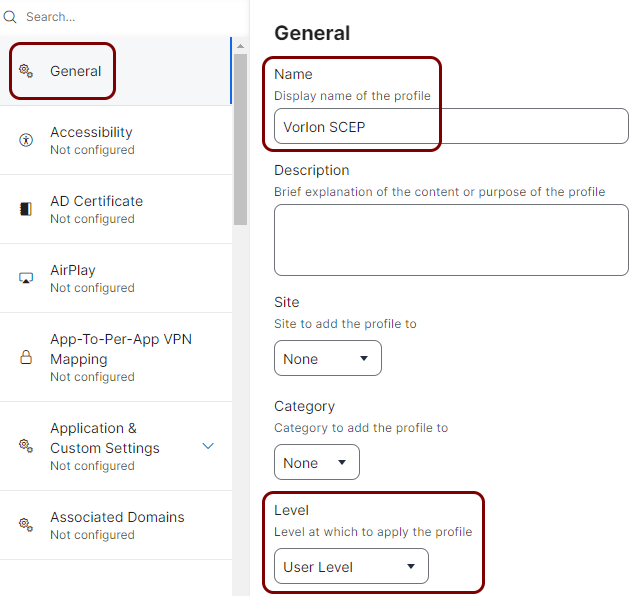
In the General pane on the right-hand side, configure general properties for the new
profile:
-
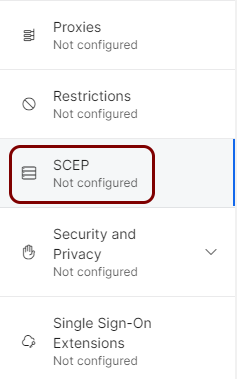
In the left-hand menu of the configuration profile pane, click on the SCEP option.
Jamf shows the Configure SCEP pane on the right-hand side.
-
On the right-hand side, click on the Configure button to configure SCEP properties for the
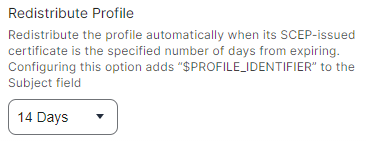
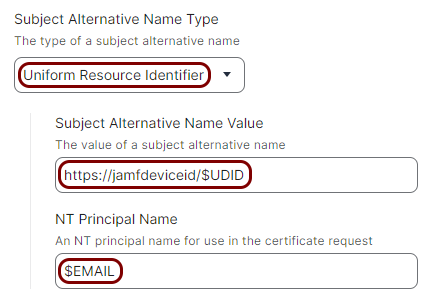
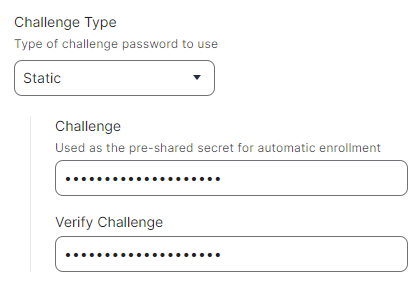
new profile:
-
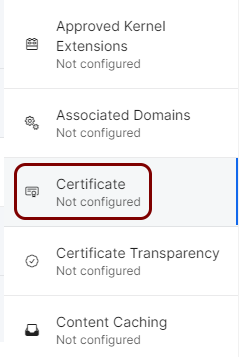
In the left-hand menu of the configuration profile pane, click on the Certificate
option.
Jamf shows the Configure Certificate pane on the right-hand side.
-
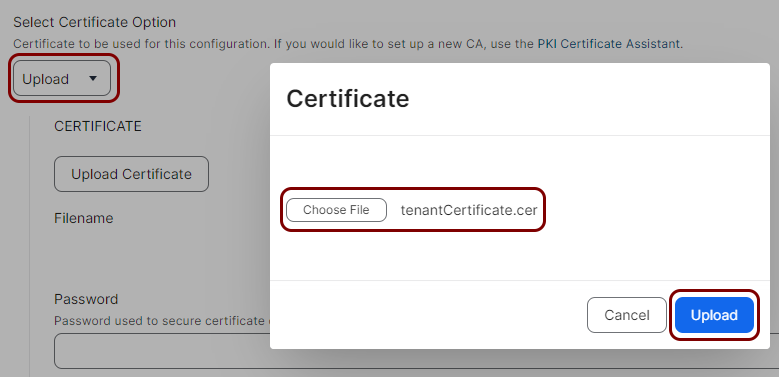
On the right-hand side, click on the Configure button to configure certificate properties
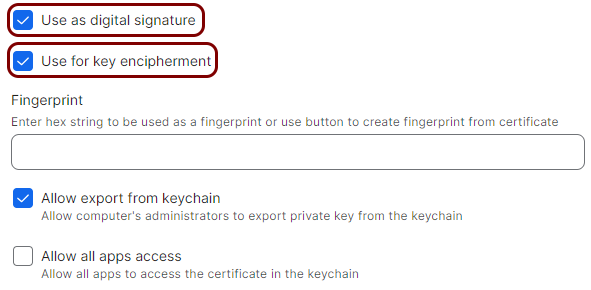
for the new profile:
-
Click on the Save icon in the bottom-right corner to save the configuration profile.
Configure the profile for Wi-Fi
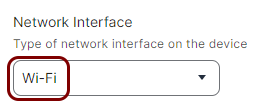
In this section, you will edit the configuration profile and add a Wi-Fi network configuration. This will let your managed devices access the Wi-Fi network configured in Portnox™ Cloud by using certificates obtained from the Portnox SCEP server.
-
In the top-left corner, click on the Computers icon.
-
In the left-hand menu, click on the Configuration Profiles option.
Jamf shows the Configuration Profiles pane on the right-hand side.
-
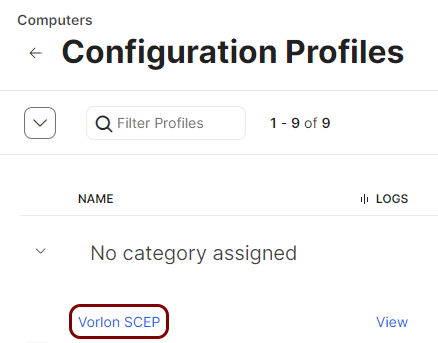
Find the profile that you created earlier and click on its name.
-
In the bottom-right corner of the right-hand side pane, click on the Edit icon.
-
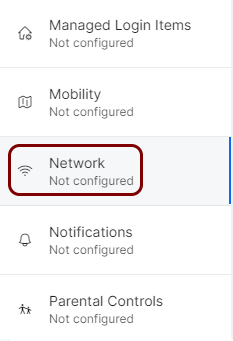
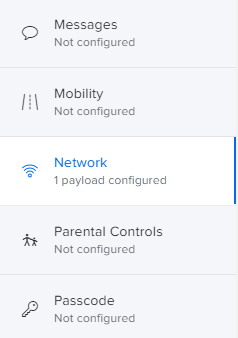
In the left-hand menu of the right-hand side pane, click on the Network option.
Jamf shows the Configure Network pane on the right-hand side.
-
On the right-hand side, click on the Configure button to configure network properties for
the new profile:
-
Click on the Save icon in the bottom-right corner to save the configuration profile.
Configure the profile for Ethernet
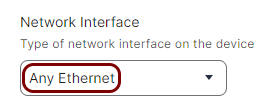
In this section, you will edit the configuration profile and add an Ethernet network configuration. This will let your managed devices access the Ethernet network configured in Portnox™ Cloud by using certificates obtained from the Portnox SCEP server.
-
In the top-left corner, click on the Computers icon.
-
In the left-hand menu, click on the Configuration Profiles option.
Jamf shows the Configuration Profiles pane on the right-hand side.
-
Find the profile that you created earlier and click on its name.
-
In the bottom-right corner of the right-hand side pane, click on the Edit icon.
-
In the left-hand menu of the right-hand side pane, click on the Network option.
-
In the right-hand side pane, click on the + icon in the top-right corner
to create another network configuration. Then, scroll down to the newly created network configuration to set the
following properties:
-
Click on the Save icon in the bottom-right corner to save the configuration profile.