Onboard macOS devices with AgentP using Jamf and SCEP
In this topic, you will learn how to deploy Portnox™ AgentP on managed macOS devices by using Jamf if certificates are managed by SCEP.
There are two options to deploy AgentP on managed macOS devices using Jamf:
- Onboard devices using SCEP certificates and use AgentP for risk assessment only (recommended)
- Deploy AgentP and have the users onboard manually
This topic describes the first option. Begin by completing the steps in the following topic: Onboard macOS devices with certificates using Jamf and SCEP. Then, continue with steps in the current topic.
Add the AgentP installation package to Jamf
In this task, you will download the Portnox™ AgentP installation package for macOS and upload it to Jamf to be later distributed to managed macOS devices.
-
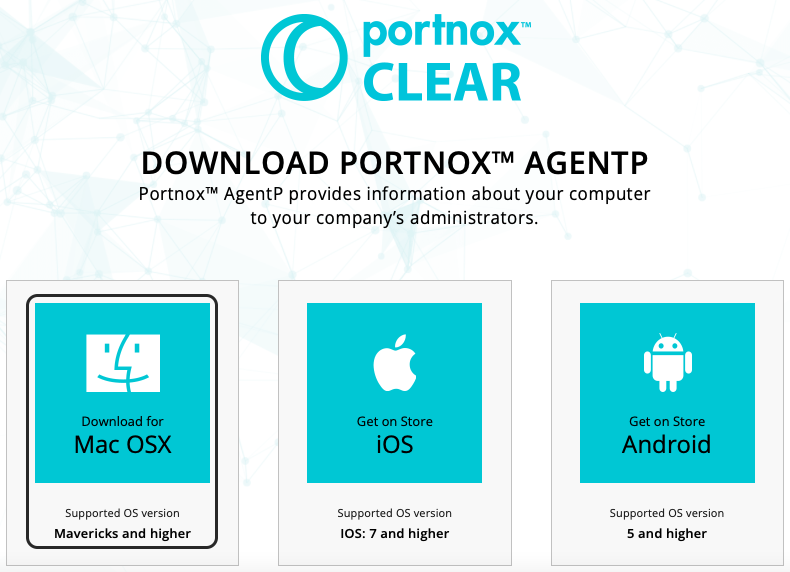
Click on the tile that represents the macOS system to download the AgentP installer.
-
In the left-hand menu, click on the Settings option.
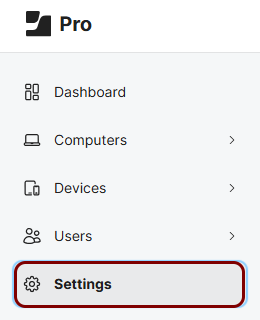
Jamf shows the Settings pane on the right-hand side.
-
In the top bar of the Settings pane, click on the Computer management
tab.

-
Click on the Packages tile.
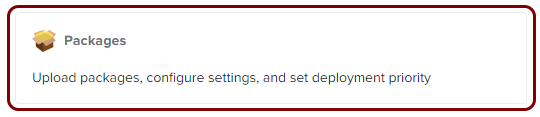
Jamf shows the Packages pane on the right-hand side.
-
In the top-right corner of the Configuration Profiles pane, click on the
New button.

Jamf shows the New Package pane on the right-hand side.
-
In the New Package pane, click on the Choose File button and select
the AgentP installation package file that you downloaded earlier (PortnoxAgentP.pkg).

You can leave the default values of all other fields in this pane.
-
Click on the Save icon in the bottom-right corner to save the package configuration.
 Note:Package files must have unique names. If another package profile already exists with the same file name, you will see an error. If so, rename the file before uploading.
Get issuer information from Portnox Cloud
In this task, you will copy the issuer name from the Portnox™ Cloud portal, so you can use it later when creating a configuration script for AgentP.
-
In the Cloud portal top menu, click on the Settings option.

-
In the Cloud portal left-hand side menu, click on the option.

-
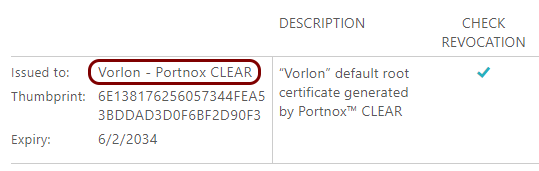
In the Trusted Root Certificates section, copy the value of the Issued
to field in this section to a text file.
Create an AgentP configuration script in Jamf
In this task, you will prepare a script that creates an AgentP configuration file on the managed device.
-
In the left-hand side menu, click on the Settings icon.
-
In the top bar of the Settings pane, click on the Computer management
tab.
-
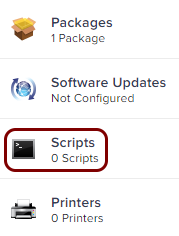
Click on the Scripts tile.

Jamf shows the Scripts pane on the right-hand side.
-
In the top-right corner of the Scripts pane, click on the New
icon.

Jamf shows the New Script pane on the right-hand side.
-
In the New Script pane, in the General tab, in the Display
Name field, enter a name for the script.
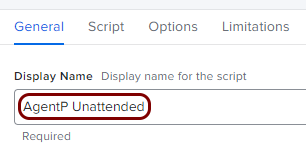
We used the name AgentP Unattended but you can use any name you like.
-
Click on the Script tab.

Create a policy in Jamf to deploy the package and script
In this task, you will create a policy that you can apply to managed devices to automatically install and configure the Portnox™ AgentP package on managed macOS devices.
-
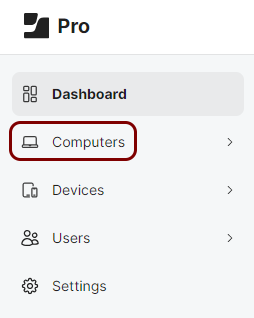
In the top-left corner, click on the Computers icon or the Devices
icon, depending on whether you want to create a profile for computers or mobile devices.
-
In the left-hand menu, click on the Policies option.

Jamf shows the Policies pane on the right-hand side.
-
In the top-right corner of the Policies pane, click on the New
button.

Jamf shows the New Policy pane on the right-hand side.
-
In the General section, enter the Display Name for the policy.

We used the name AgentP Unattended but you can use any name you like.
-
In the left-hand menu of the New Policy pane, click on the Packages
option.

Jamf shows the Configure Packages pane on the right-hand side.
-
On the right-hand side, click on the Configure button to configure packages for the new
policy:
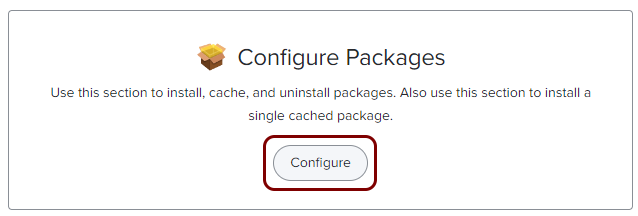
Jamf shows the Packages list on the right-hand side.
-
Click on the Add button next to the AgentP package that you created
earlier.
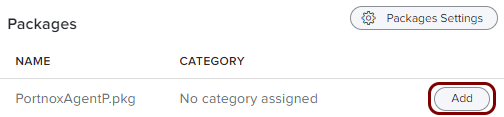
Jamf shows the PortnoxAgentP.pkg pane on the right-hand side.
Note:The name may be different if you did not use the default name of the package/file. -
In the left-hand menu of the New Policy pane, click on the Scripts
option.
Jamf shows the Configure Scripts pane on the right-hand side.
-
On the right-hand side, click on the Configure button to configure scripts for the new
policy:

Jamf shows the Scripts list on the right-hand side.
-
Click on the Add button next to the configuration script that you
created earlier.

Jamf shows the AgentP Unattended pane on the right-hand side.
Note:The name may be different if you did not use the suggested display name for the script. -
In the Priority field, select the Before value.

-
Click on the Save icon in the bottom-right corner to save the policy.