
Onboard devices with AgentP using Iru
In this topic, you will learn how to deploy Portnox™ AgentP on managed macOS and Windows devices by using Iru.
Create a blueprint in Iru
In this section, you will create a blueprint (assignment map) in Iru. You will assign all library items from this topic to this blueprint.
-
In the Iru left-hand menu, click on the option.
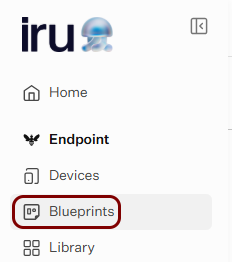
Iru shows the Blueprints screen.
-
In the top-right corner of the Blueprints screen, click on the Add
Blueprint button.
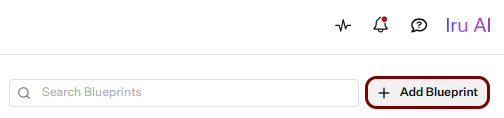
Iru shows the Create Blueprint window.
-
In the Create Blueprint window, click on the Start from scratch
tile.
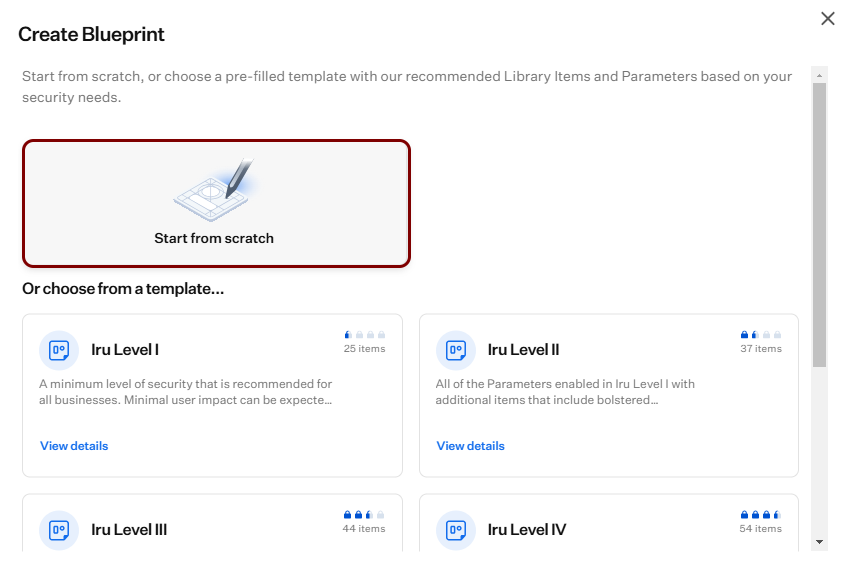
-
In the Blueprint name field, enter the name for the new blueprint, and click on the
Create Blueprint button.
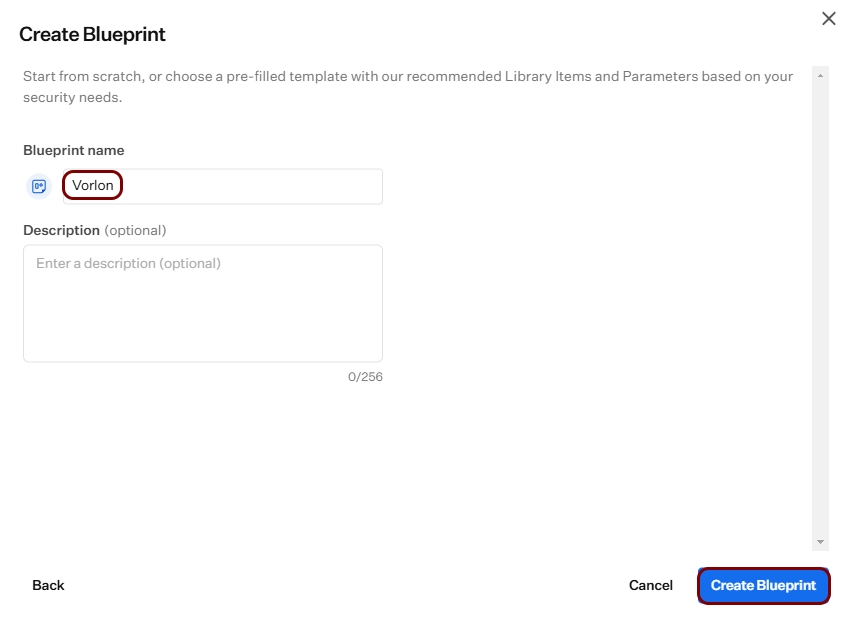
Iru shows the assignment map of the new blueprint in edit mode.
-
In the top-right corner, click on the Save button.
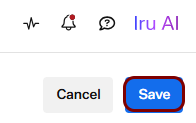
Iru shows the Assignment Map tab of the new blueprint.
Deploy AgentP on macOS devices
In this section, you will deploy Portnox™ AgentP on managed macOS devices using an Iru Mac Custom App library item.
There are two options to deploy AgentP on managed macOS devices using Iru:
- Onboard devices using SCEP certificates and use AgentP for risk assessment only (recommended)
- Deploy AgentP and have the users onboard manually
If you choose the first option, begin by completing the steps in the following topic: Onboard devices with certificates using Iru and SCEP. Then, continue with steps in the current section.
Get issuer information from Portnox Cloud
In this task, you will copy the issuer name from the Portnox™ Cloud portal, so you can use it later when creating a configuration script for AgentP.
-
In the Cloud portal top menu, click on the Settings option.

-
In the Cloud portal left-hand side menu, click on the option.
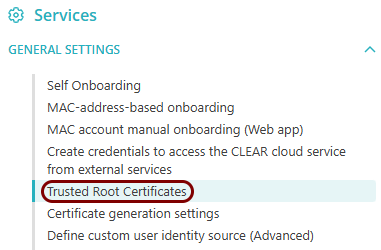
-
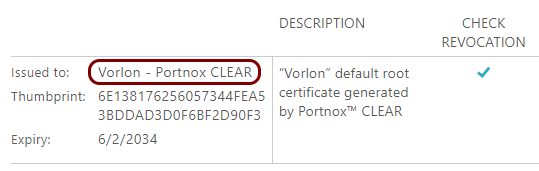
In the Trusted Root Certificates section, copy the value of the Issued
to field in this section to a text file.
macOS: Create a Mac Custom App library item for AgentP
In this section, you will download the Portnox™ AgentP installation package for macOS and add it to an Iru library item that installs it on managed macOS devices.
-
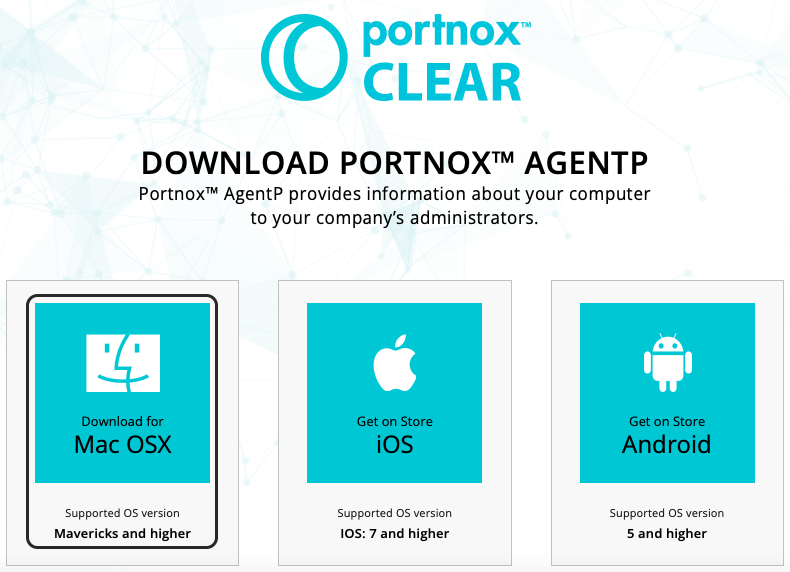
Click on the tile that represents the macOS system to download the AgentP installer.
-
In the Iru left-hand menu, click on the option.
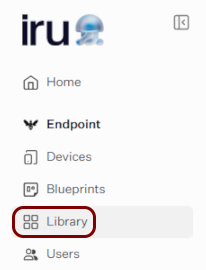
Iru shows the Library screen.
-
In the top-right corner of the Library screen, click on the Add Library
Item button.
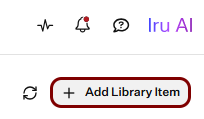
Iru shows the Add Library Item screen.
-
In the search box, type custom app, and then click on the Mac Custom
App tile in the General section.
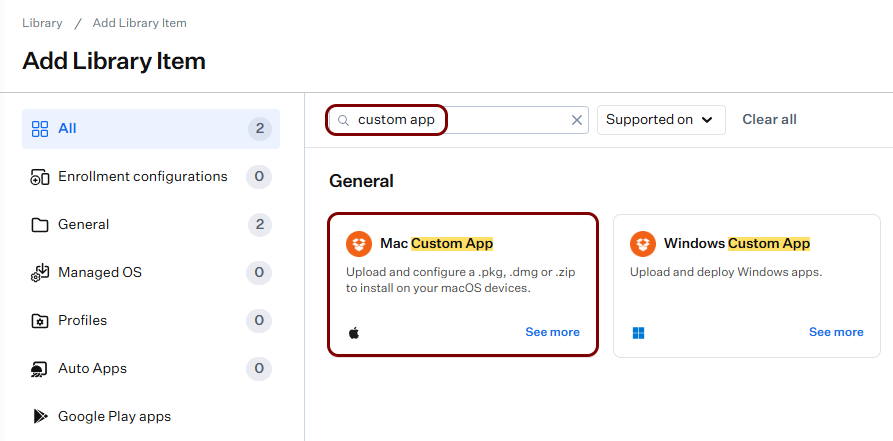
-
In the bottom-right corner, click on the Add and configure button.
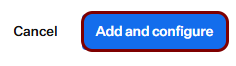
Iru shows the configuration screen for the new library item.
-
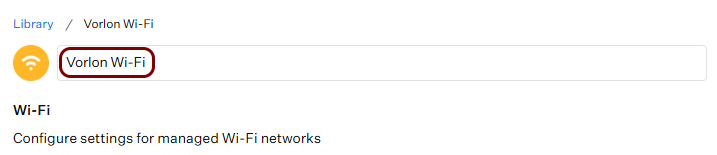
In the Add a title field at the top of the screen, enter the name for the new library
item.
-
Next to the Assignment Maps field, click on the Assign button, and
select your blueprint.

-
In the Installation section, make sure that the Install once per
device option is selected.
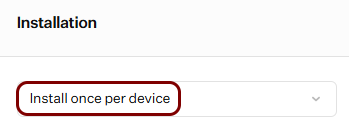 Note:The Audit and enforce option requires a custom audit script, which this topic doesn’t cover.
-
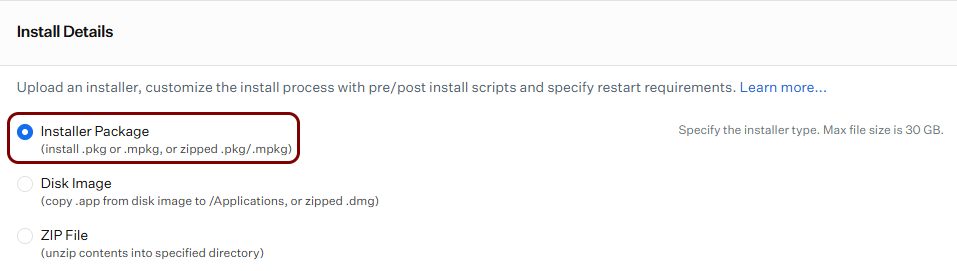
In the Install Details section, make sure that the Installer
Package option is selected.
-
Click on the Add Preinstall Script button.
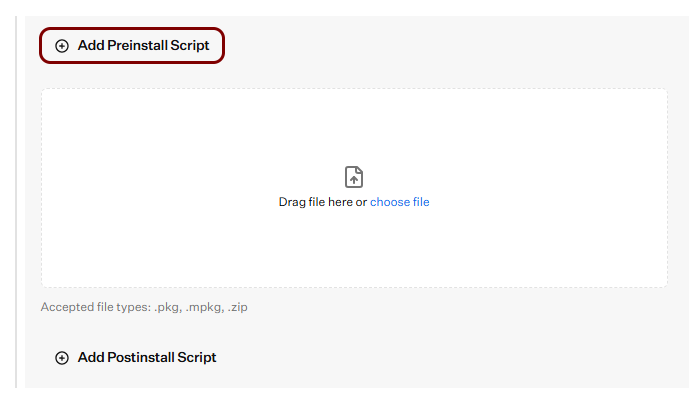
Iru shows the Preinstall Script field.
-
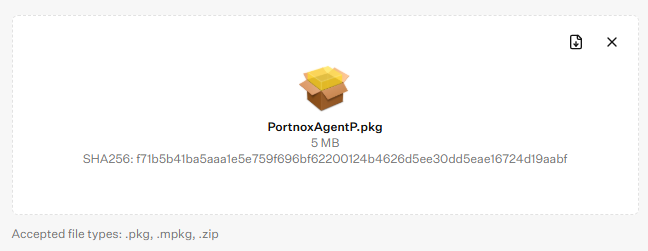
Click on the Drag file here or choose file tile, and select the AgentP installation
package file that you downloaded earlier (PortnoxAgentP.pkg).
-
Keep the default values of all other fields, or adjust them to the needs of your environment. Then, click on the
Save button in the bottom-right corner of the screen.
Deploy AgentP on Windows devices
In this section, you will deploy Portnox™ AgentP on managed Windows devices using an Iru Windows Custom App library item.
Prepare the AgentP installation files
In this section, you will download the Portnox™ AgentP MSI package for Windows and prepare the files and values that Iru needs.
Create a Windows Custom App library item for AgentP
In this section, you will create an Iru library item that installs Portnox™ AgentP on managed Windows devices.
-
In the Iru left-hand menu, click on the option.
Iru shows the Library screen.
-
In the top-right corner of the Library screen, click on the Add Library
Item button.
Iru shows the Add Library Item screen.
-
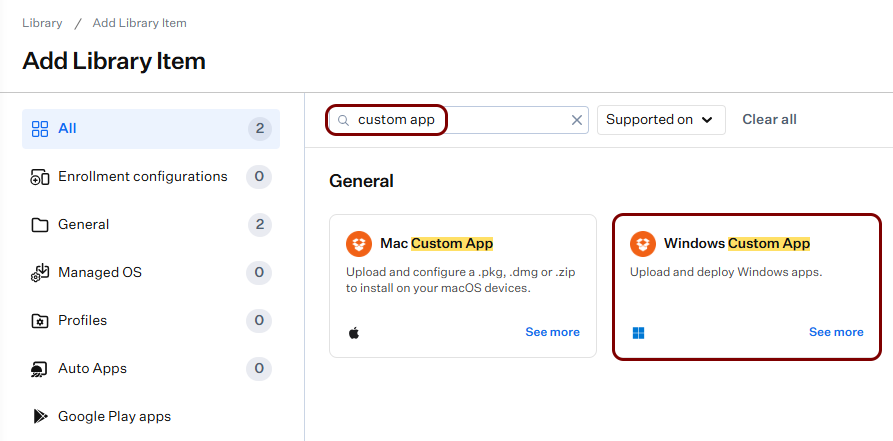
In the search box, type custom app, and then click on the Windows Custom
App tile in the General section.
-
In the bottom-right corner, click on the Add and configure button.
Iru shows the configuration screen for the new library item.
-
In the Add a title field at the top of the screen, enter the name for the new library
item.
-
Next to the Assignment Maps field, click on the Assign button, and
select your blueprint.
-
In the Installation options section, select the Install and continuously
enforce option.
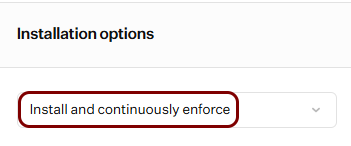 Note:With this option, Iru checks (at each daily check-in) whether AgentP is installed, and installs it again if it’s missing. If you select the Install once per device option instead, Iru installs AgentP once and doesn’t reinstall it, for example, if the user uninstalls it. Choose the option that matches your requirements and skip related next steps if you do not select enforcement.
-
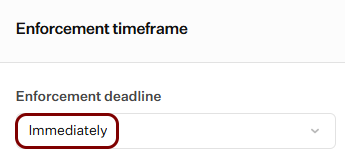
In the Enforcement timeframe section, in the Enforcement deadline
field, select the Immediately option.
Note:If the security policies of your organization let users delay the installation, you can select the By enforcement deadline option instead.
-
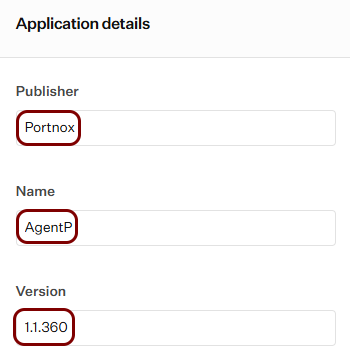
In the Application details section:
-
In the Version field, enter the version number from the file name of the MSI
package that you downloaded earlier.
-
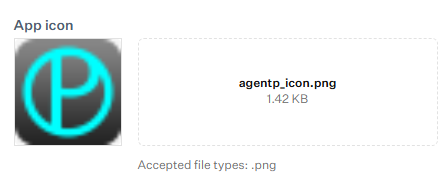
In the App icon section, click on the Drag file here or choose
file tile, and select the agentp_icon.png file that you extracted earlier or your own PNG file.
-
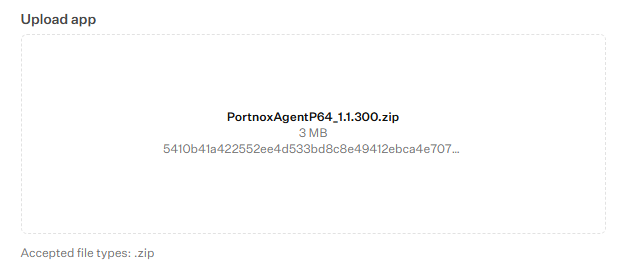
In the Upload app section, click on the Drag file here or choose
file tile, and select the .zip file that you created earlier.
-
In the Version field, enter the version number from the file name of the MSI
package that you downloaded earlier.
-
Configure the detection logic:
-
In the MSI product code field, paste the product code that you copied earlier, including the curly brackets.
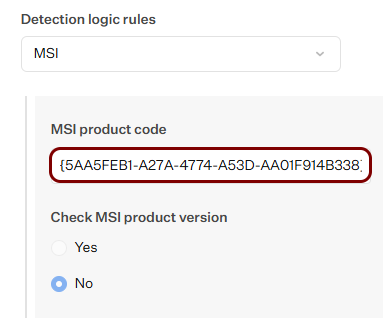 Important:The product code may change between AgentP versions. Each time you upload a new MSI package to this library item, run the product code script again and update this field if the value is different.
-
In the MSI product code field, paste the product code that you copied earlier, including the curly brackets.
-
In the Architecture field, select the architecture that matches the MSI package that you
downloaded.
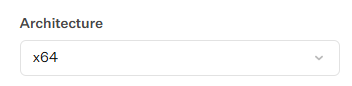
For example, select x64 for PortnoxAgentP64_1.1.360.msi.
-
In the Install command line parameters field, enter msiexec /i
msi_file_name /qn UI_LAUNCH=1, where
msi_file_name is the name of the MSI file inside the
.zip file.
Note:The /qn option makes AgentP onboard automatically with the Windows user account, so users don’t have to onboard manually. The UI_LAUNCH=1 option hides the onboarding window during this process. Automatic onboarding works only on computers joined to Microsoft Entra ID or Active Directory. On other computers, users must onboard manually. For the full list of AgentP installation options, see the following topic: AgentP configuration/installation options.
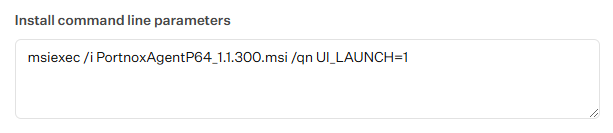
For example: msiexec /i PortnoxAgentP64_1.1.360.msi /qn UI_LAUNCH=1
-
Keep the default values of all other fields, or adjust them to the needs of your environment. Then, click on the
Save button in the bottom-right corner of the screen.