Onboard devices with AgentP using Microsoft Configuration Manager
In this topic, you will learn how to deploy Portnox™ AgentP on managed devices by using Microsoft Configuration Manager (MCM), previously known as Microsoft System Center Configuration Manager (SCCM).
-
On your file sharing server, open the Download Portnox AgentP page in your browser.
-
Scroll down to Windows files and click on the tile that best represents your Windows
version to download the AgentP MSI package and save it in a shared folder.
 Important:You must save the file in a location that is shared with all the users/computers that you want to onboard with AgentP.
-
Scroll down to Windows files and click on the tile that best represents your Windows
version to download the AgentP MSI package and save it in a shared folder.
-
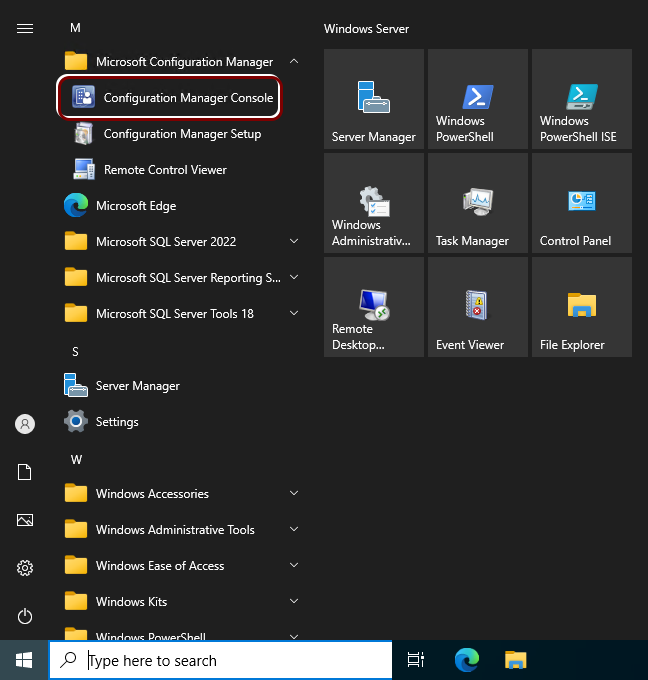
On your Microsoft Configuration Manager server, open the MCM Console.
-
Create the application configuration for AgentP.
-
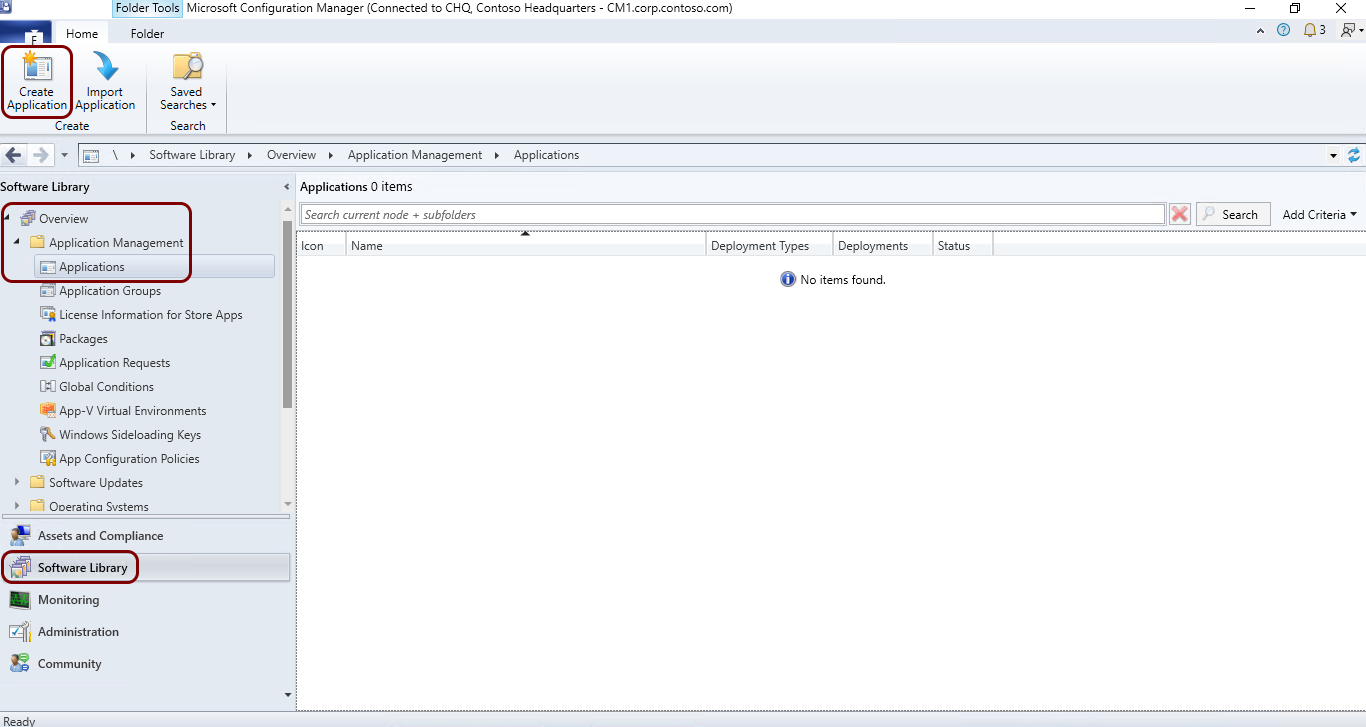
In the left-hand menu, click on the Software Library option. Then, open the folder, and click on the Applications option. Then, click on the
Create Application button on the ribbon.
-
In the Create Application Wizard window, in the General step, click
on the Browse button, select the network share that contains the AgentP MSI package, and
then select the AgentP MSI package. Then, click on the Next button.

-
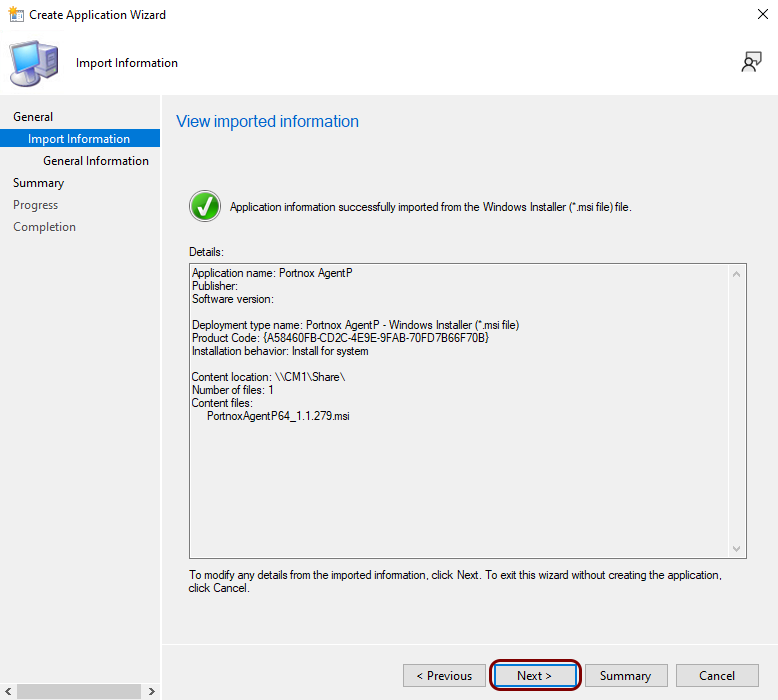
In the Import information step, click on the Next button.
-
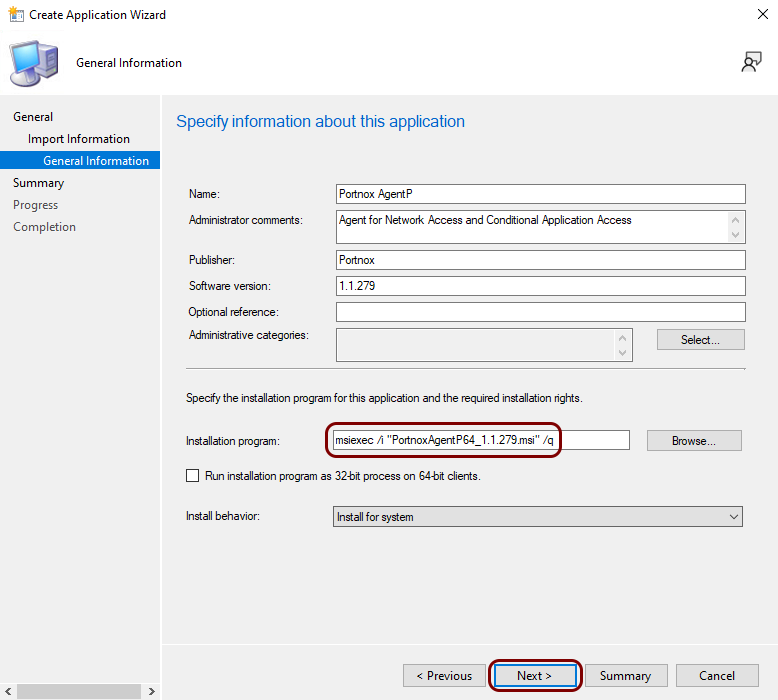
In the General information step, fill in the details as necessary, and then click on the
Next button.
Note:If you want to install AgentP in unattended mode or kiosk mode, modify the msiexec command as described in the following topic: Onboard Windows devices with AgentP in unattended or kiosk mode.
-
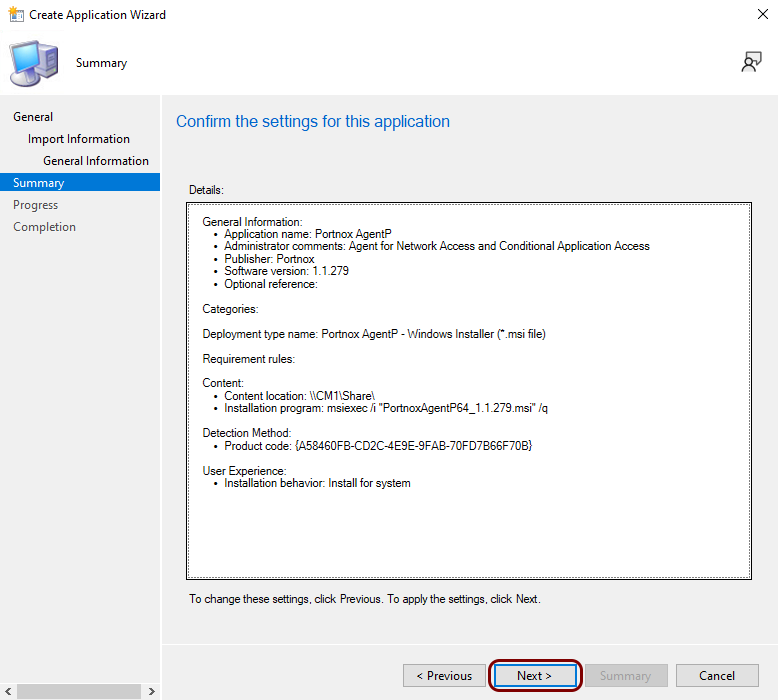
In the Summary step, click on the Next button.
-
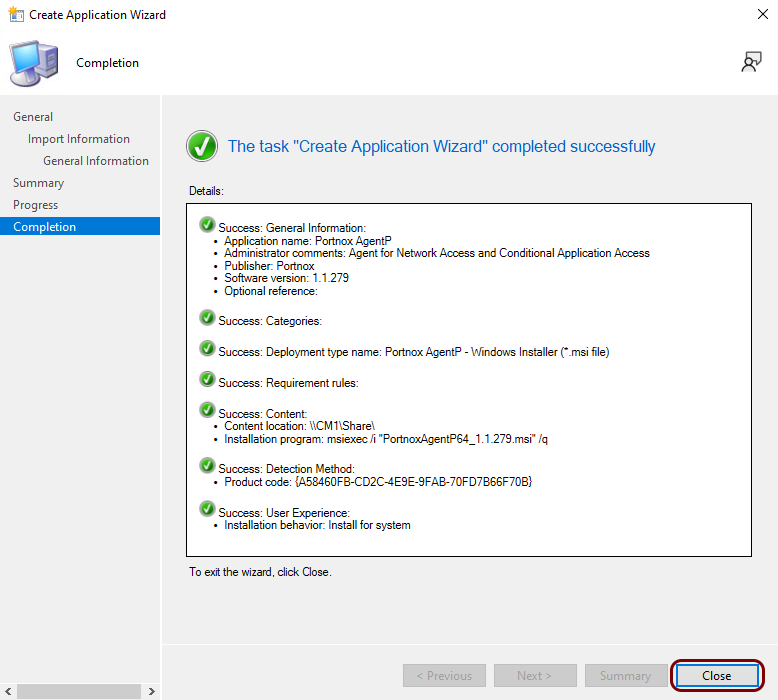
In the Completion step, click on the Close button.
-
In the left-hand menu, click on the Software Library option. Then, open the folder, and click on the Applications option. Then, click on the
Create Application button on the ribbon.
-
Deploy the AgentP application.
-
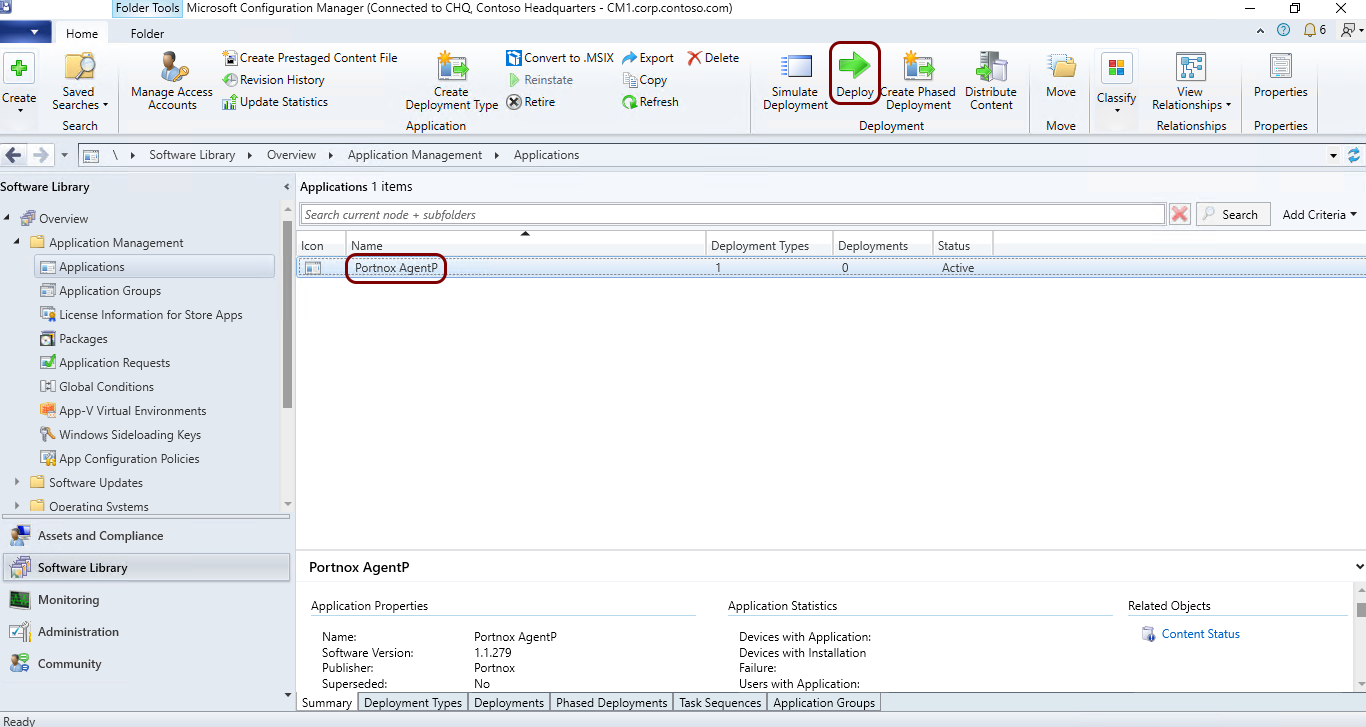
In the Applications pane, click on the Portnox AgentP application
in the list, and then click on the Deploy button on the ribbon.
-
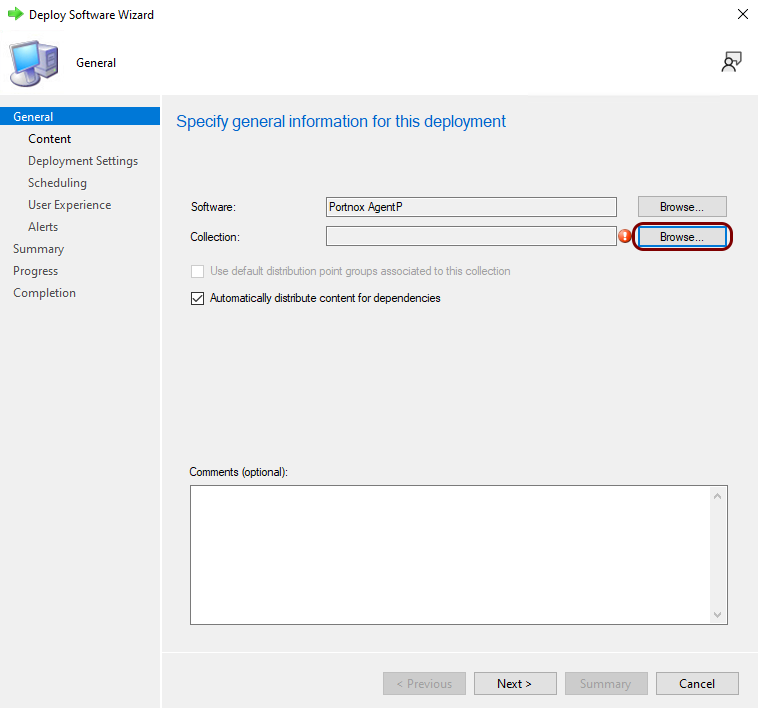
In the Deploy Software Wizard window, in the General step, click on
the Browse button next to the Collection field to select a
collection.
-
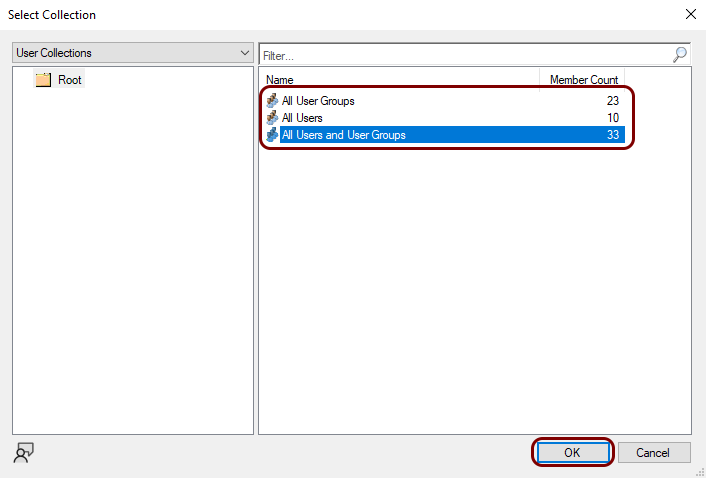
In the Select Collection window, select the collection as required, and then click on the
OK button to go back to the Deploy Software Wizard window, and
then click on the Next button.
-
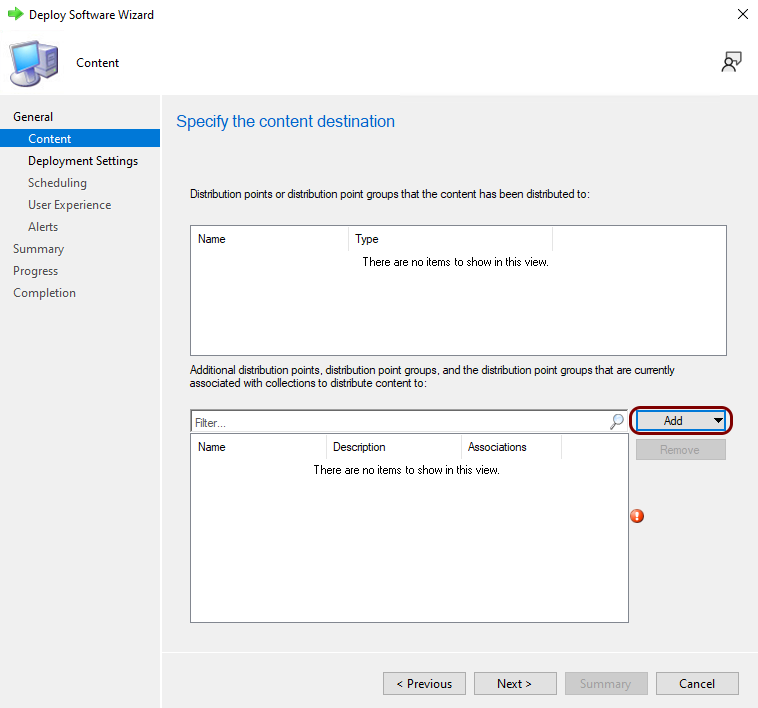
In the Content step, click on the Add button to add distribution
points or distribution point groups.
-
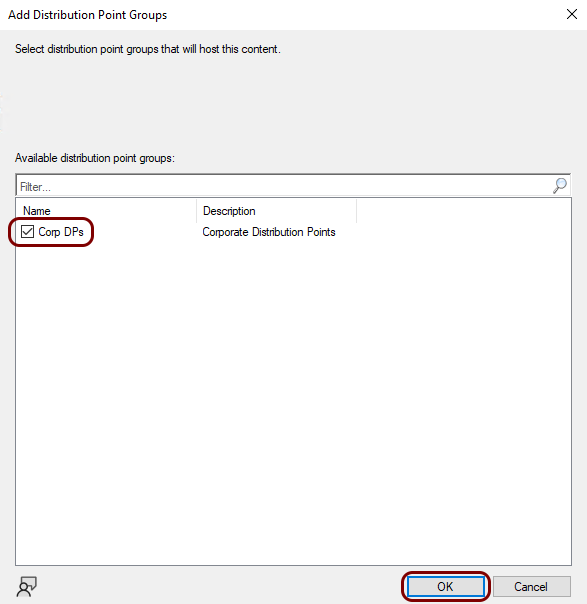
In the Add Distribution Points window or the Add Distribution Point
Groups window, select the distribution points or distribution point groups, and then click on the
OK button to return to the Content step. Then, click on the
Next button.
-
In the Deployment Settings step, select the options as required, and then click on the
Next button.
Note:We recommend to set Purpose to Required.

-
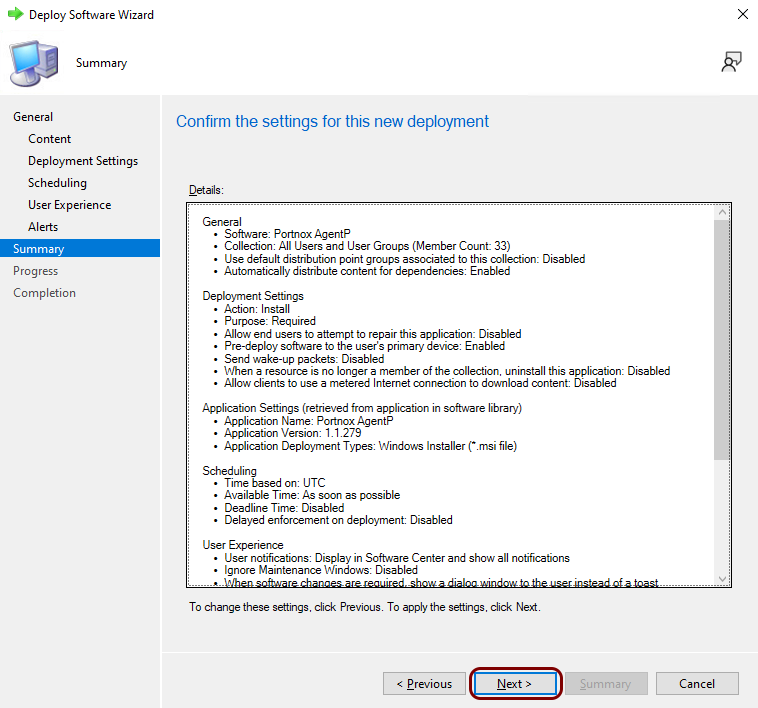
In the Summary step, click on the Next button.
-
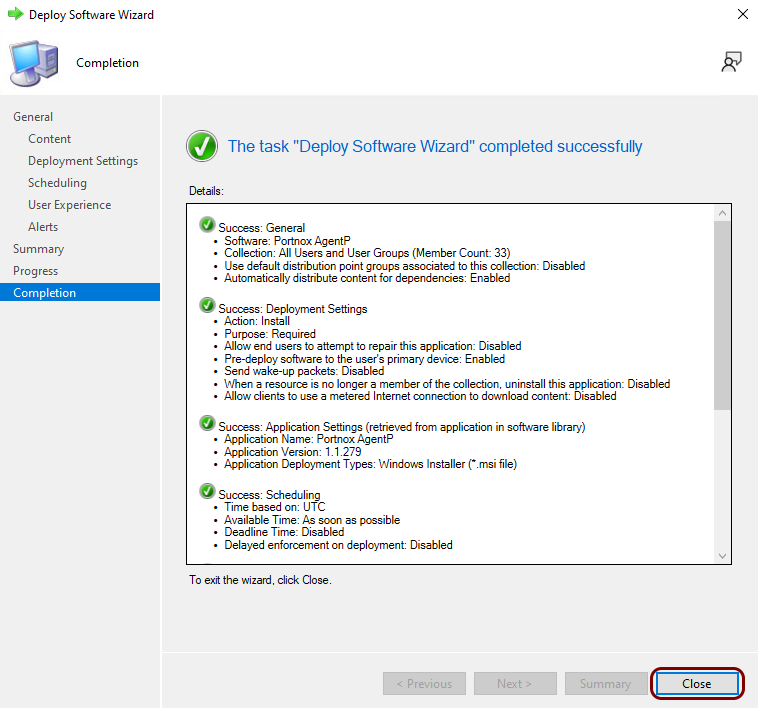
In the Completion step, click on the Close button.
-
In the Applications pane, click on the Portnox AgentP application
in the list, and then click on the Deploy button on the ribbon.
Result: You created a Windows AgentP application configuration in MCM, distributed it to distribution points, and created a deployment. The application will be installed on client machines as soon as possible, depending on the deployment settings and maintenance windows.